Back to builds

Build Log

Endeavour

completed Scale: 1:80 Amati View gallery →

A highly detailed 1:80 scale model of the legendary J-class yacht Endeavour, combining elegant design with racing heritage and advanced 1930s engineering

Endeavour

Historical Background

The yacht Endeavour is a J-class racing yacht built for the 1934 America’s Cup on commission from Sir Thomas Sopwith. She featured advanced design solutions inspired by aviation technology, which gave her exceptional speed and performance. Endeavour confidently won the first two races of the series but ultimately lost the decisive regattas and failed to secure the Cup.

Despite this, she became renowned as one of the most beautiful and technologically advanced yachts of her class. After a long period of inactivity, she was restored and returned to the water in 1989, raising her sails again for the first time in over half a century.

Build Log

Part 1

16.01.2022

The hull

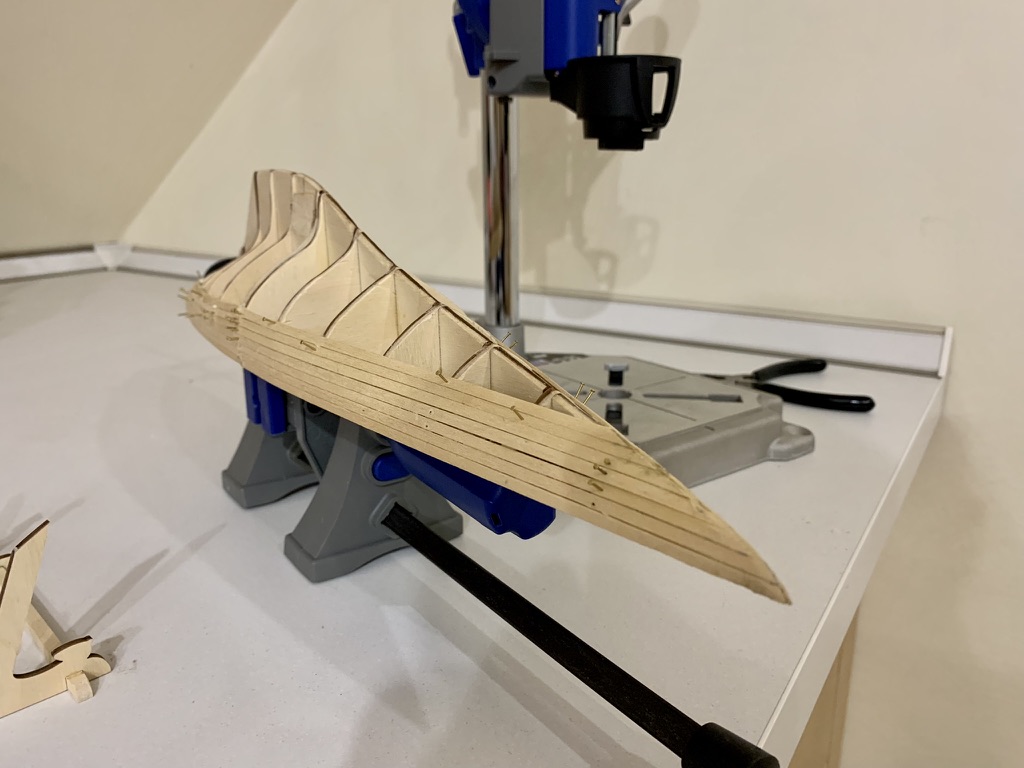
Hull construction starts with preparing the keel and frames, and it is important to check the overall geometry at this stage to avoid any twist or distortion later in the build. The first layer of planking is best done with softer limewood strips, which are easier to bend around the complex curves of the bow and stern. At this point the goal is to achieve a smooth, flowing hull shape without sharp steps; small gaps and irregularities will be corrected later with filler and sanding.

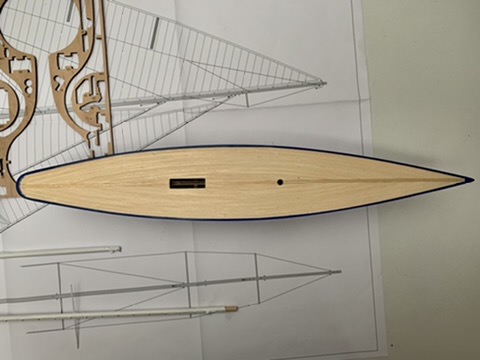
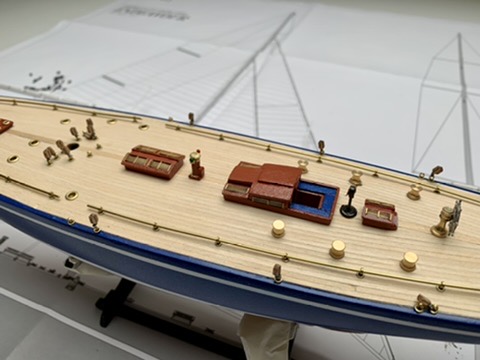
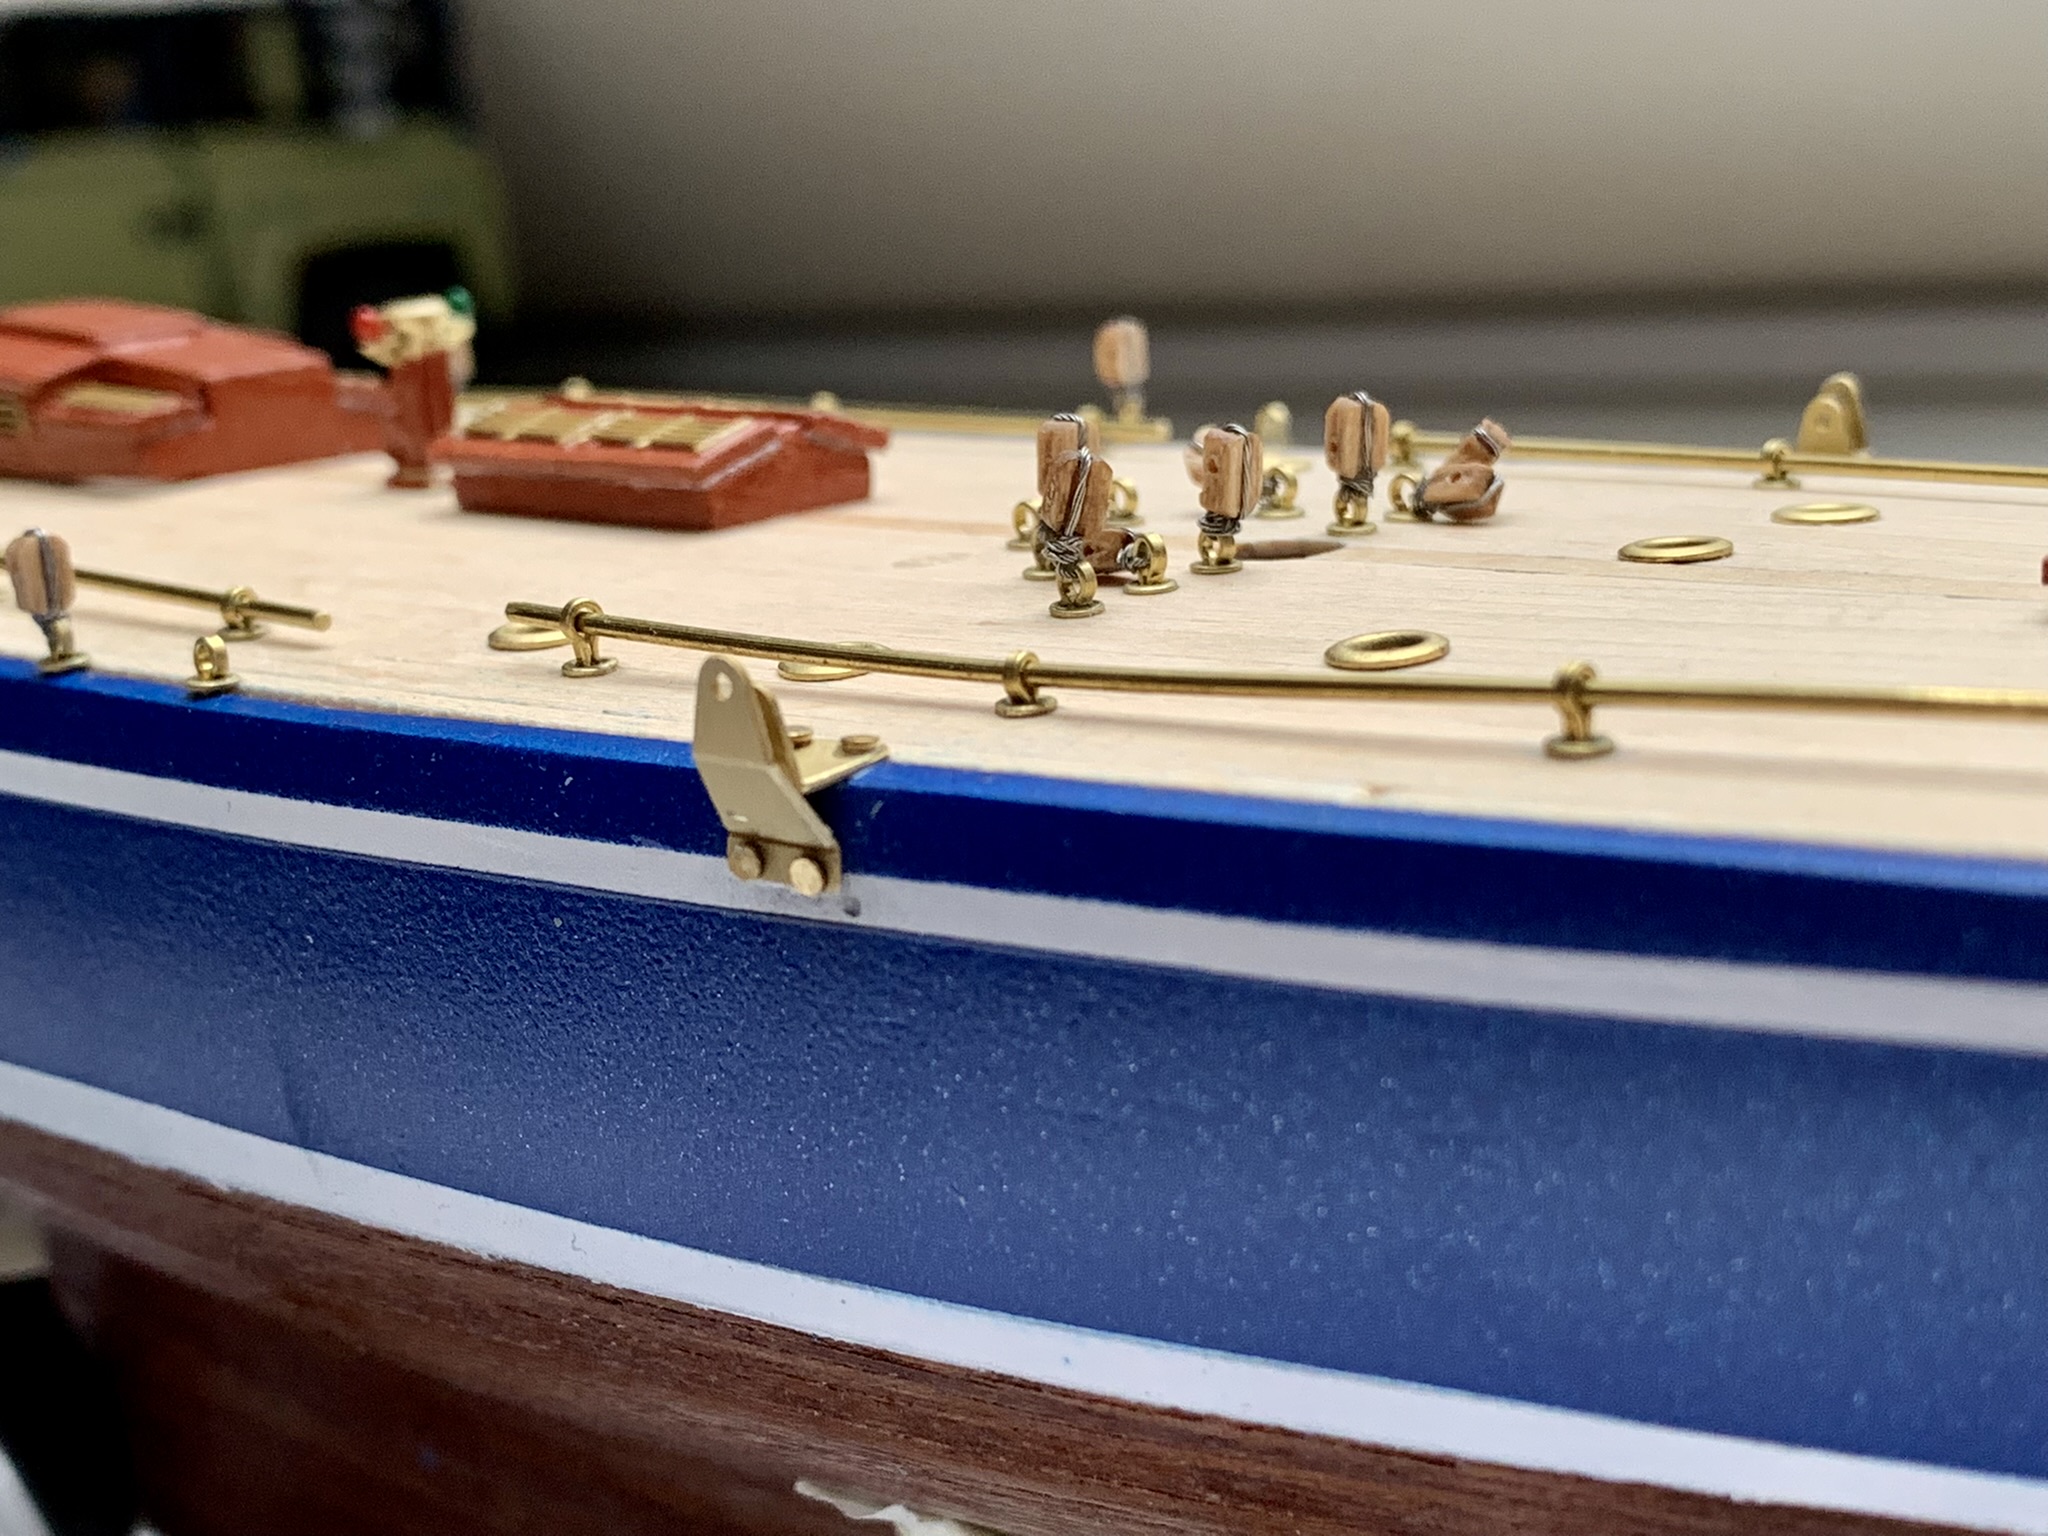
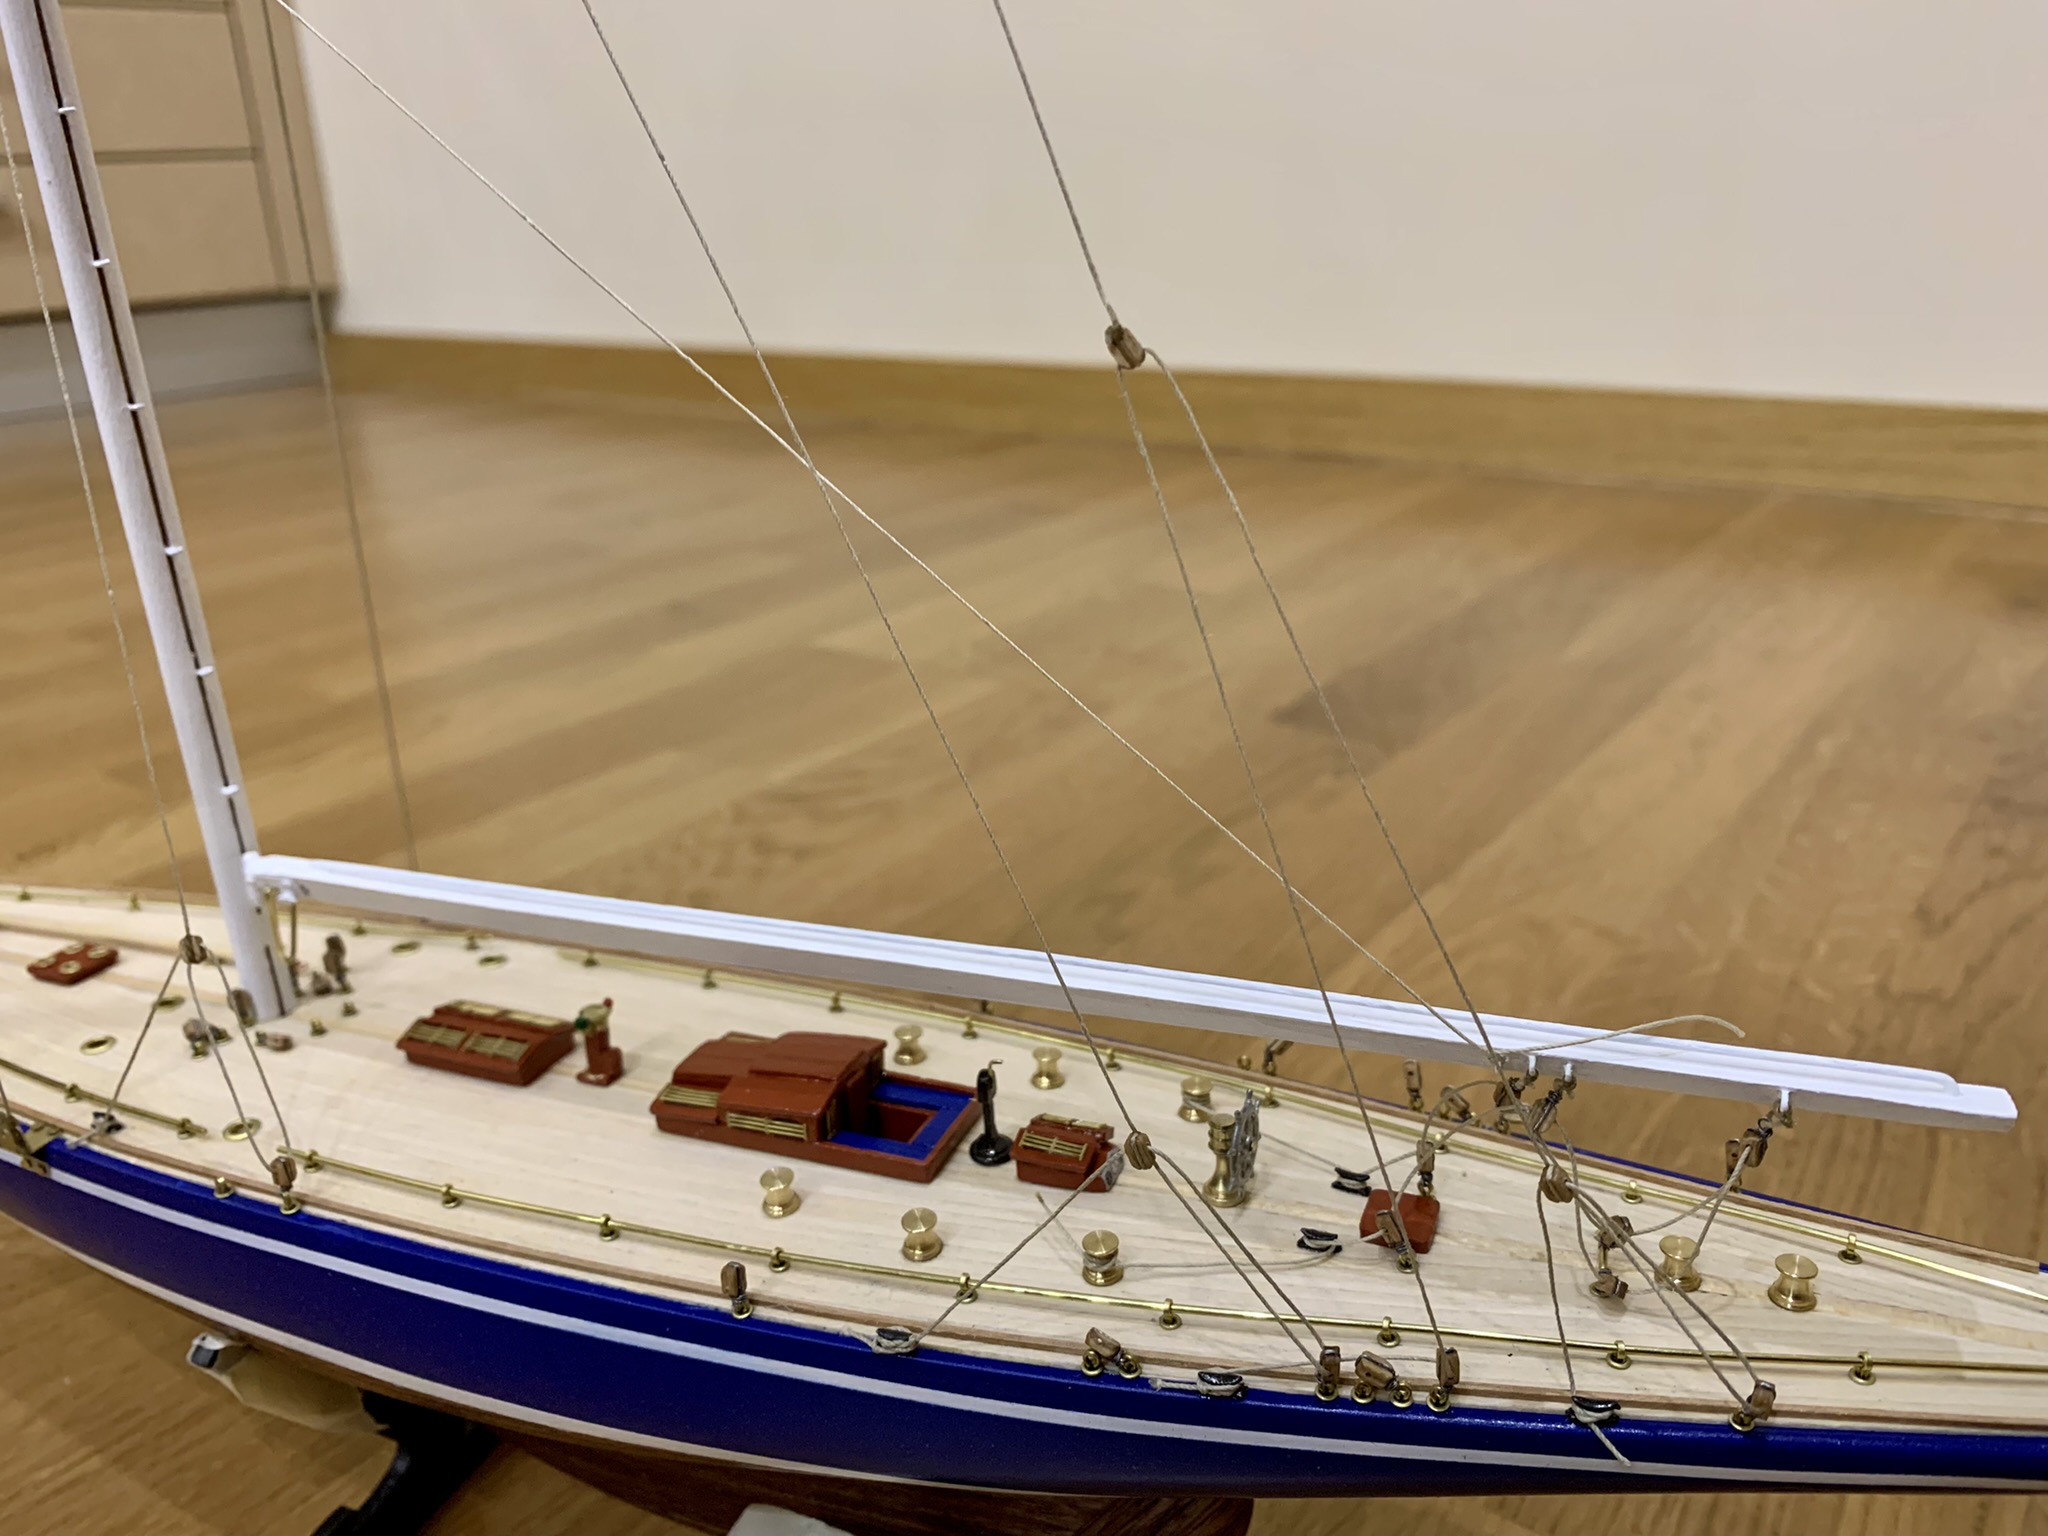
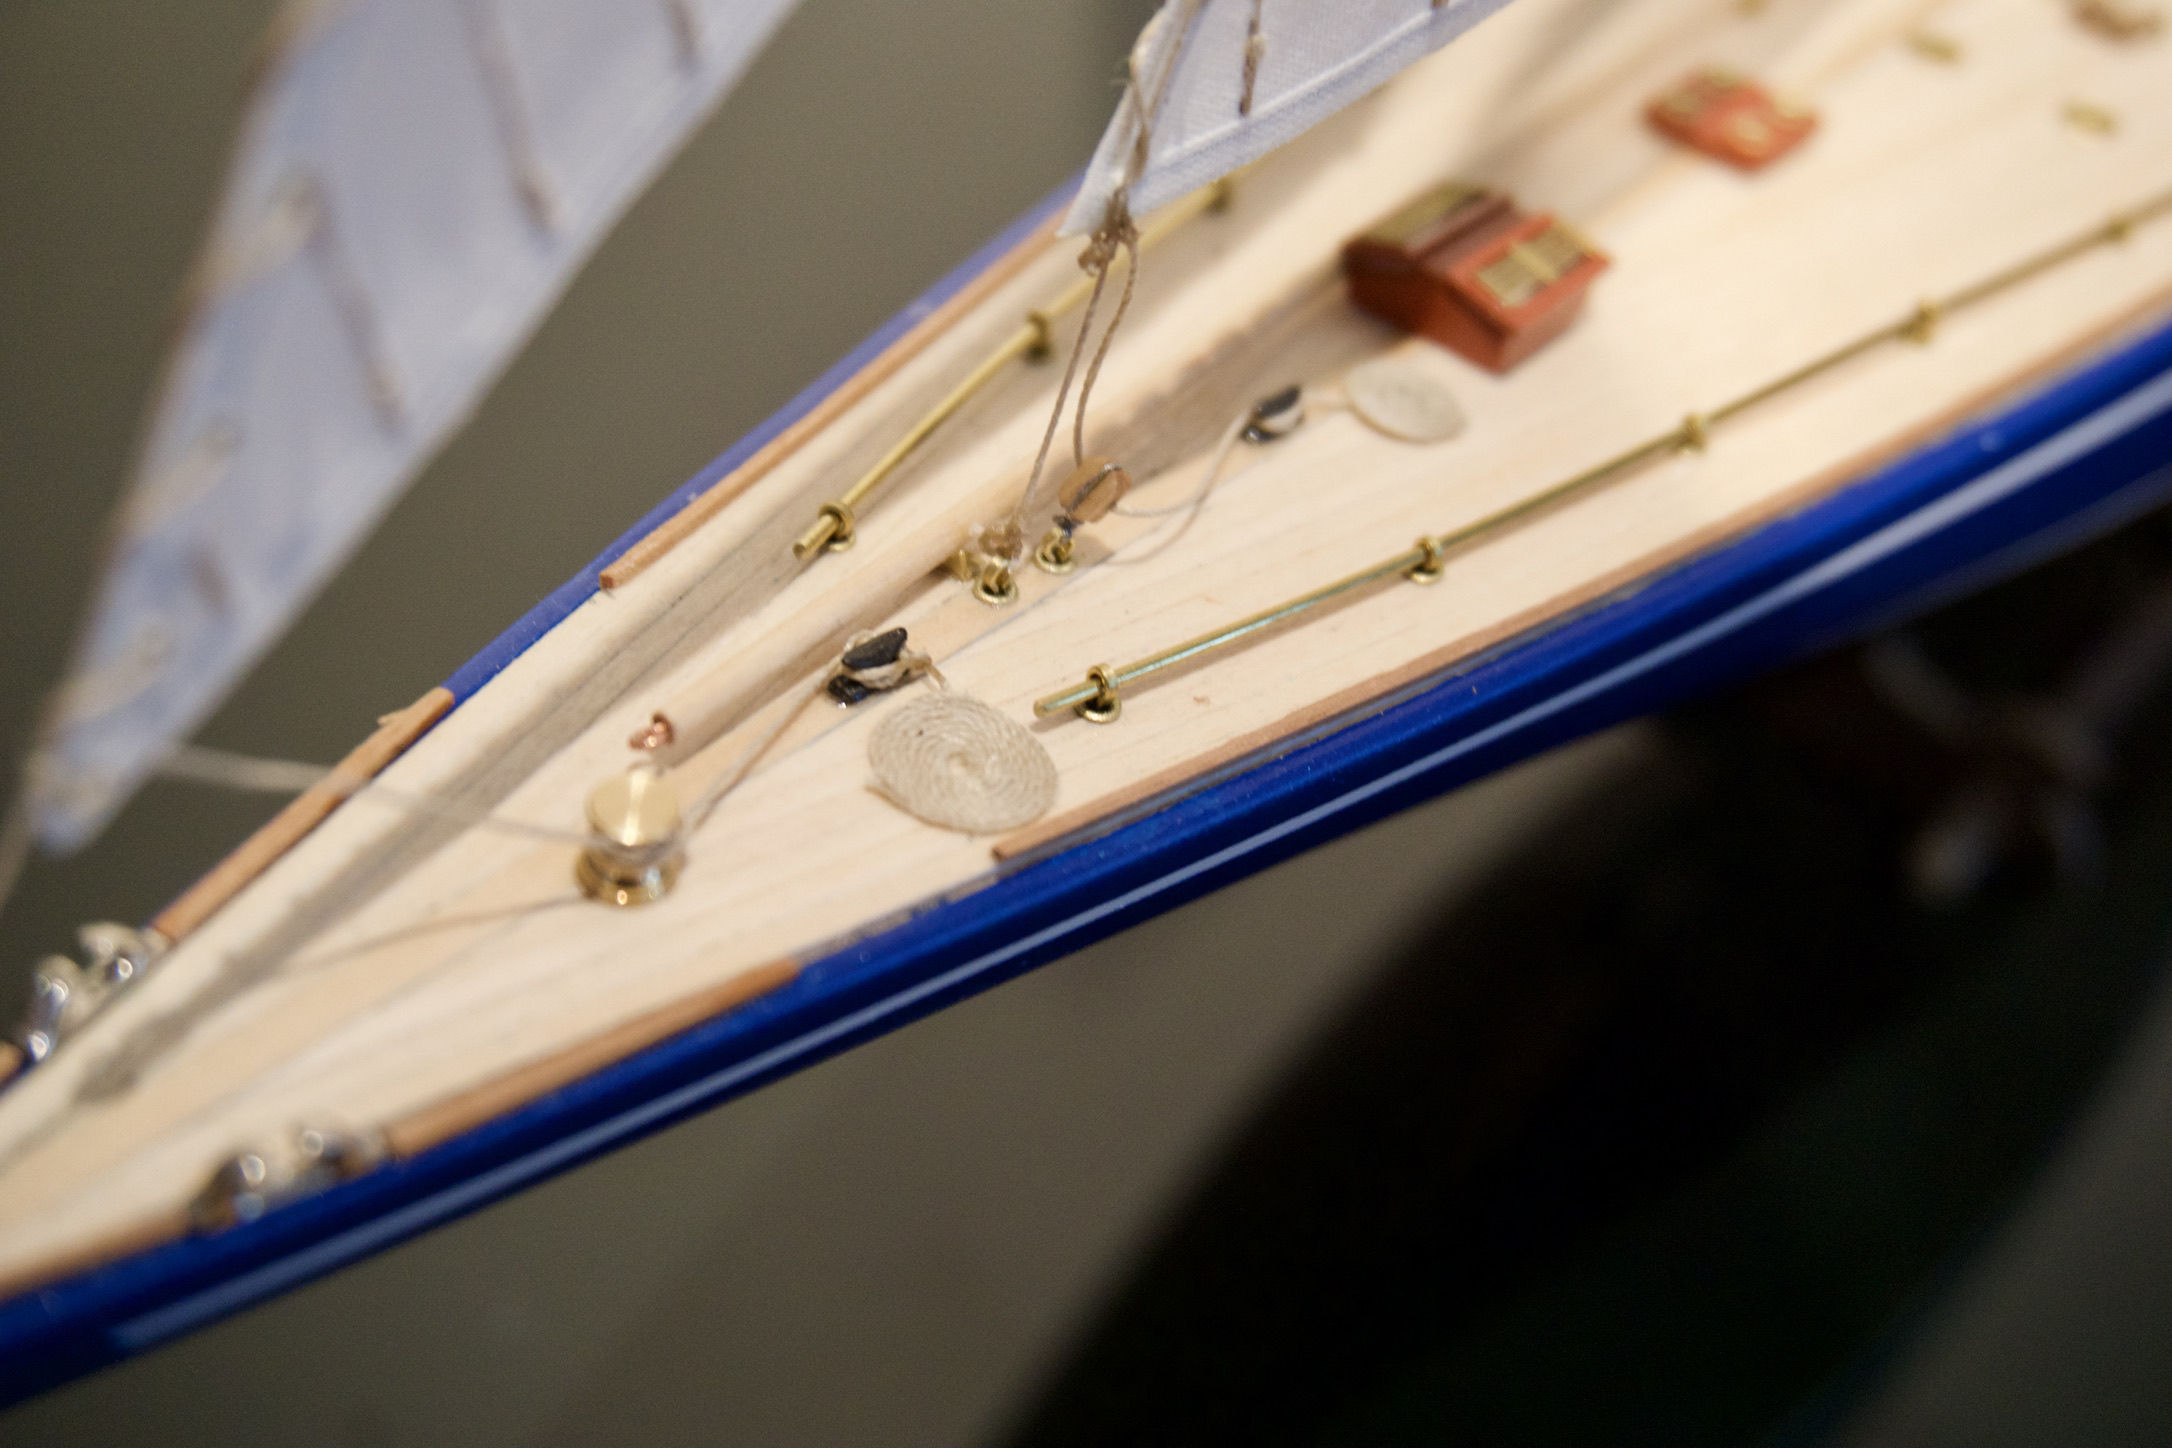
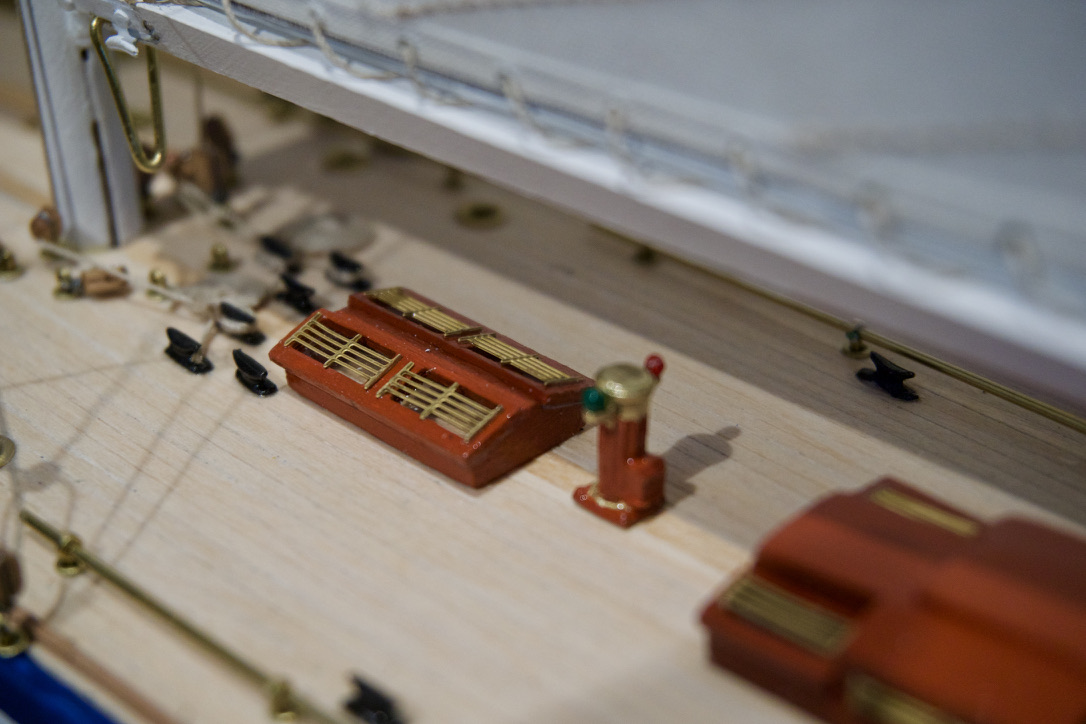
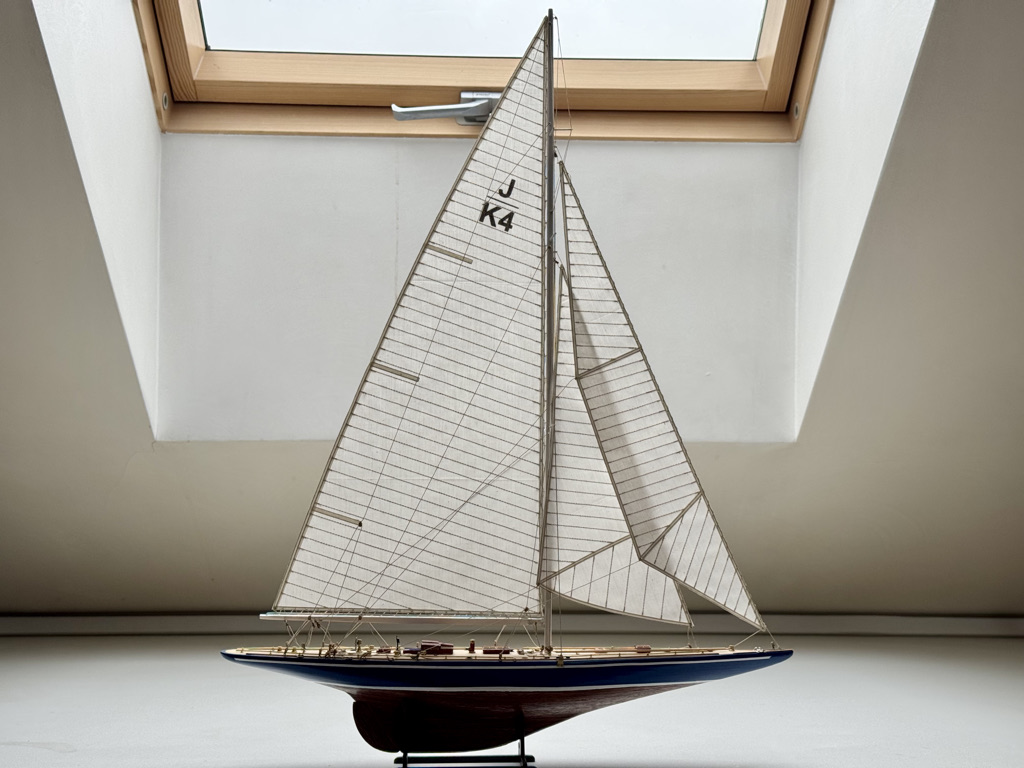
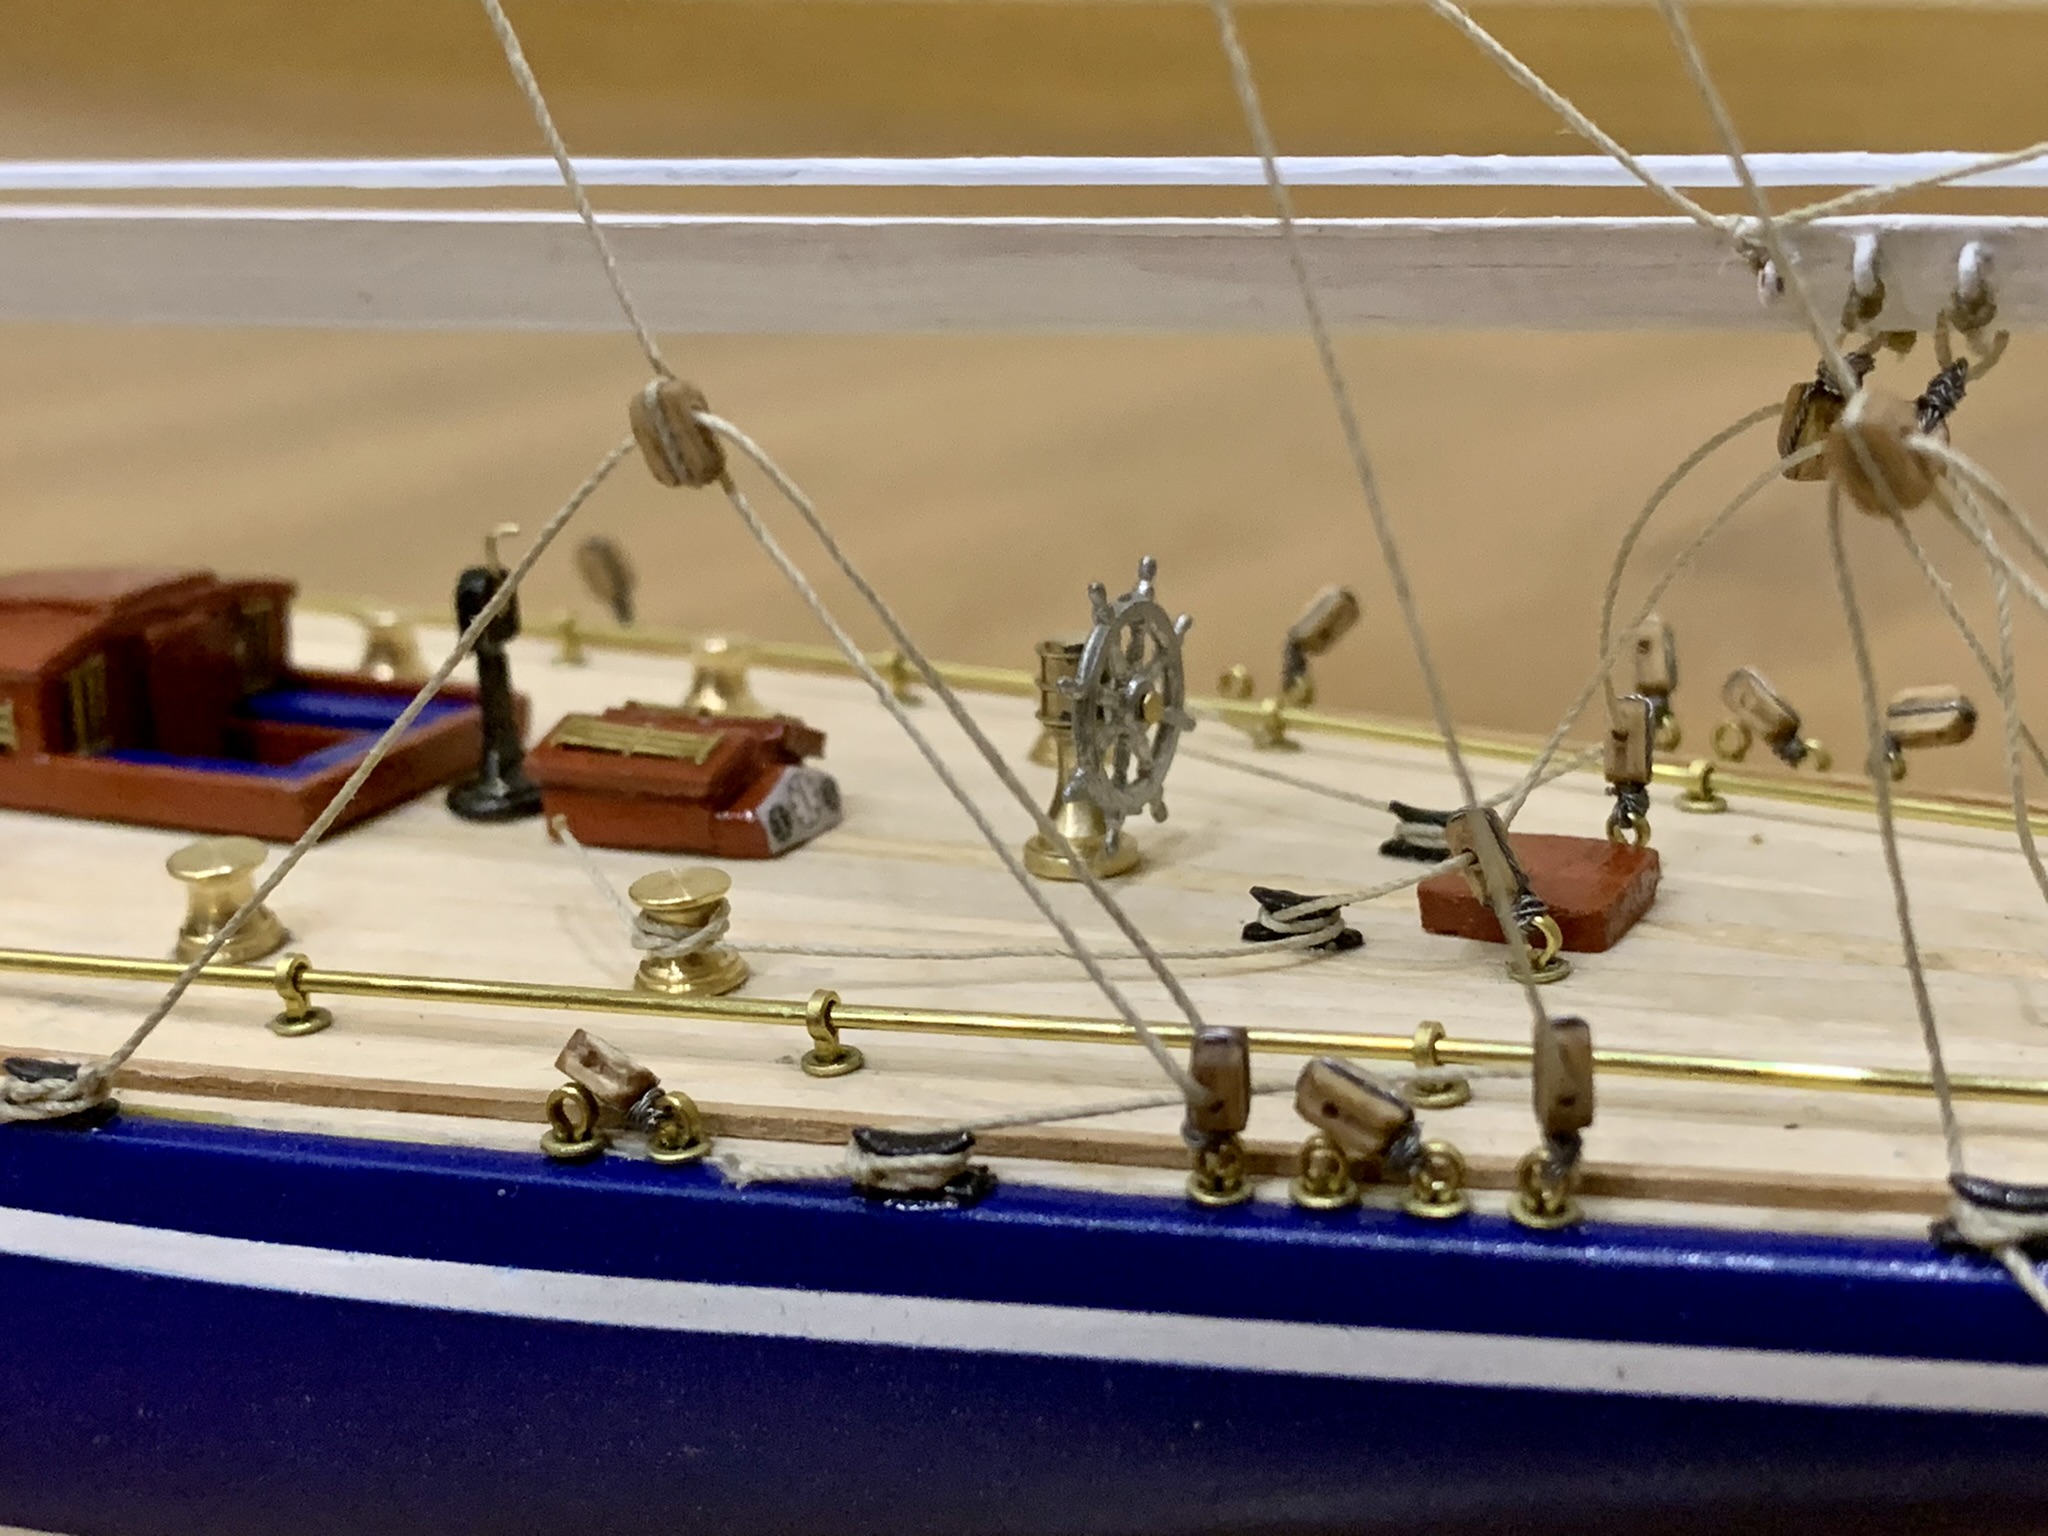
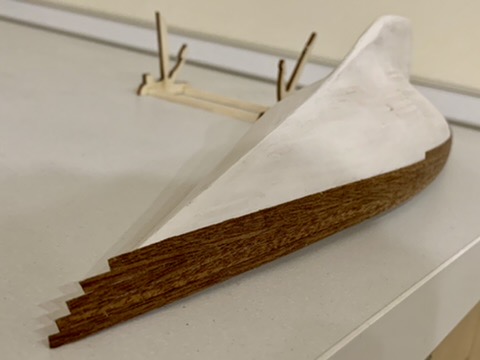
After the initial sanding of the hull, I go over all plank joints with fine sandpaper and apply a thin wood filler, closing small gaps and smoothing the transitions between strips. Particular attention is paid to the symmetry of both sides along the waterline, as any deviation is immediately visible on a sleek yacht hull. The second, “finished” planking in decorative wood defines the final appearance: the underwater part can be left under clear varnish, while the topsides are painted in the characteristic colours of the prototype.

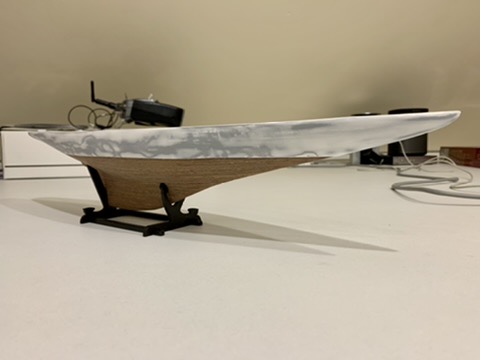
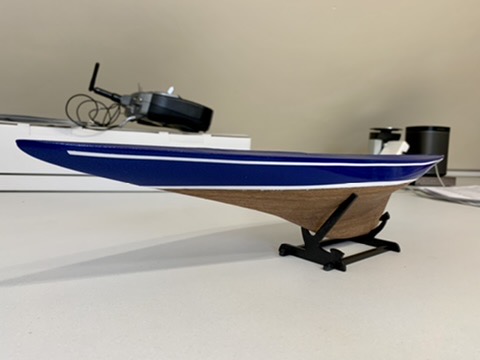
Painting the hull is easier if broken down into several stages: first the underwater area, then the waterline stripe, and finally the topsides. For a crisp waterline I use good quality masking tape, carefully burnished down around the tighter curves of the bow and stern. Varnish is applied in several thin coats with light sanding in between to achieve an even sheen without runs or orange peel. Once everything is fully dry, I install the rudder and test-fit the display stand so that all further work can be done with the model in a stable position.

↑ Back to all parts

Part 2

19.02.2022

Spars and standing rigging

The rig on Endeavour in this configuration remains quite restrained: a single mast with the mainsail, boom, and the gear for two jibs, which underlines the yacht’s racing character without overloading it with detail. The mast and boom blanks are carefully sanded to produce a gentle taper and smooth transitions in section, and then painted white. Particular attention is paid to the locations for spreaders, blocks, and rigging attachment points: these need to be aligned in height and kept symmetrical about the centreline so that the mast does not get pulled out of column once the rigging is tensioned.

It is convenient to assemble the standing rigging in stages: first the shrouds, then the stays that provide fore-and-aft support for the mast. Before locking anything in permanently, I true the mast up with a plumb line, and only then do I finally tension the shrouds and stays, aiming for even tension on both sides. Knots and junctions are touched with a little diluted glue or matt varnish—just enough to fix their shape without creating the look of “sealed” plastic cord.

The spinnaker pole on the model is stowed on deck, in the typical position used when the spinnaker is not set. It is important to integrate its mounts into the overall deck layout so that brackets and cradles do not interfere with the lead of the running rigging for the main and jibs. At this stage I also install part of the deck fittings related to the standing rigging—cleats, bitts, fairleads, and turnbuckle attachment points—so that later I do not have to return to the hull once the rigging is already under tension.

↑ Back to all parts

Part 3

20.02.2022

Sails and running rigging

The model is rigged with a mainsail and two jibs, which gives it the recognisable J‑class silhouette without the extra “festive” look of a full spinnaker rig. The kit sails are used as supplied: the cloth already has the panel layout and shapes matched to Endeavour’s sail plan. This removes the need for complete cutting from scratch and allows you to focus on refinement instead—stitching along the pre‑marked lines and finishing the edges. The additional stitching emphasises the structure of the sail cloth: up close you can see a neat pattern of seams, while at a normal viewing distance it adds a subtle texture that brings the surface to life. When working on the edges, it is important not to make the outline too heavy; a light, clean finish helps preserve a sense of scale and delicacy.

The running rigging is arranged around the working mainsail and the two jibs: halyards are installed first, followed by the sheets that define the set and shape of each sail. The work sequence is built from the head of the sails down to the deck: halyards first, then the main and jib sheets led to their respective cleats and bitts. Tension is kept moderate, avoiding an overly “drum‑tight” look, so that the sails appear properly filled rather than rigid. Lines of the running rigging are allowed to hang with a natural, slight sag where appropriate, which suits a yacht trimmed and holding a steady course.

↑ Back to all parts

Part 4

07.03.2022

Finishing touches

In the final stage I return to the hull, deck and rigging to remove the traces of construction work: small scratches, glue residue and loose fibres from the lines. A light polish of the varnished surfaces with a soft cloth helps even out the sheen and blend away any accidental matte spots.

Small details have a noticeable impact on the overall impression: the wheel, hatches, guardrails and deck fittings pull the whole picture together. It is worth bringing all metal parts to a consistent visual standard, avoiding a patchwork of different tones and finishes.

↑ Back to all parts

Project Specs

Model
Endeavour
Scale
1:80
Manufacturer
Amati
Length
480 mm
Historical Year
1934
Total Parts
4
Status
completed