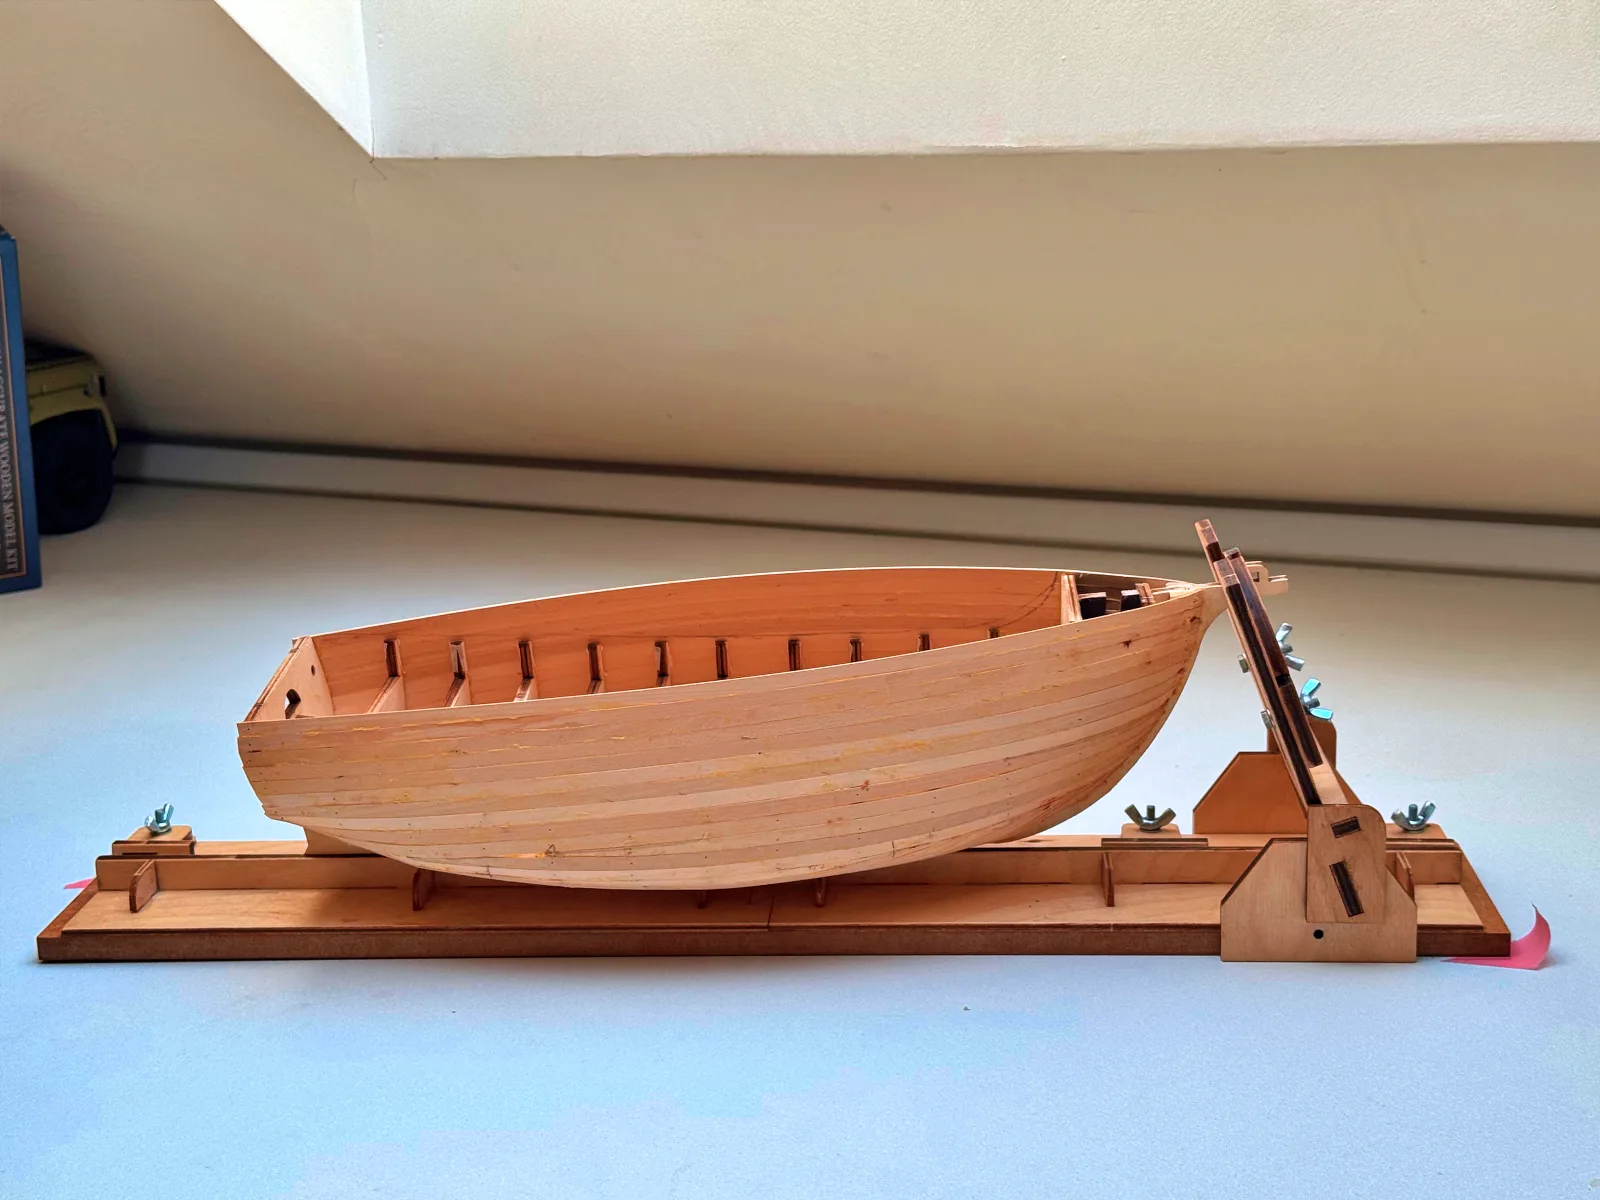
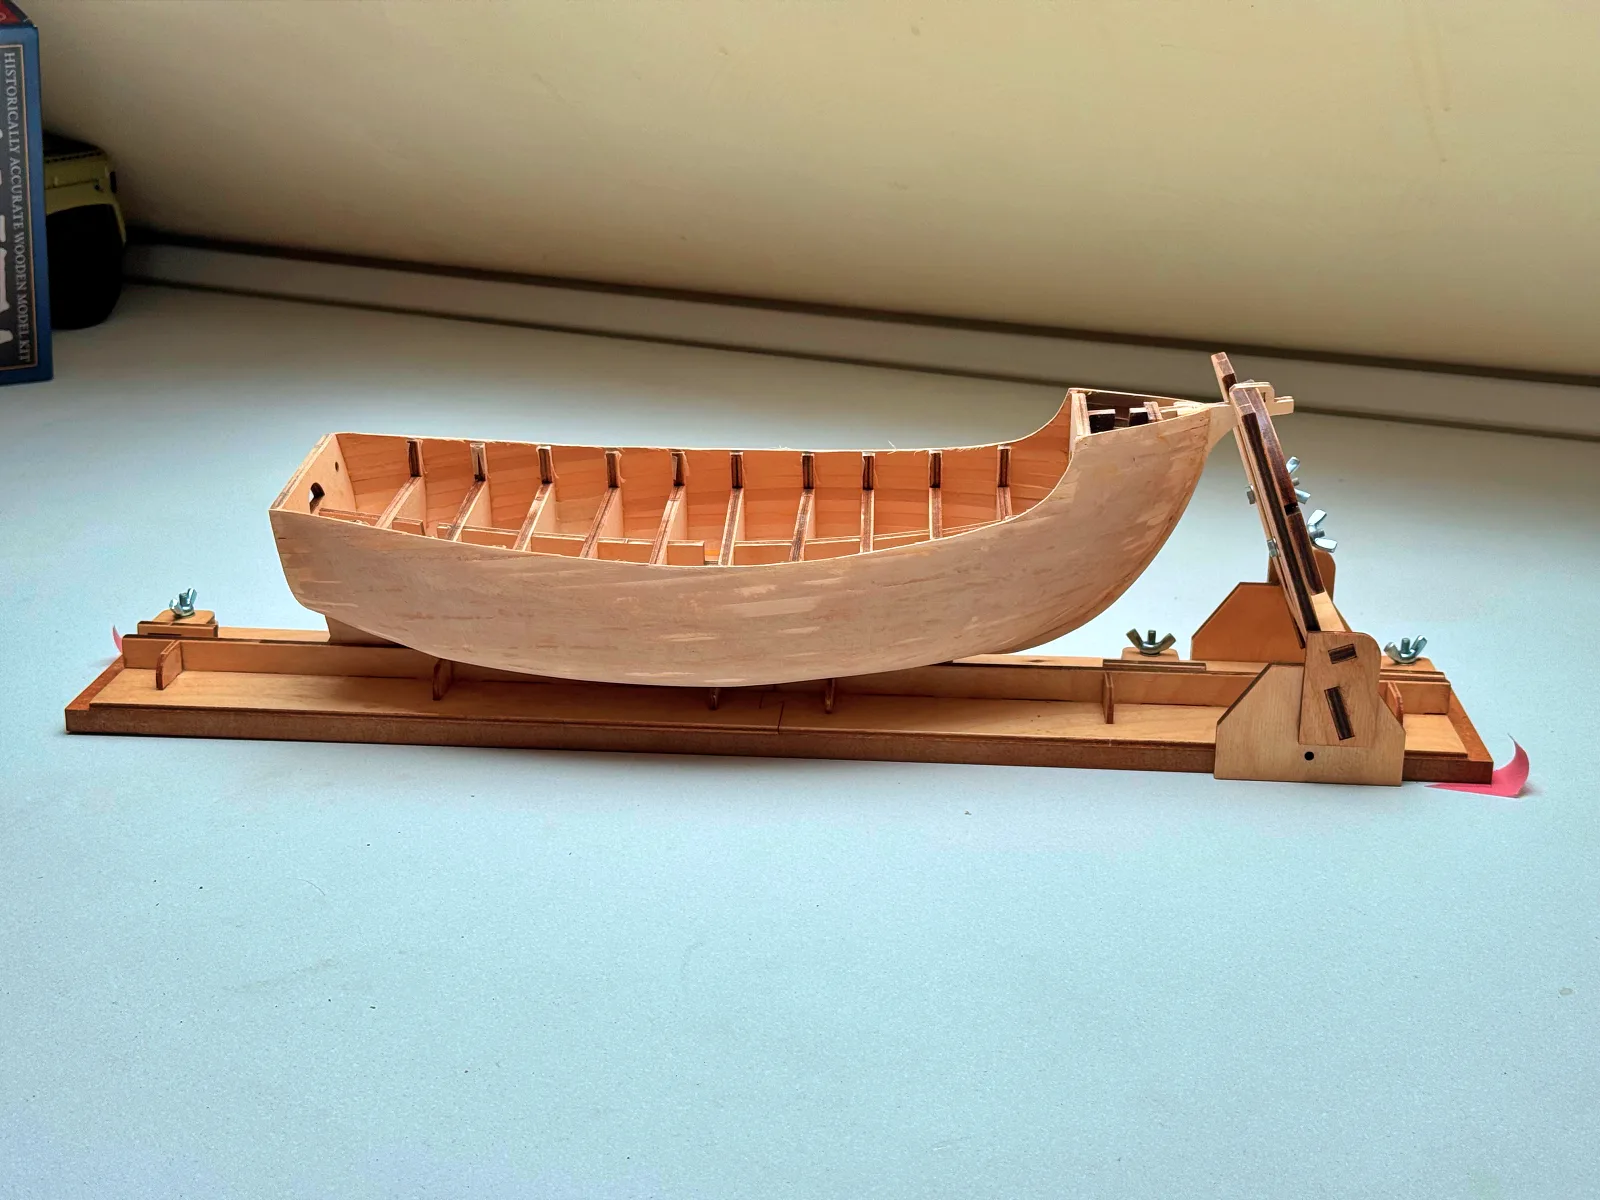
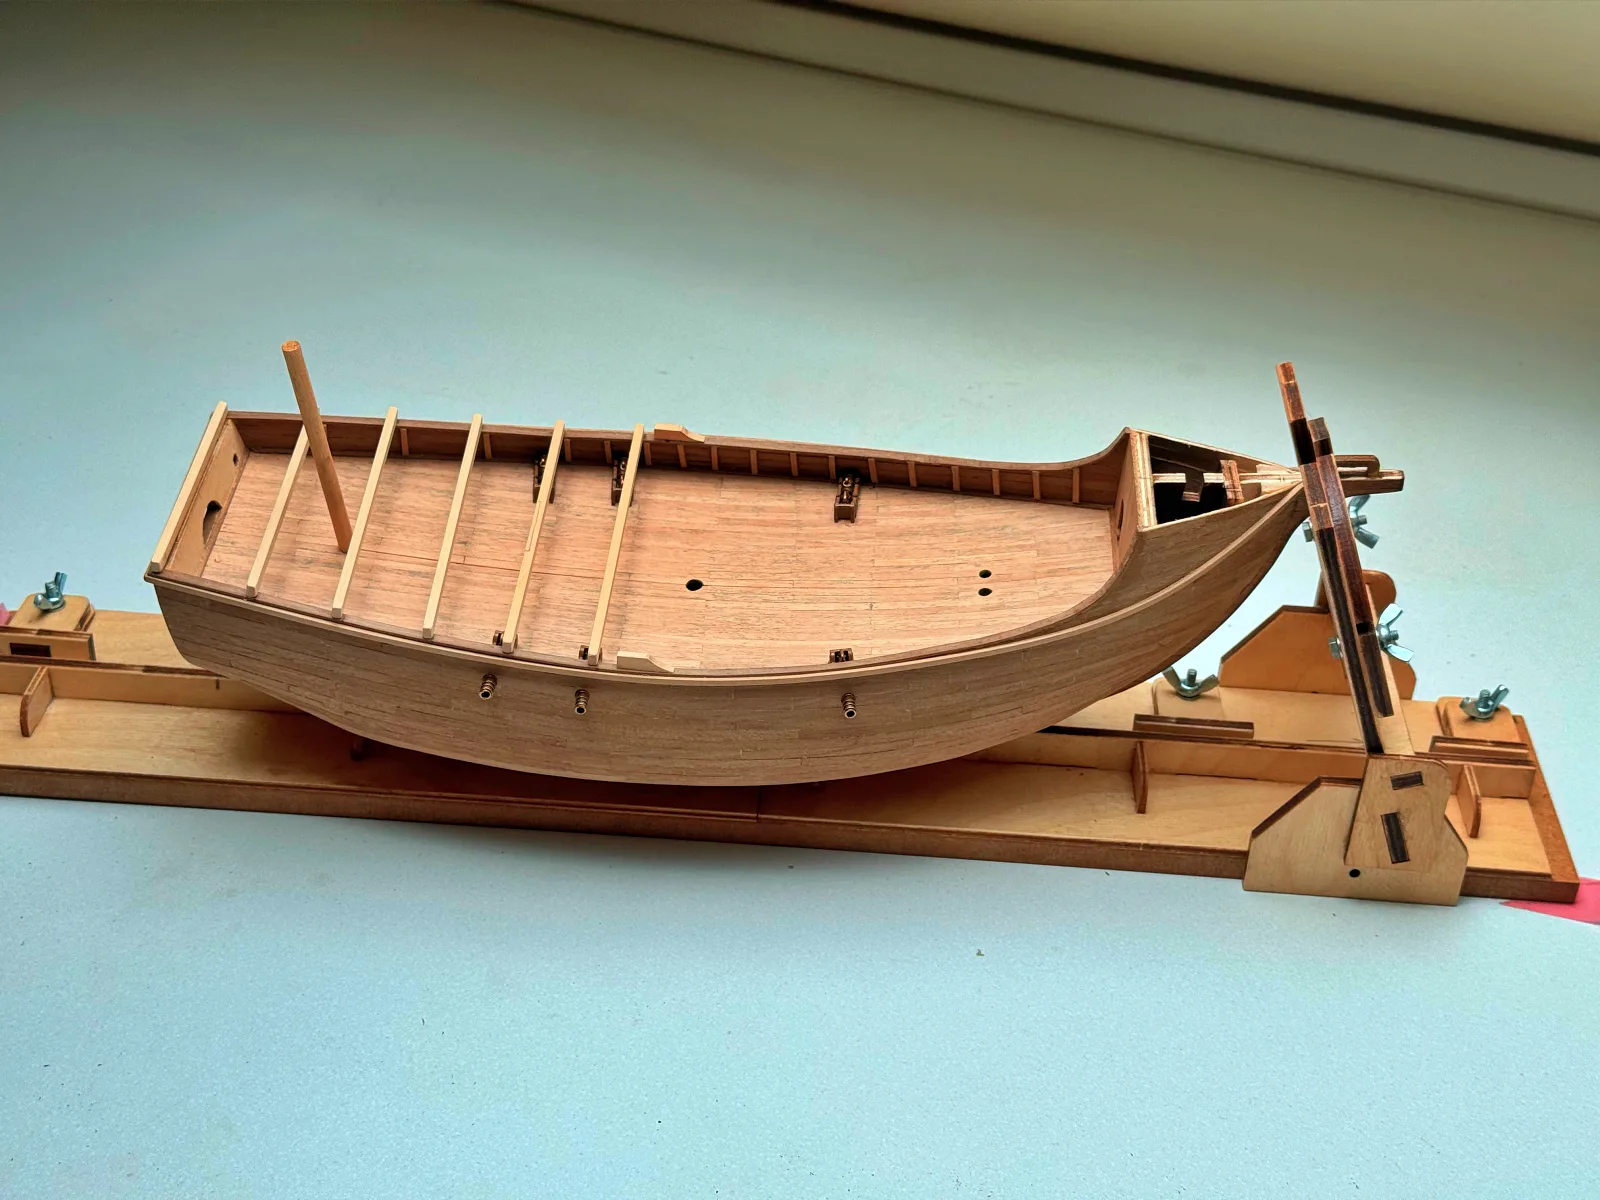
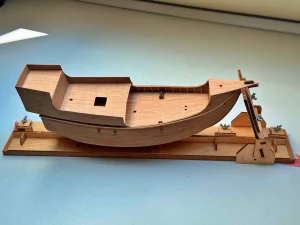
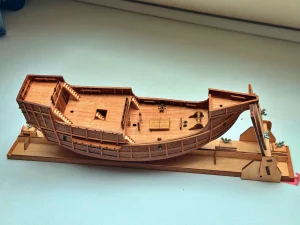
With the main hull structure complete, it is time to move on to the deck. Santa Maria, modelled here as a late fifteenth‑century carrack, is characterised by pronounced fore and aft castles, so in addition to the main deck I needed to build the quarterdeck, which takes up roughly half the footprint of the main deck, as well as the smaller platforms of the fore and stern superstructures.
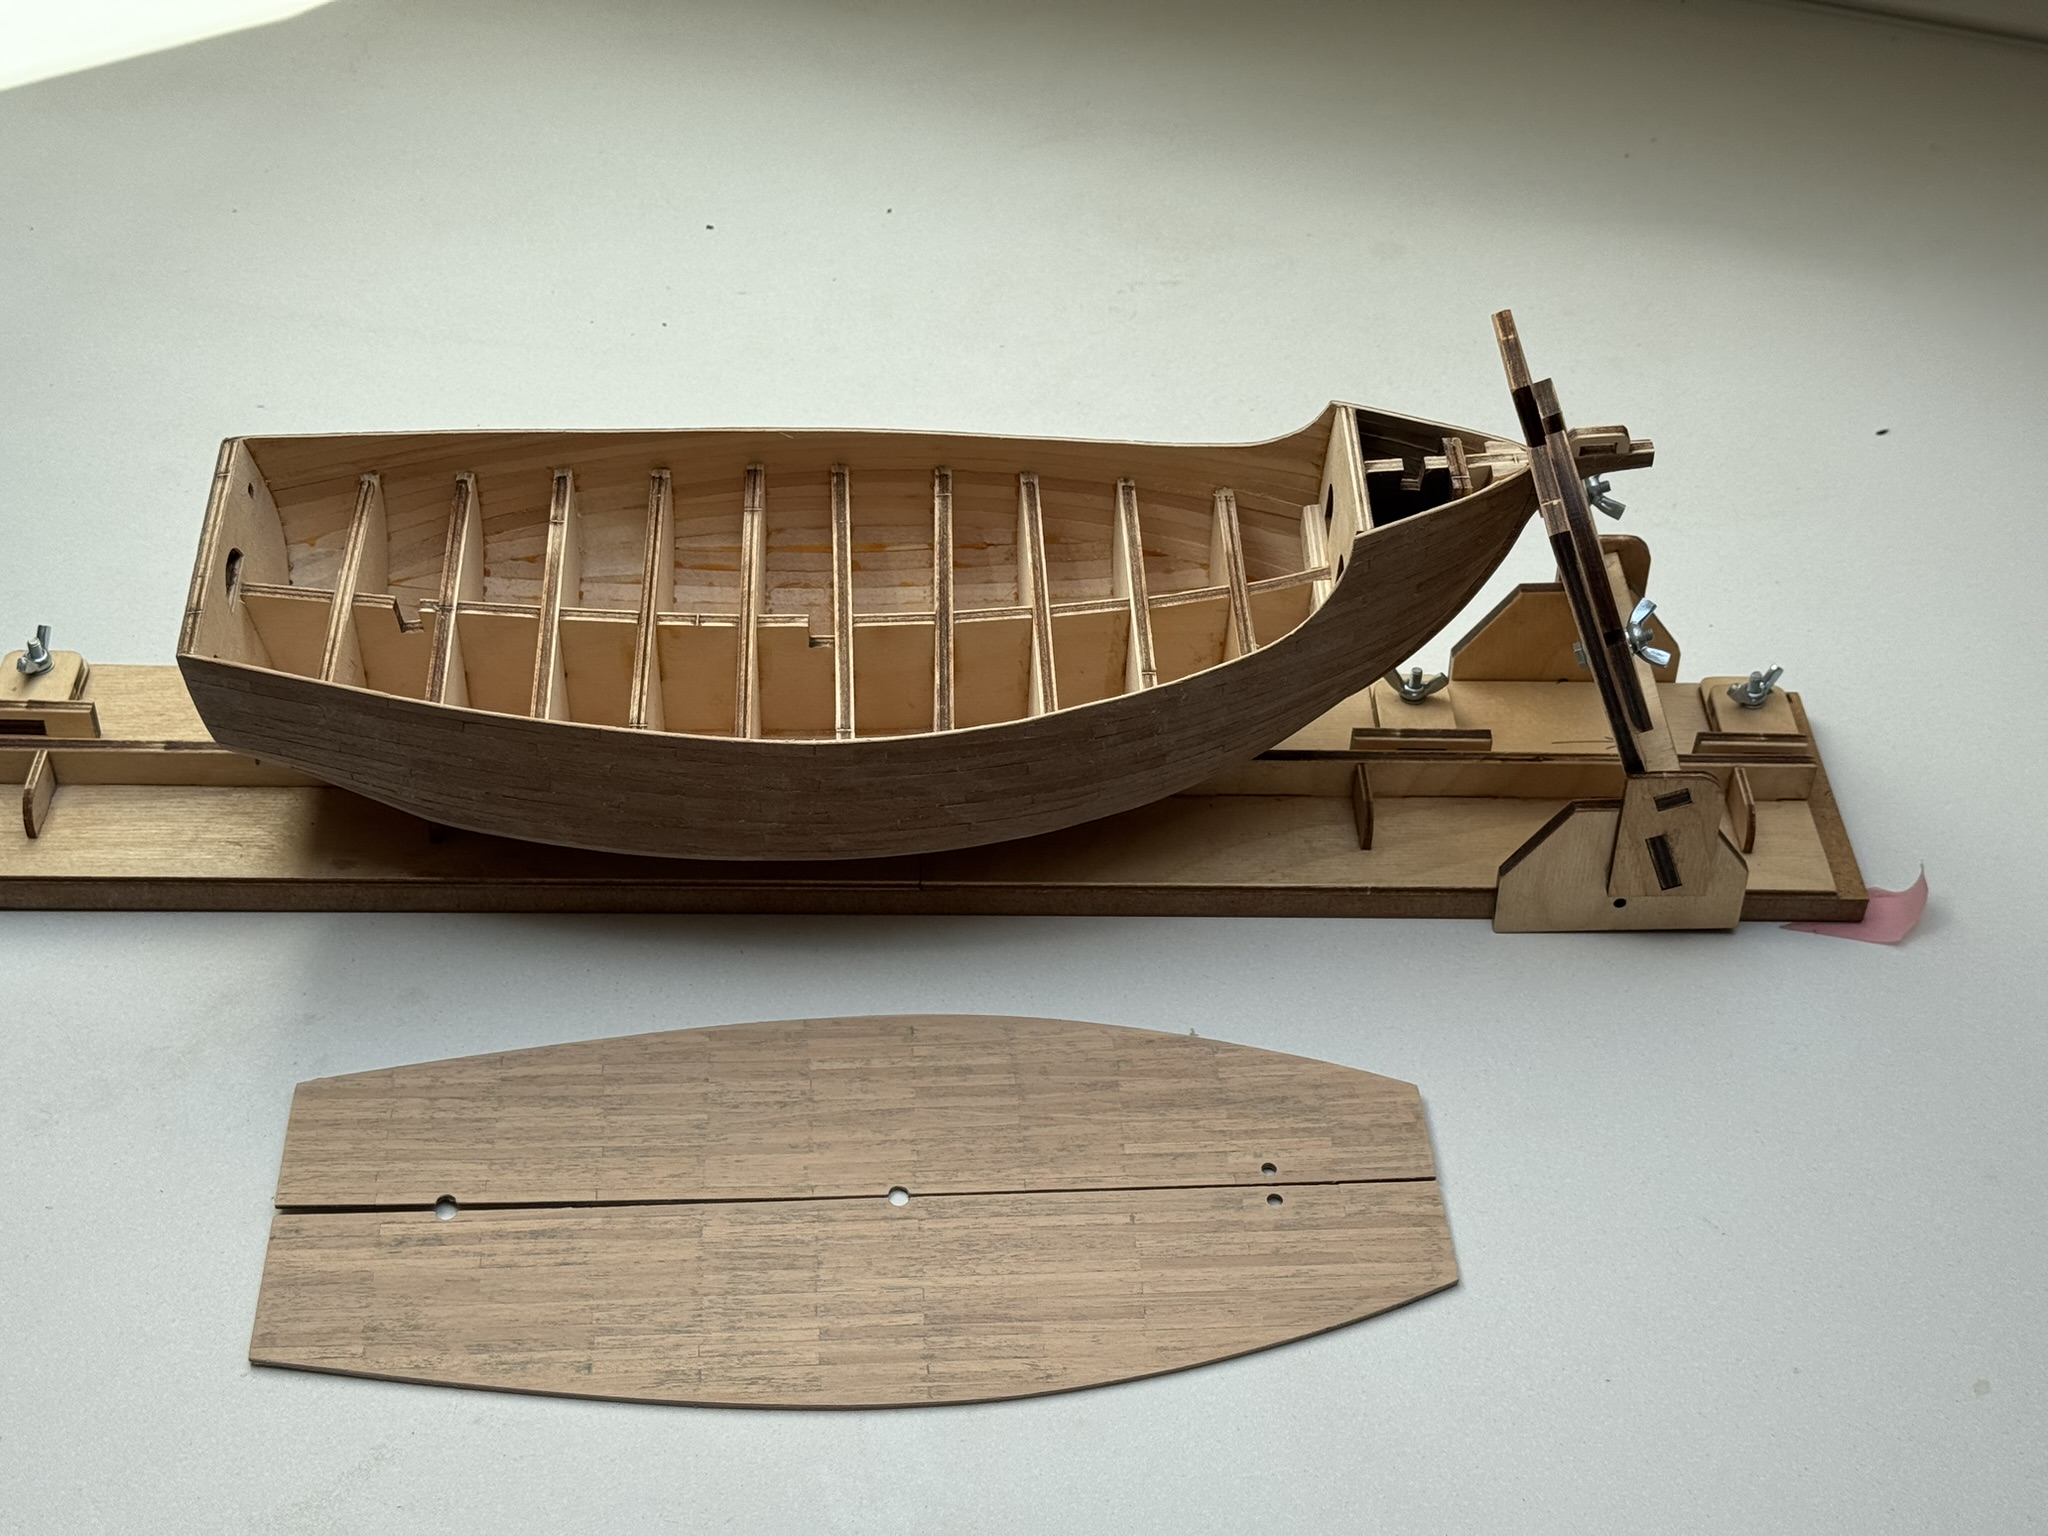
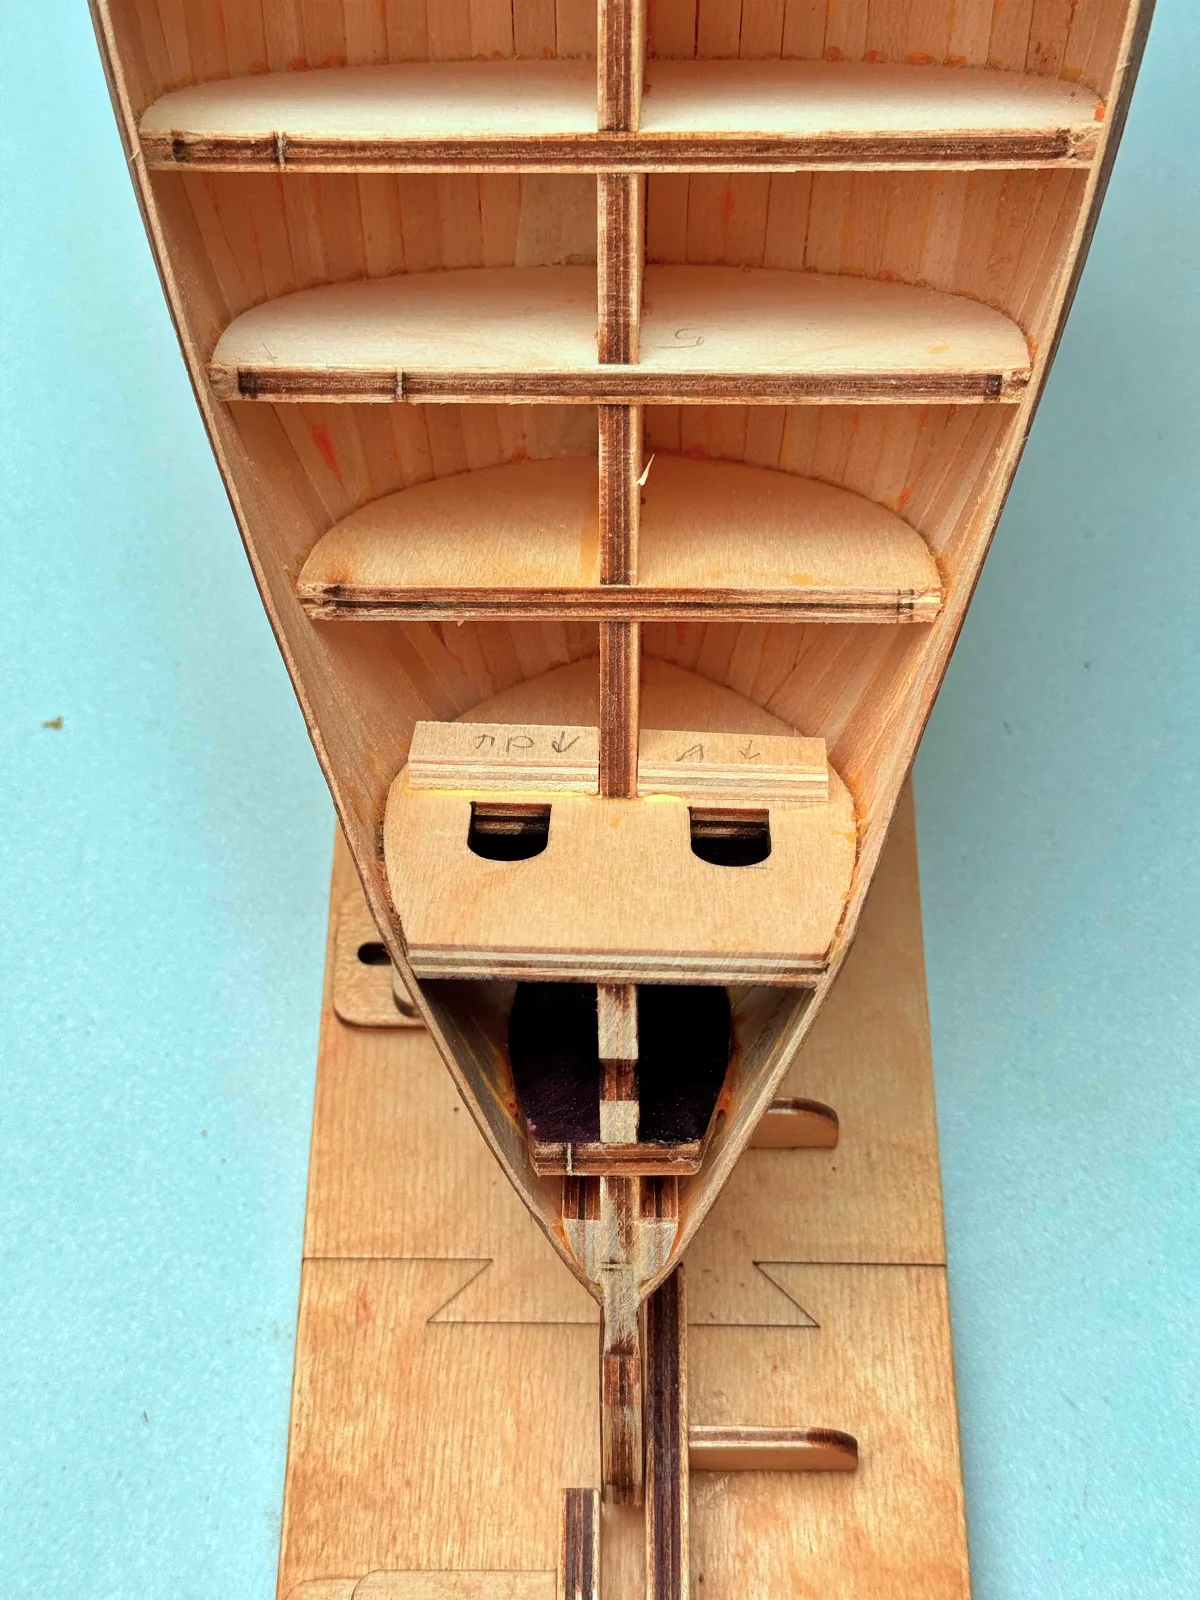
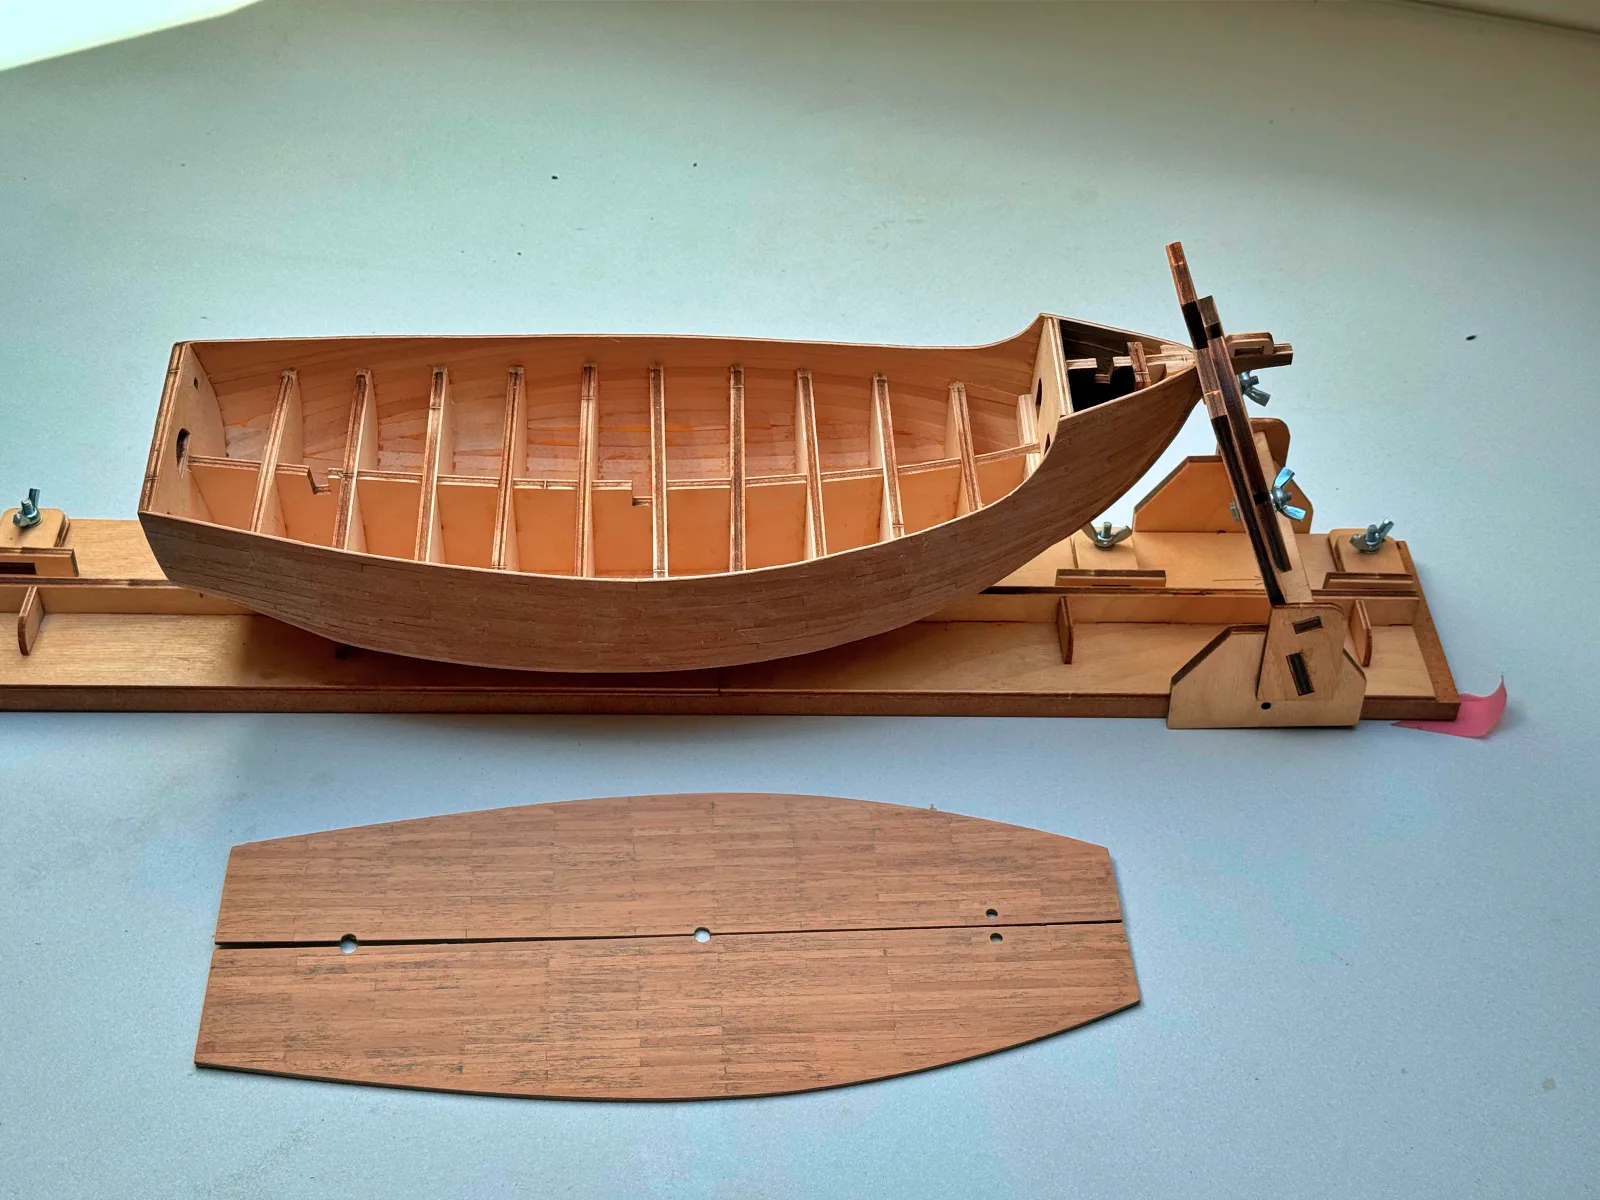
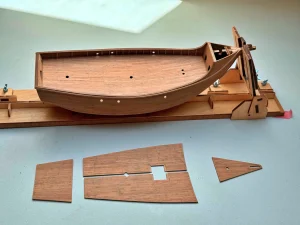
The deck planking is laid from individual 1 mm thick strips onto a 1 mm plywood base. The deck comes in two halves that have to be joined, so it is critical to align the planks along the centreline seam to keep the joint invisible on the finished model.
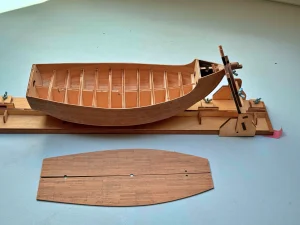
Once the blank is planked, the deck is trimmed to its final outline directly against the hull, because the actual dimensions can differ slightly from the printed plans, and even a small mismatch will be noticeable. Minor gaps will be hidden later by the waterway, but the more accurately the deck fits now, the better.
For filling the plank seams this time I decided to experiment. Instead of my usual approach, I used a resin‑based furniture repair paste: it is rubbed into the rough planking, the excess is immediately wiped off with a paper towel, and then the whole deck is sanded smooth. The end result is up to you to judge.
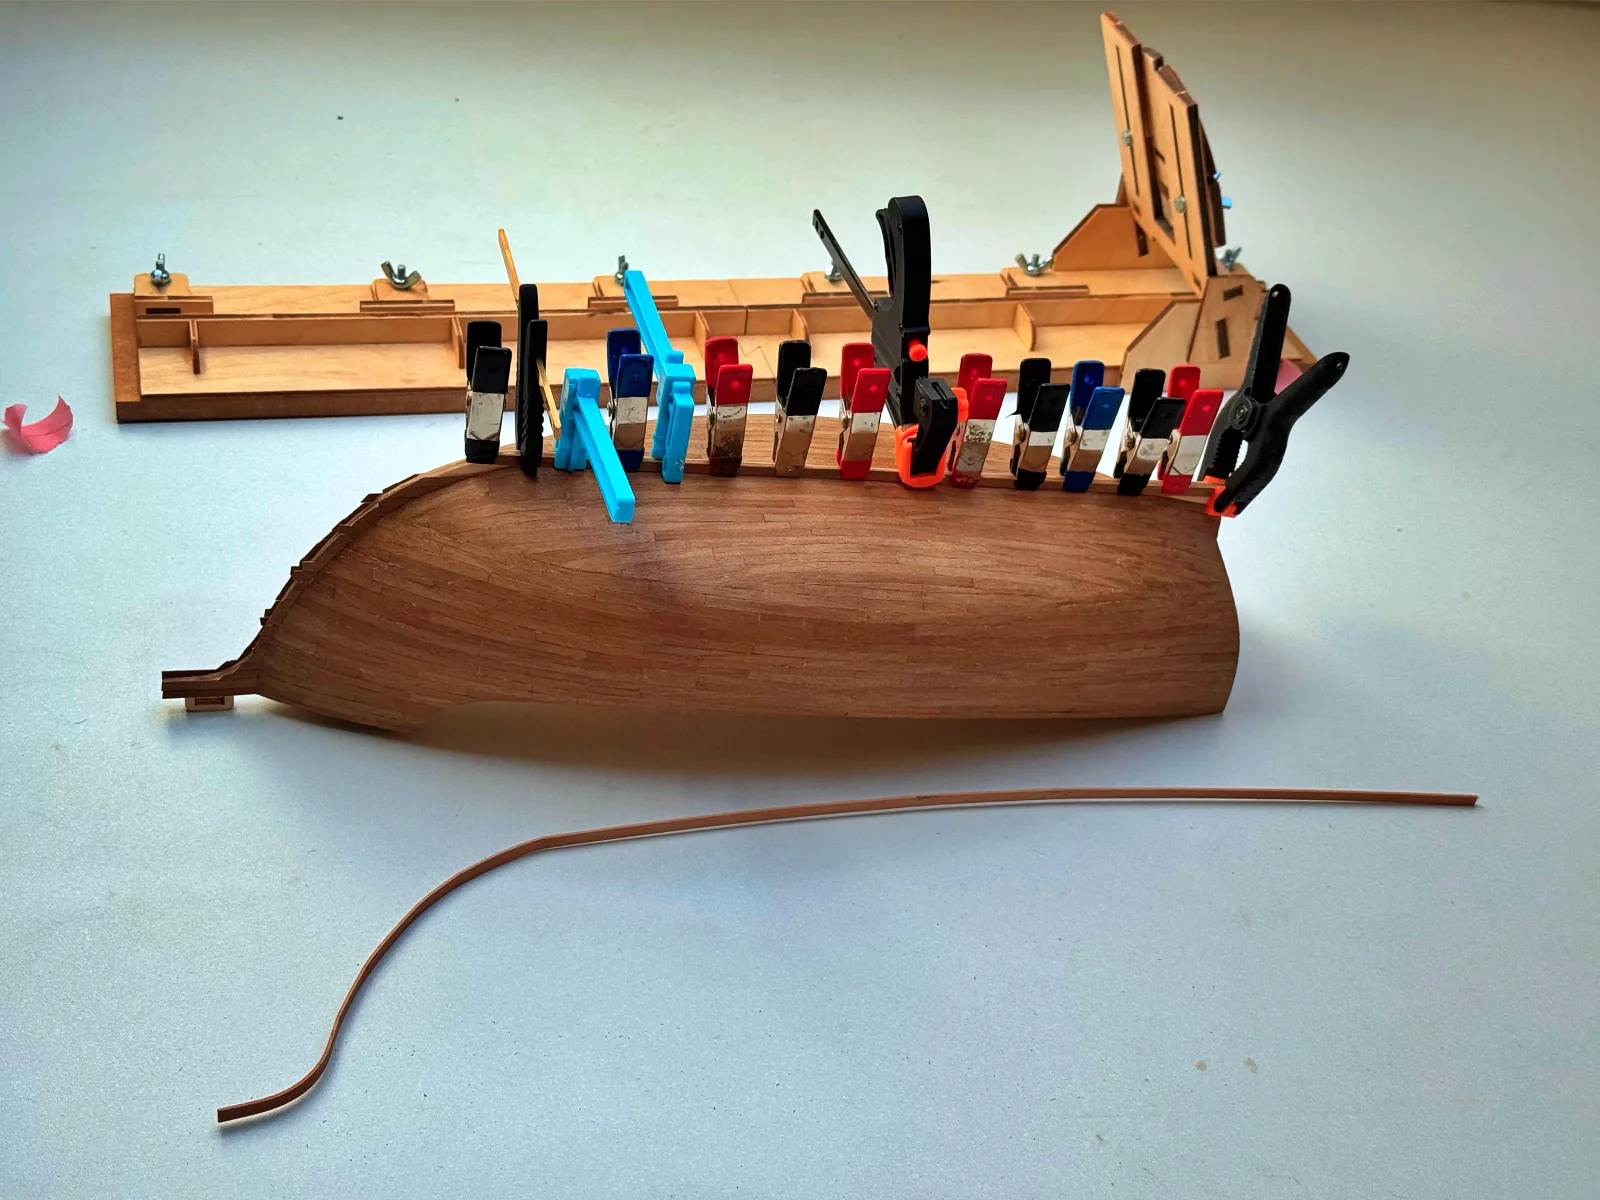
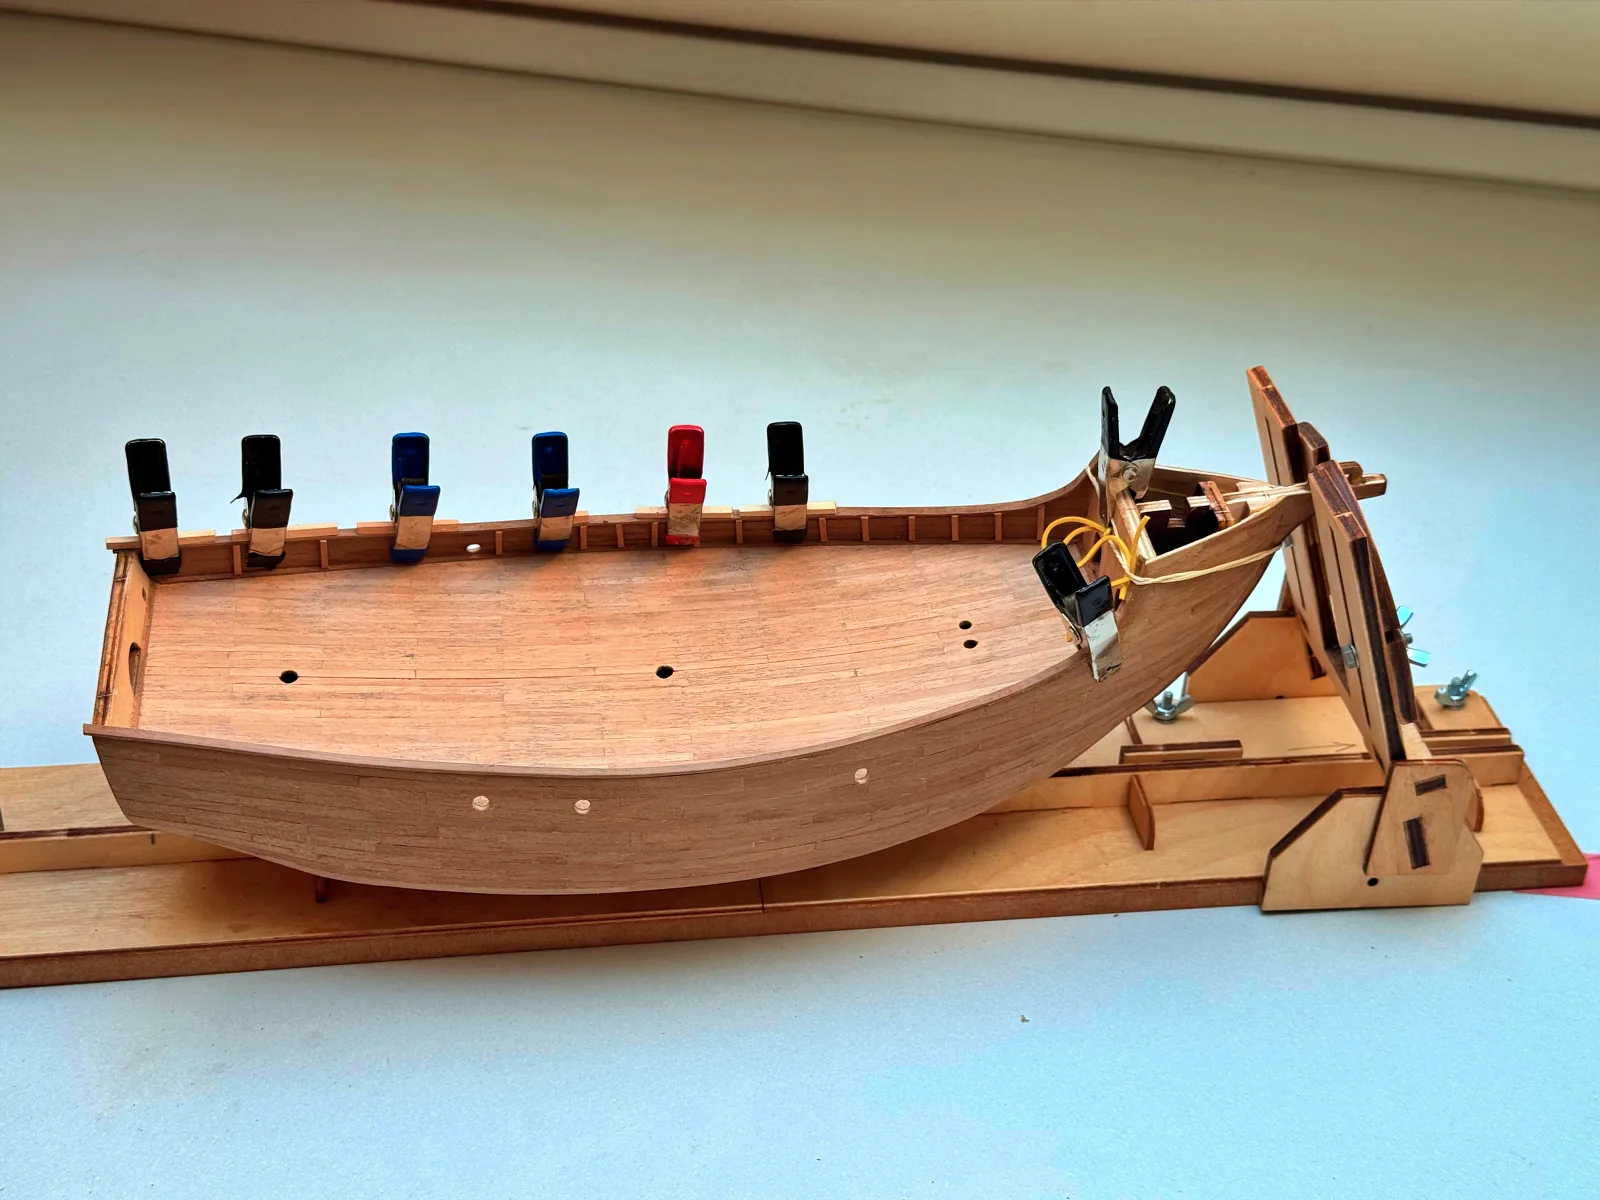
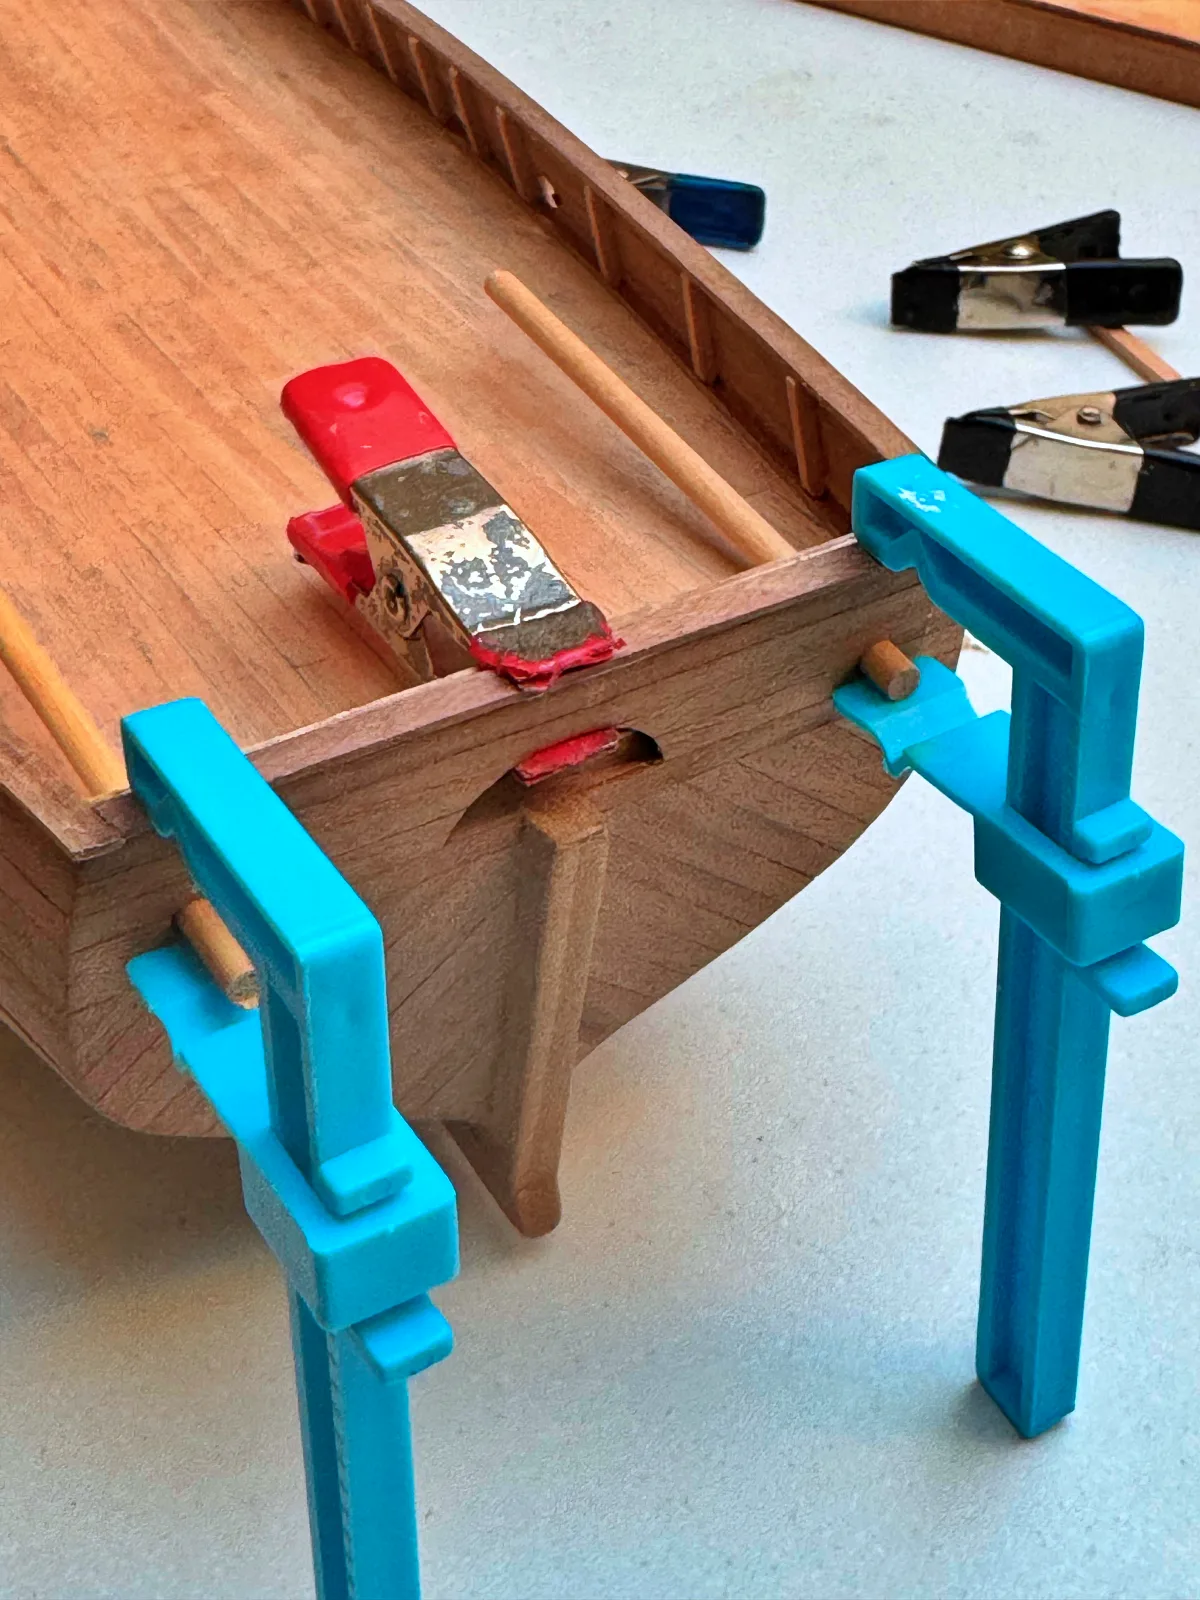
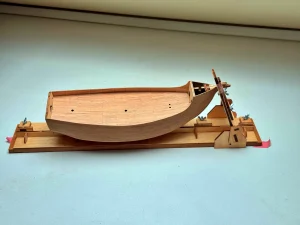
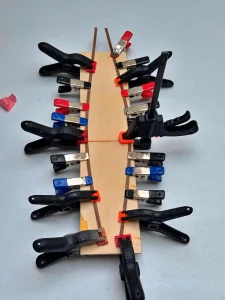
The main deck is glued in first. After that, I install the waterway from two 1×1 mm strips, which is a very convenient solution because it avoids bending a wider strip across its wide face. Then the caprail goes on. This piece, however, requires bending in two directions: across the beam and in height. I first form the horizontal curve across the wide side and let it dry completely, and only then, using water and a heat tool, very carefully bend it vertically.


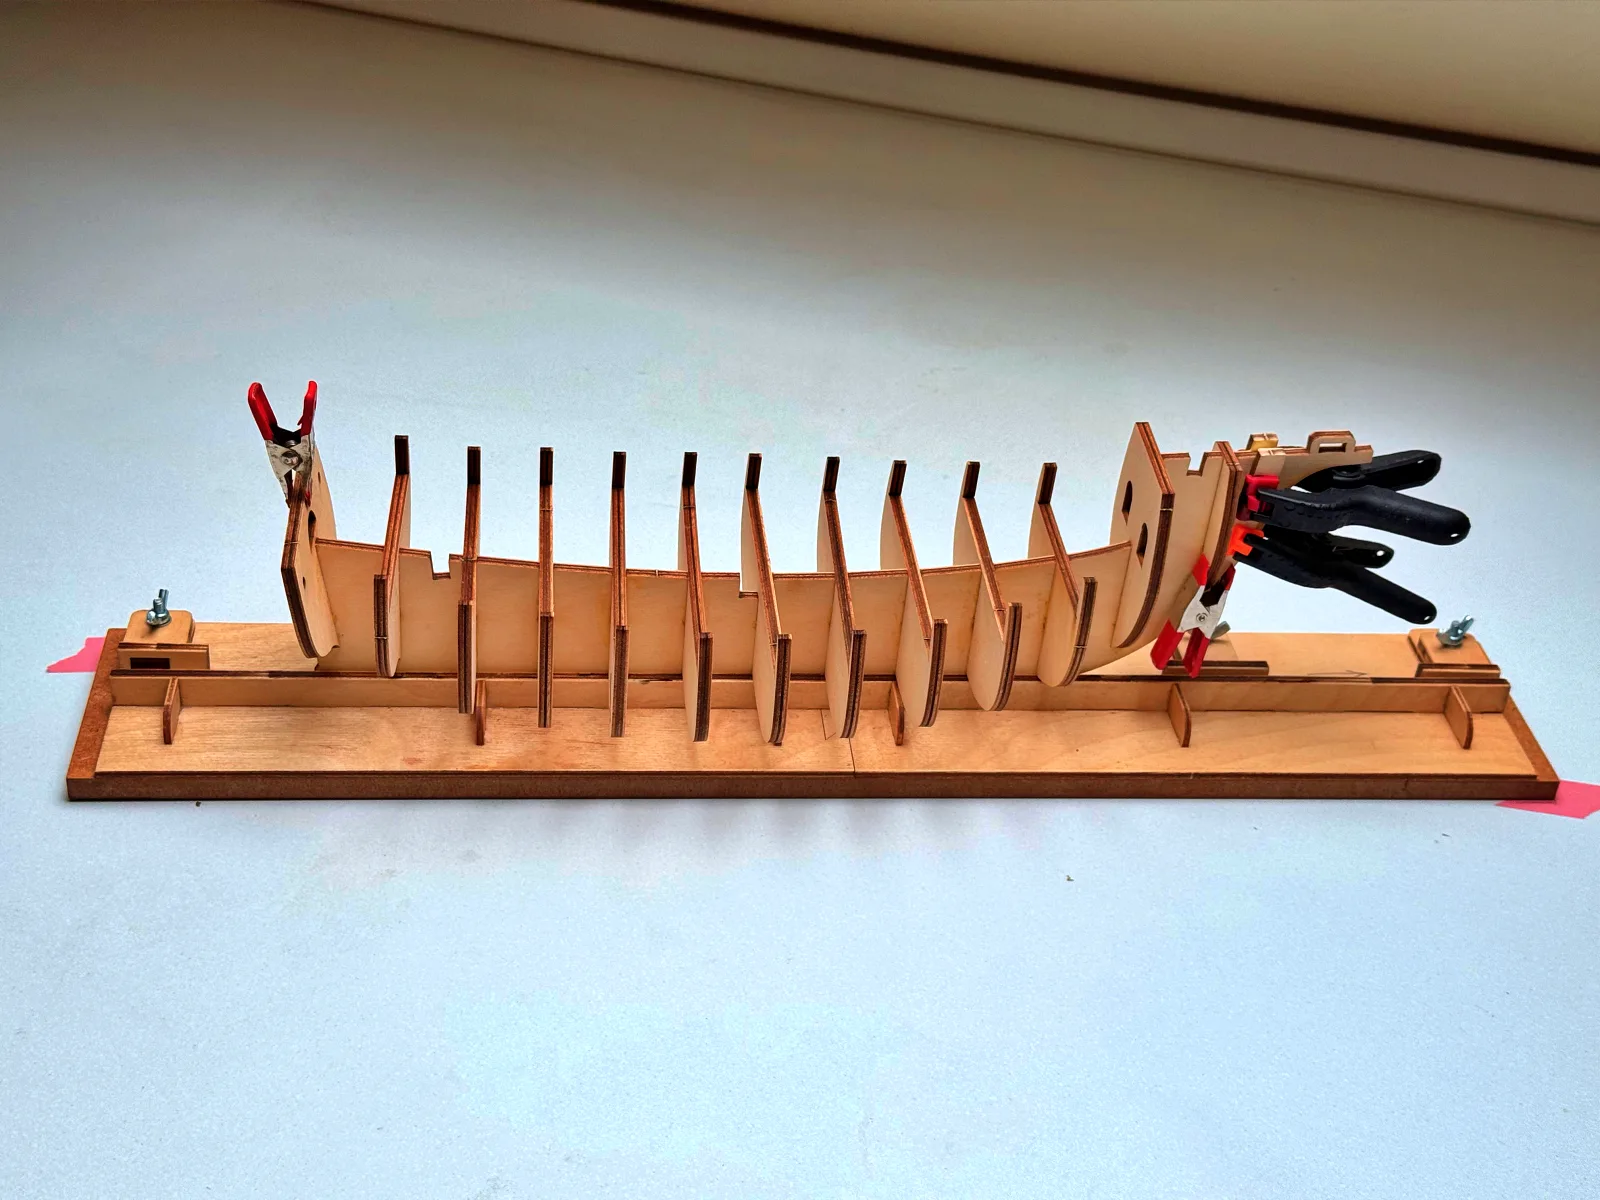
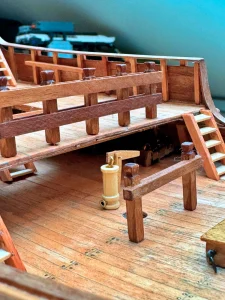
Before laying the quarterdeck planking, the beams need to be installed. Here the first surprise appears: the kit provides these parts in limewood. The beams remain visible on the finished model, at least partially, so it would have been more appropriate to include walnut stock in the box. I solved it with stain instead.

Apart from this nuance, all deck sections went in without any major problems.
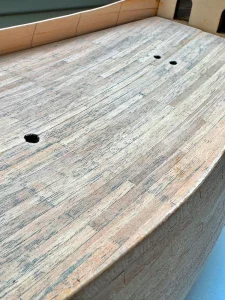
For the nail simulation I went with a proven method and skipped further experiments. I drill 0.6 mm holes (a pair at the end of each plank), insert thin wire pieces and sand them flush.
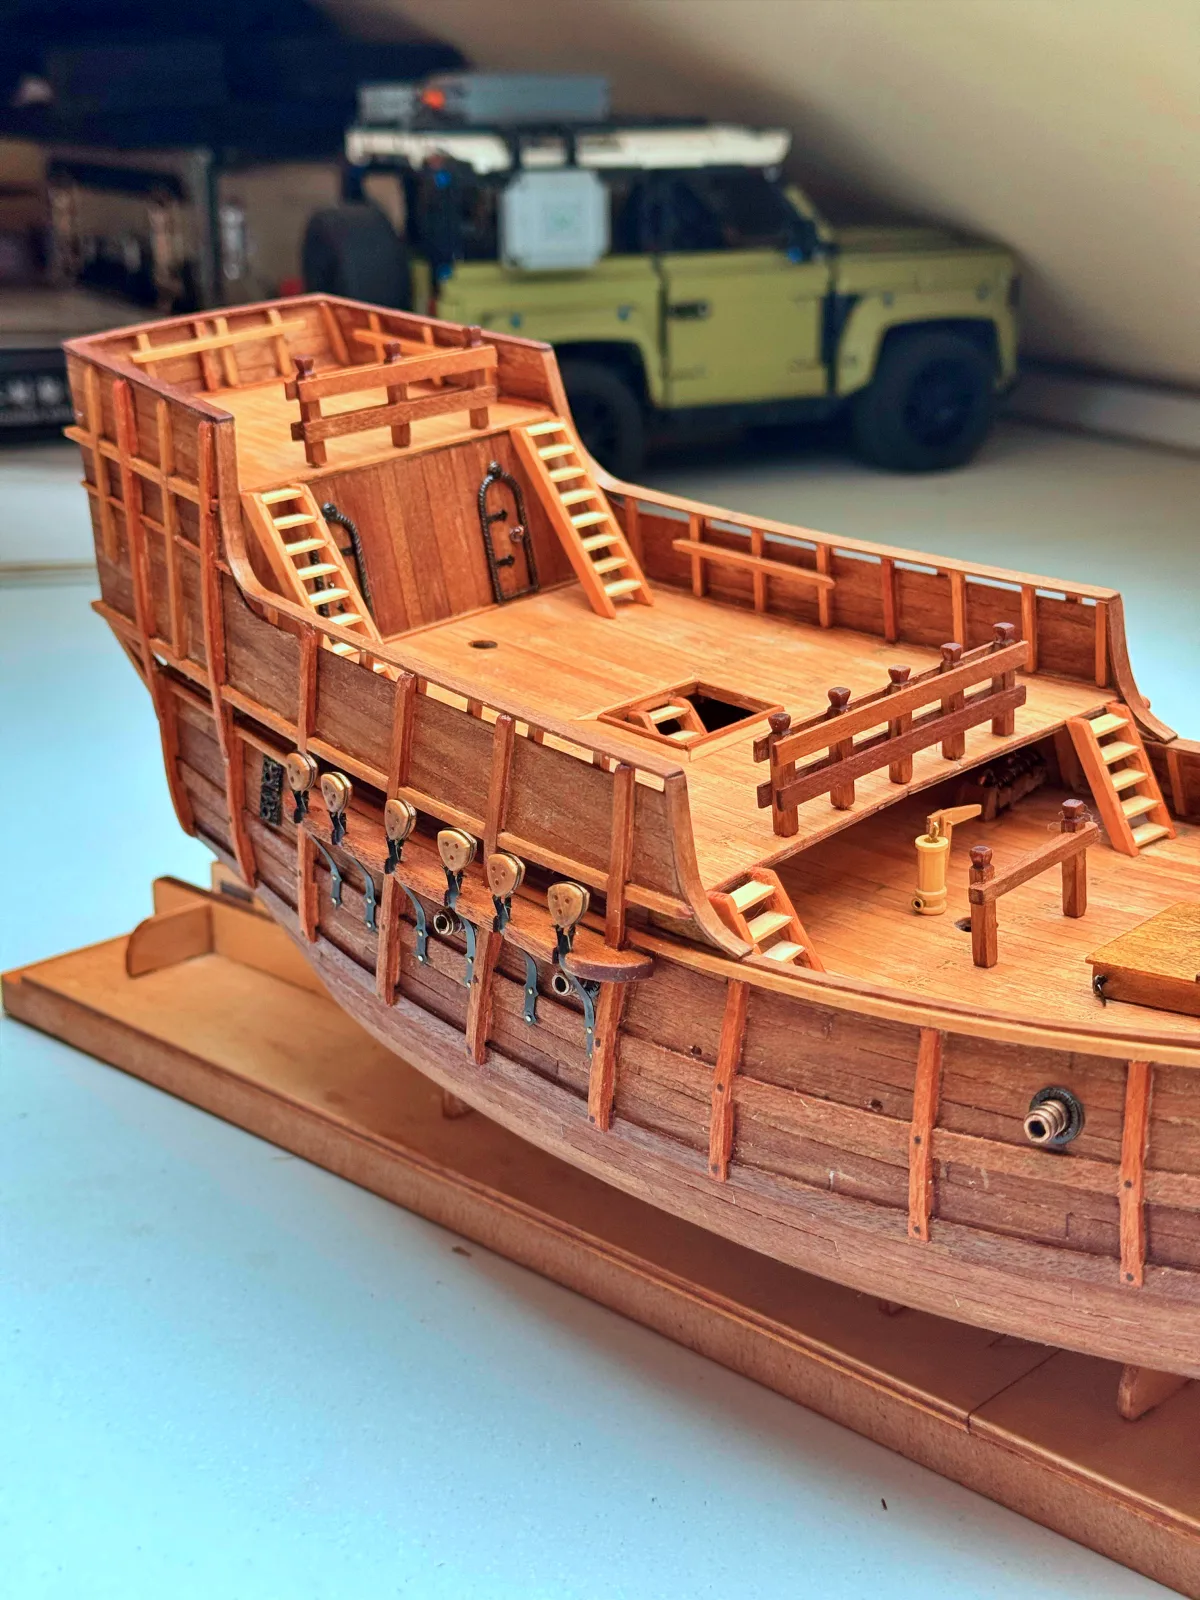
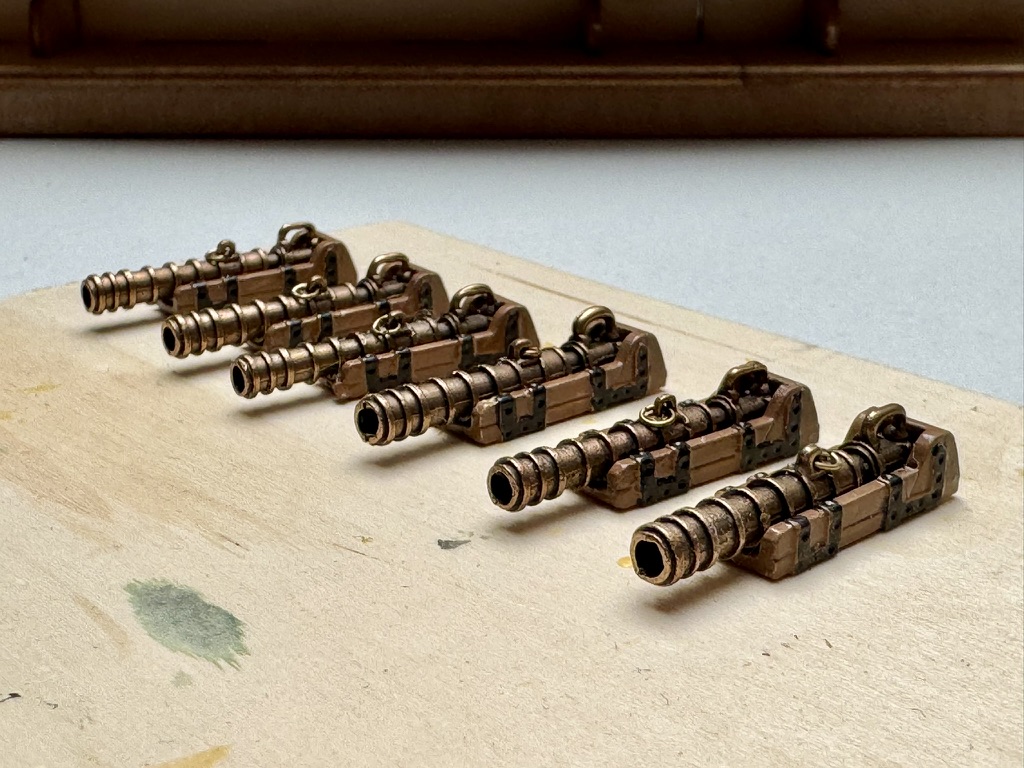
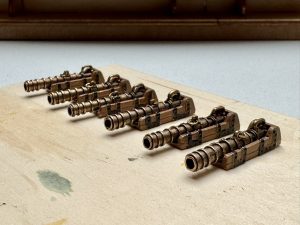
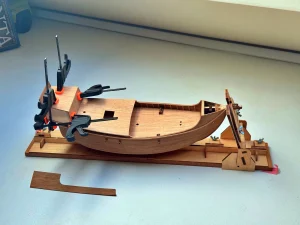
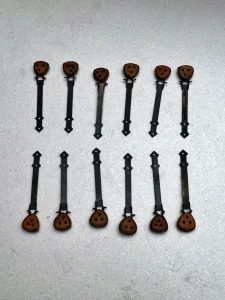
The guns are a story of their own. The main problem is that nobody knows for certain what the ship actually looked like. Many modern reconstructions show four bombards grouped around the quarterdeck area, but it is unclear whether they were placed directly on the quarterdeck or on the main deck beneath it. Why the Amati kit includes six such guns is also open to speculation, but given how little is known about the ship’s real layout and armament, I consider this acceptable and decided not to modify the kit.
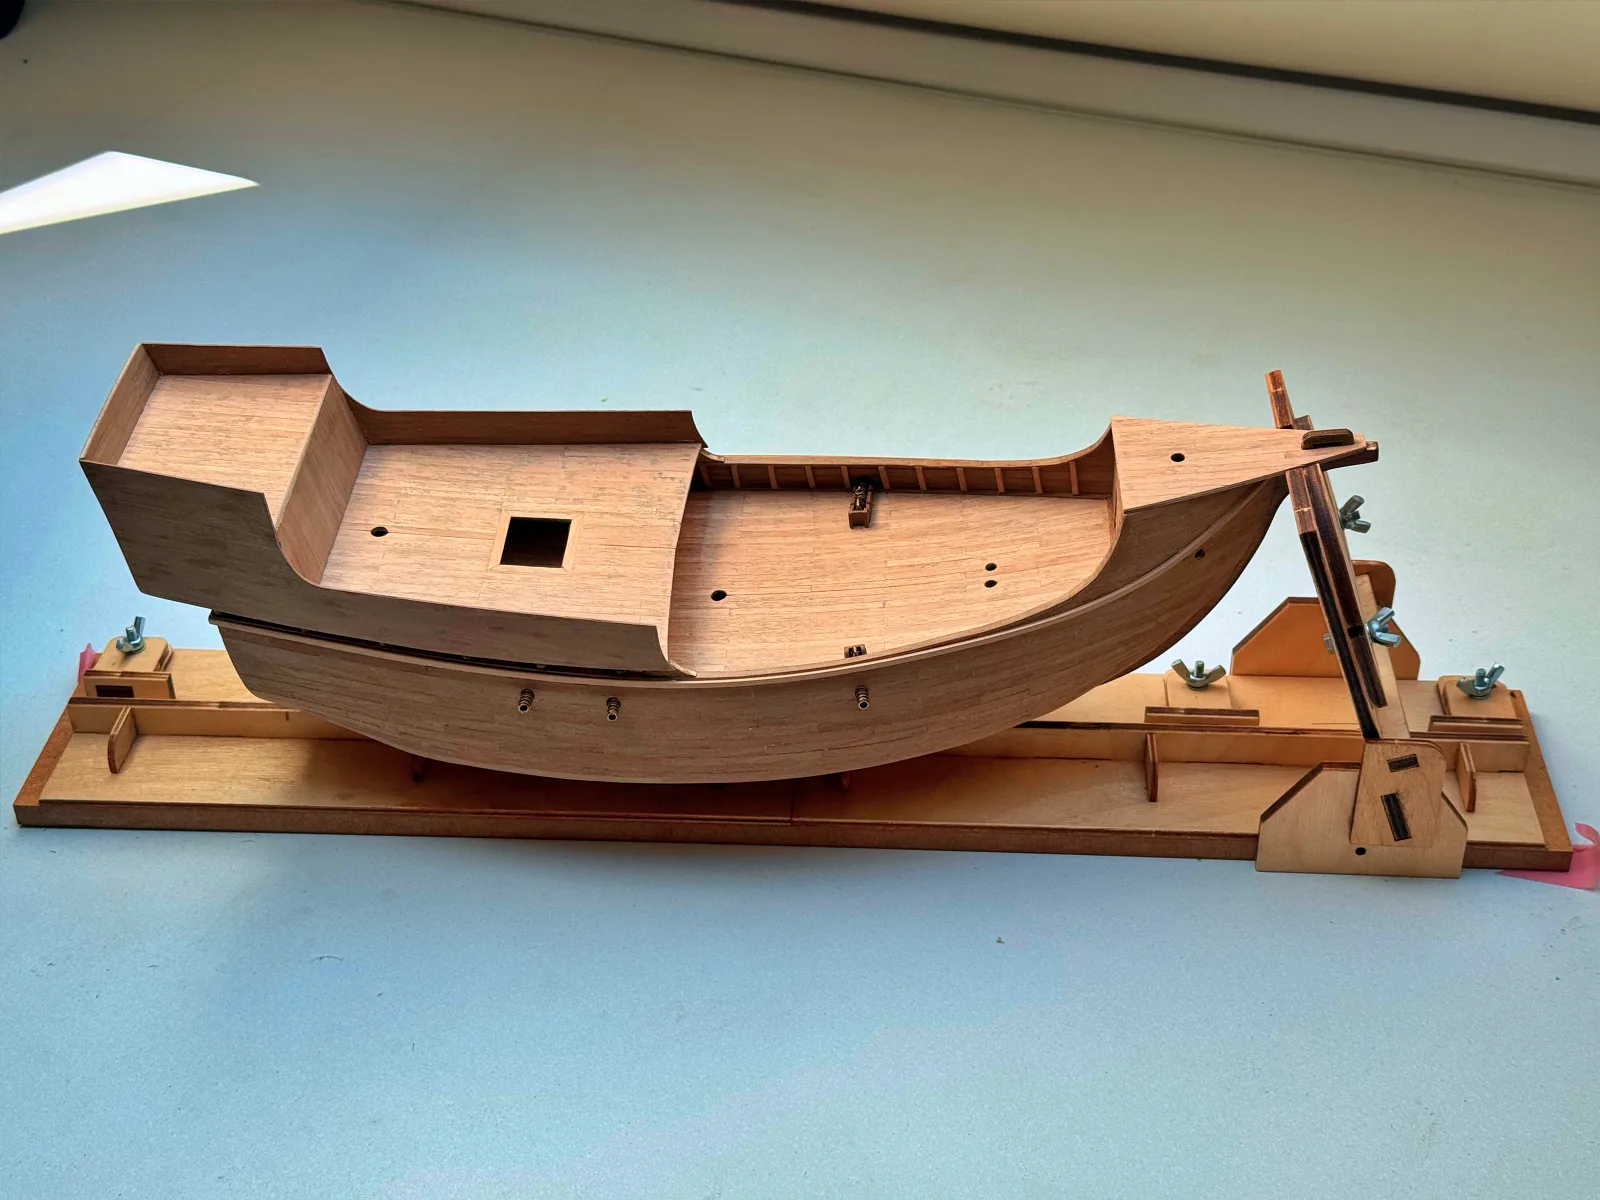
Once the deck planking is done, I install the stanchions for the bulwarks (and the bulwarks themselves), then bend and fit the caprails on the quarterdeck and on the castles.
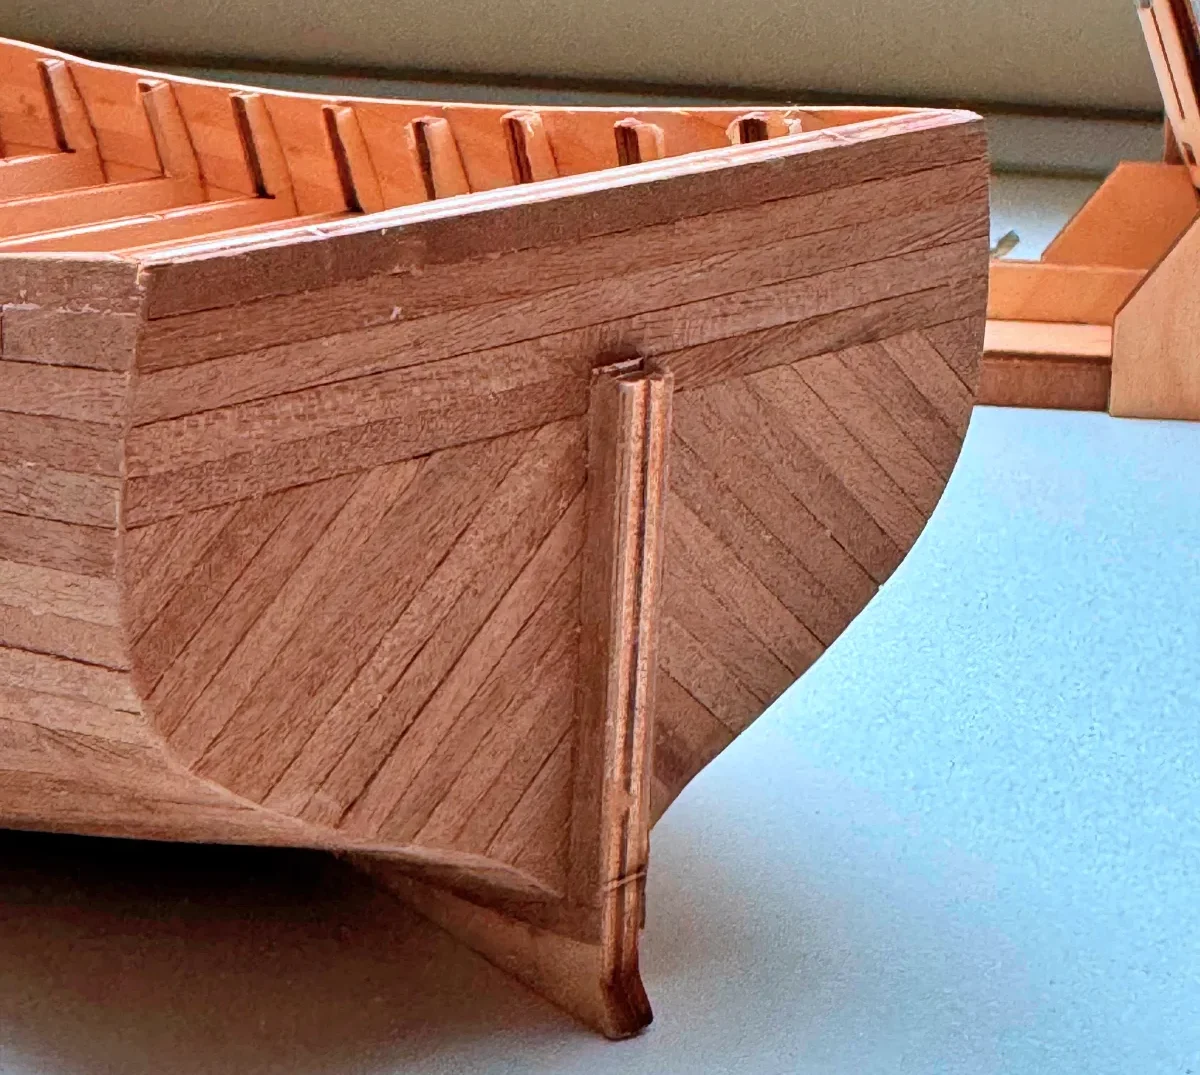
With all decks, bulwarks, and cap rails now in place, attention returns to the hull. At this stage, the remaining wales must be completed and properly faired along the hull. These heavy longitudinal strakes are critical both structurally and visually, defining the ship’s sheer and reinforcing the planking.
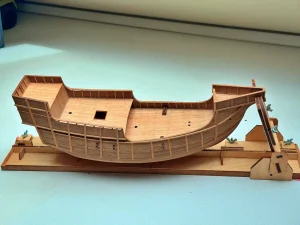
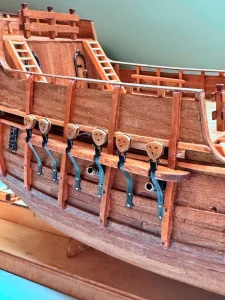
Following this, install the vertical timbers—fenders (skids)—spaced along the hull sides. These elements, characteristic of many vessels of the period, served to protect the planking from abrasion during contact with piers or alongside other ships.
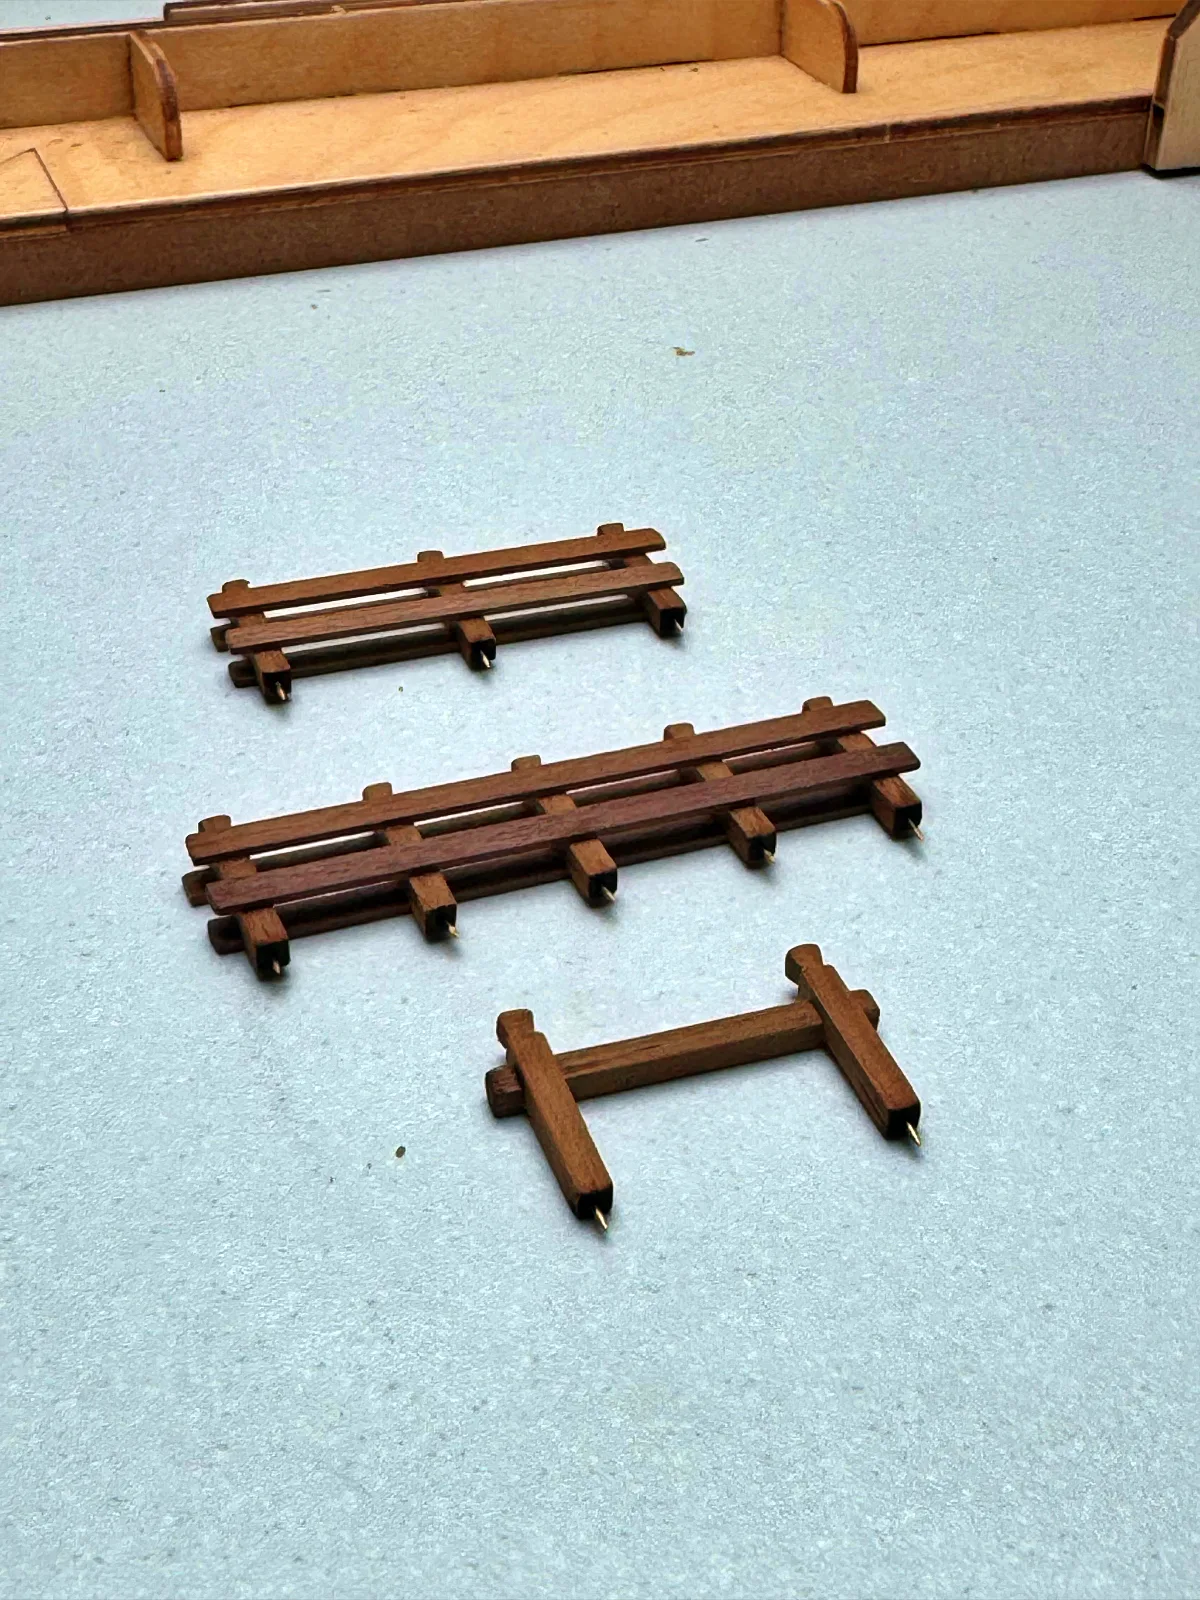
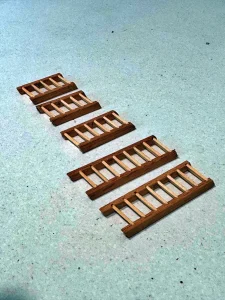
With that, the deck and hull can be considered complete. I add the smaller details: ladders, the windlass, coamings and hatches, bitts, belaying rails and cleats for the future rigging.

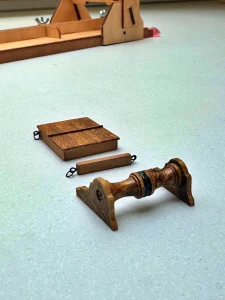
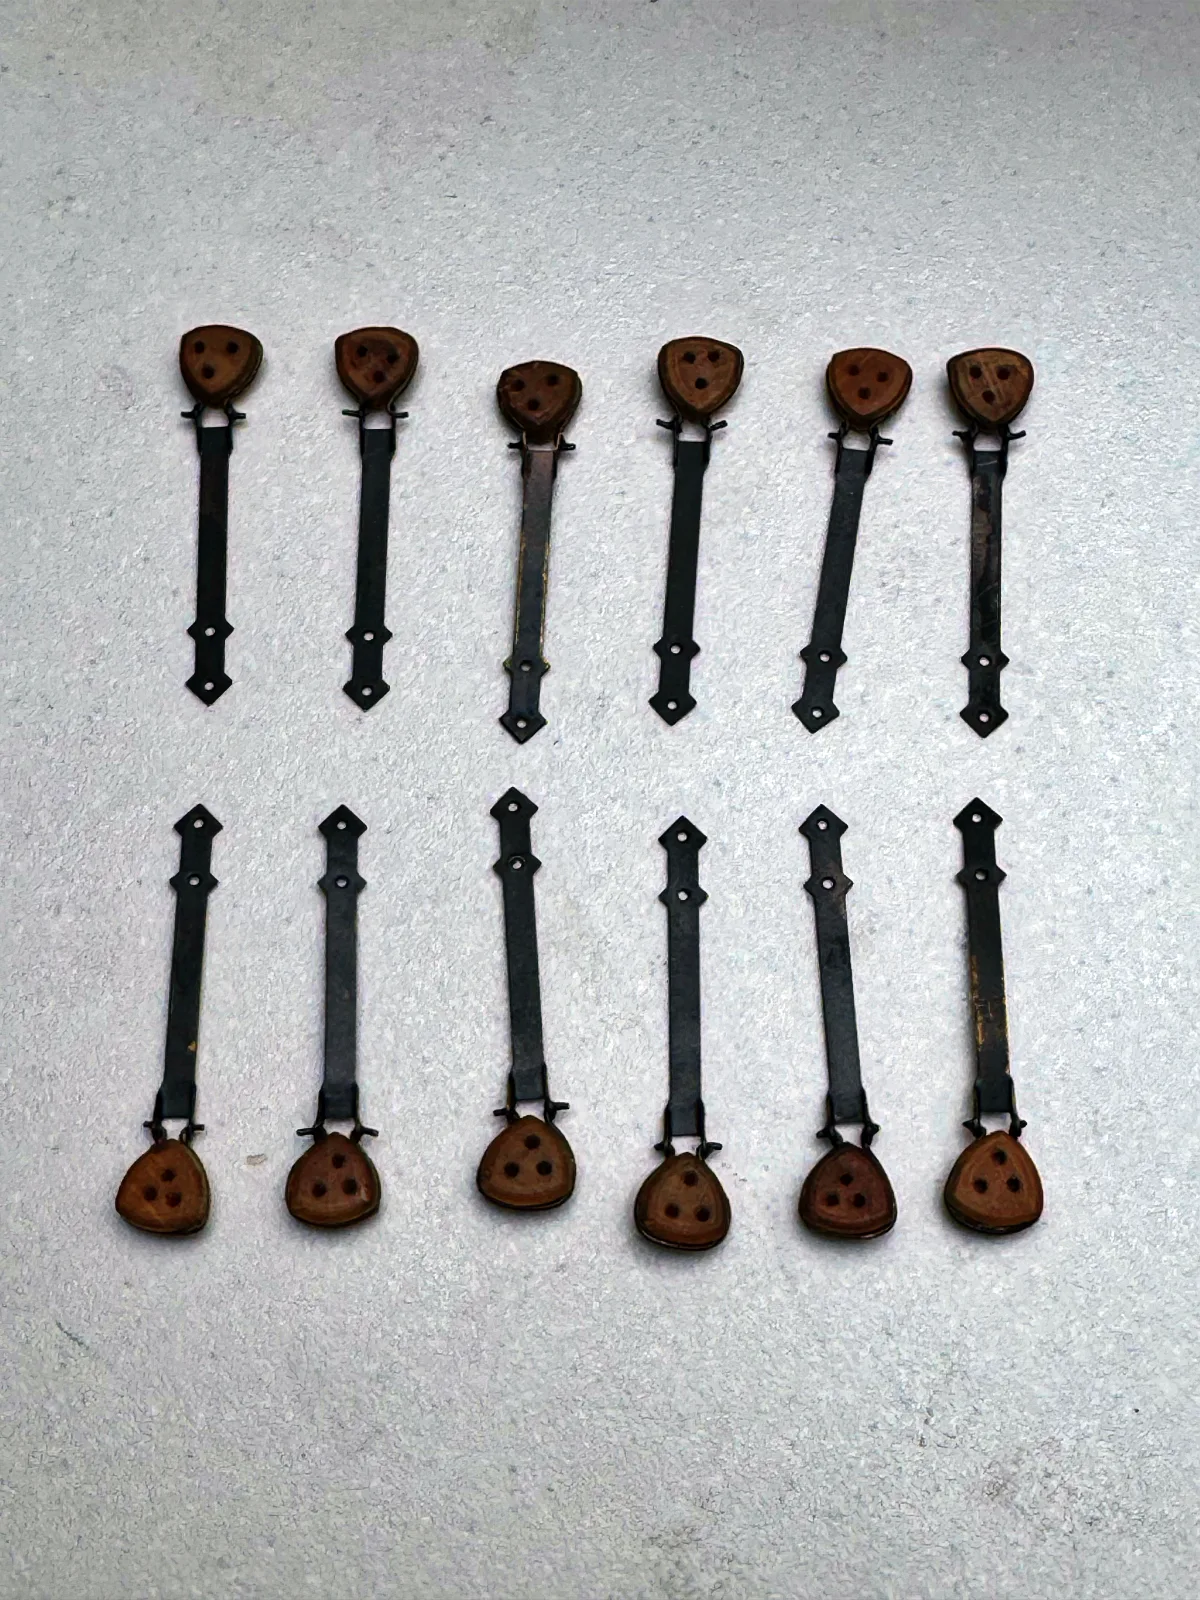
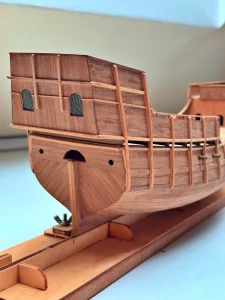
At this stage I also blacken and install all brass fittings. On the real ship there would have been no decorative copper or bronze frames around openings; such elements were made of wood, which darkened with time, so here the metal serves only as a stand‑in.
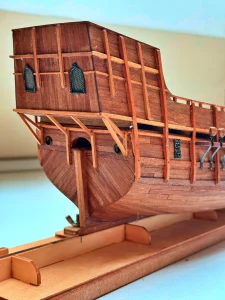
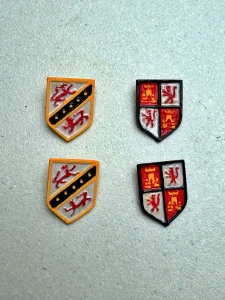
The only items that will receive colour are the shields decorating the stern superstructure — and those are a task for an artist.
With all that in place, the deck parts are oiled, and the model is ready for the next chapter: making and installing the masts and spars.
Full video of the hull building process available on YouTube channel glushkov-modelling