Finish Work on Planking
After fitting and installing the last strip, it is still too early to move on to the next stage of the build. The planking has to be brought to a proper finish, and what exactly you do depends on your goals and on how far you want to go. Most of the methods described here apply equally well to hull planking and deck planking. Where that is not the case, it will be mentioned separately. We will not cover finish coats here — painting will have its own section — and will focus only on the operations that come before paint.
You can simply sand the surface smooth, but if you want more detail, you can also:
- simulate plank butt joints
- simulate nail heads
Sanding is almost always the last operation. This matters especially in double planking, where the finish planks are thin.
Depending on the scale and the level of detail you want, several methods are possible:
- Drawing the joints with a hard pencil. This is done after final sanding. The butt lines are drawn directly on the planks with a sharp pencil. Advantages: fast and easy, and easy to correct if you make a mistake; no need to cut the planking into individual short planks during installation. Disadvantages: there is no tactile effect, and up close it can look clearly “drawn on.” The pencil may also smear under the final finish. Conclusion: best suited to simpler models and smaller scales.
- Edge blackening with a pencil or another method such as an acrylic marker. This is done during planking, before sanding. In some kits the strips are laser-cut and already have charred edges, so only the cut lines need to be darkened. The effect works well at any scale, but it is more labor-intensive. It also holds up better under a finish, though some smearing is still possible.
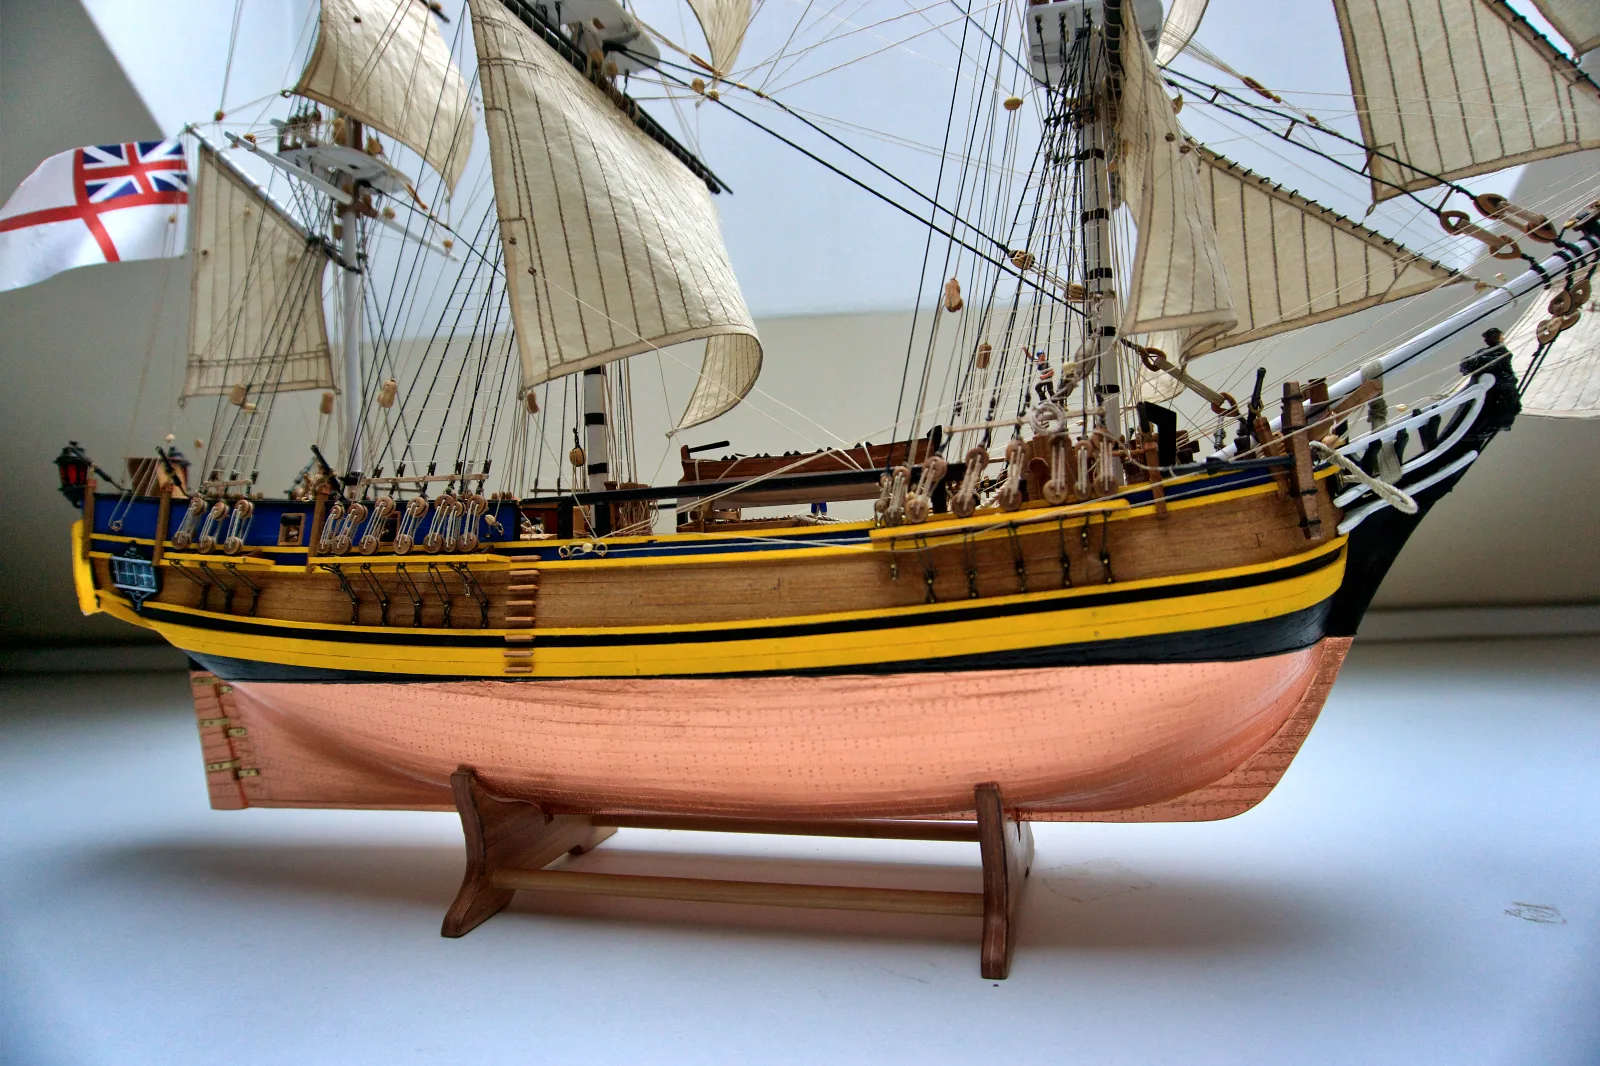
- Inserting dark thread, line, or film into the joints. This is even more labor-intensive and, in my view, is suitable only for decks, and only when the deck planking is at least 1 mm thick. I would not recommend it for scales smaller than 1:60. It is done before final sanding by laying a thread or a narrow strip of dark film into the seam between the planks. The result can look excellent when done well, but it requires careful material choice and precise work (see the Bounty deck photo). I usually use thin, elastic beading line 0.5 mm or less in diameter. It has an advantage over thread because it has no fuzz and does not catch on sandpaper during sanding.
- Filling the joints with a special paste or acrylic filler. This is also done before sanding. A paste of the required color is worked into the seams, and the excess is removed immediately with a dry paper towel. This method is universal and, in my opinion, gives a very good balance between labor and visual effect. I use resin-based furniture and parquet repair pastes because they soak into the wood less than other products do.
Here, the first step is to study the prototype. In most cases the nails were either iron or copper; if the underwater hull was copper-sheathed, the nails were usually copper or brass as well to avoid galvanic reaction. Very often the nail head was countersunk and the hole was plugged with wood. The other major factor is scale. Even in large scales, 1:48 and larger, I do not recommend driving nails into every frame — doing so tends to produce a spotted, speckled effect on the hull side. There are many approaches, but four basic ones stand out:
- Do nothing. For small-scale models, 1:72 and smaller, this is usually the most sensible approach.
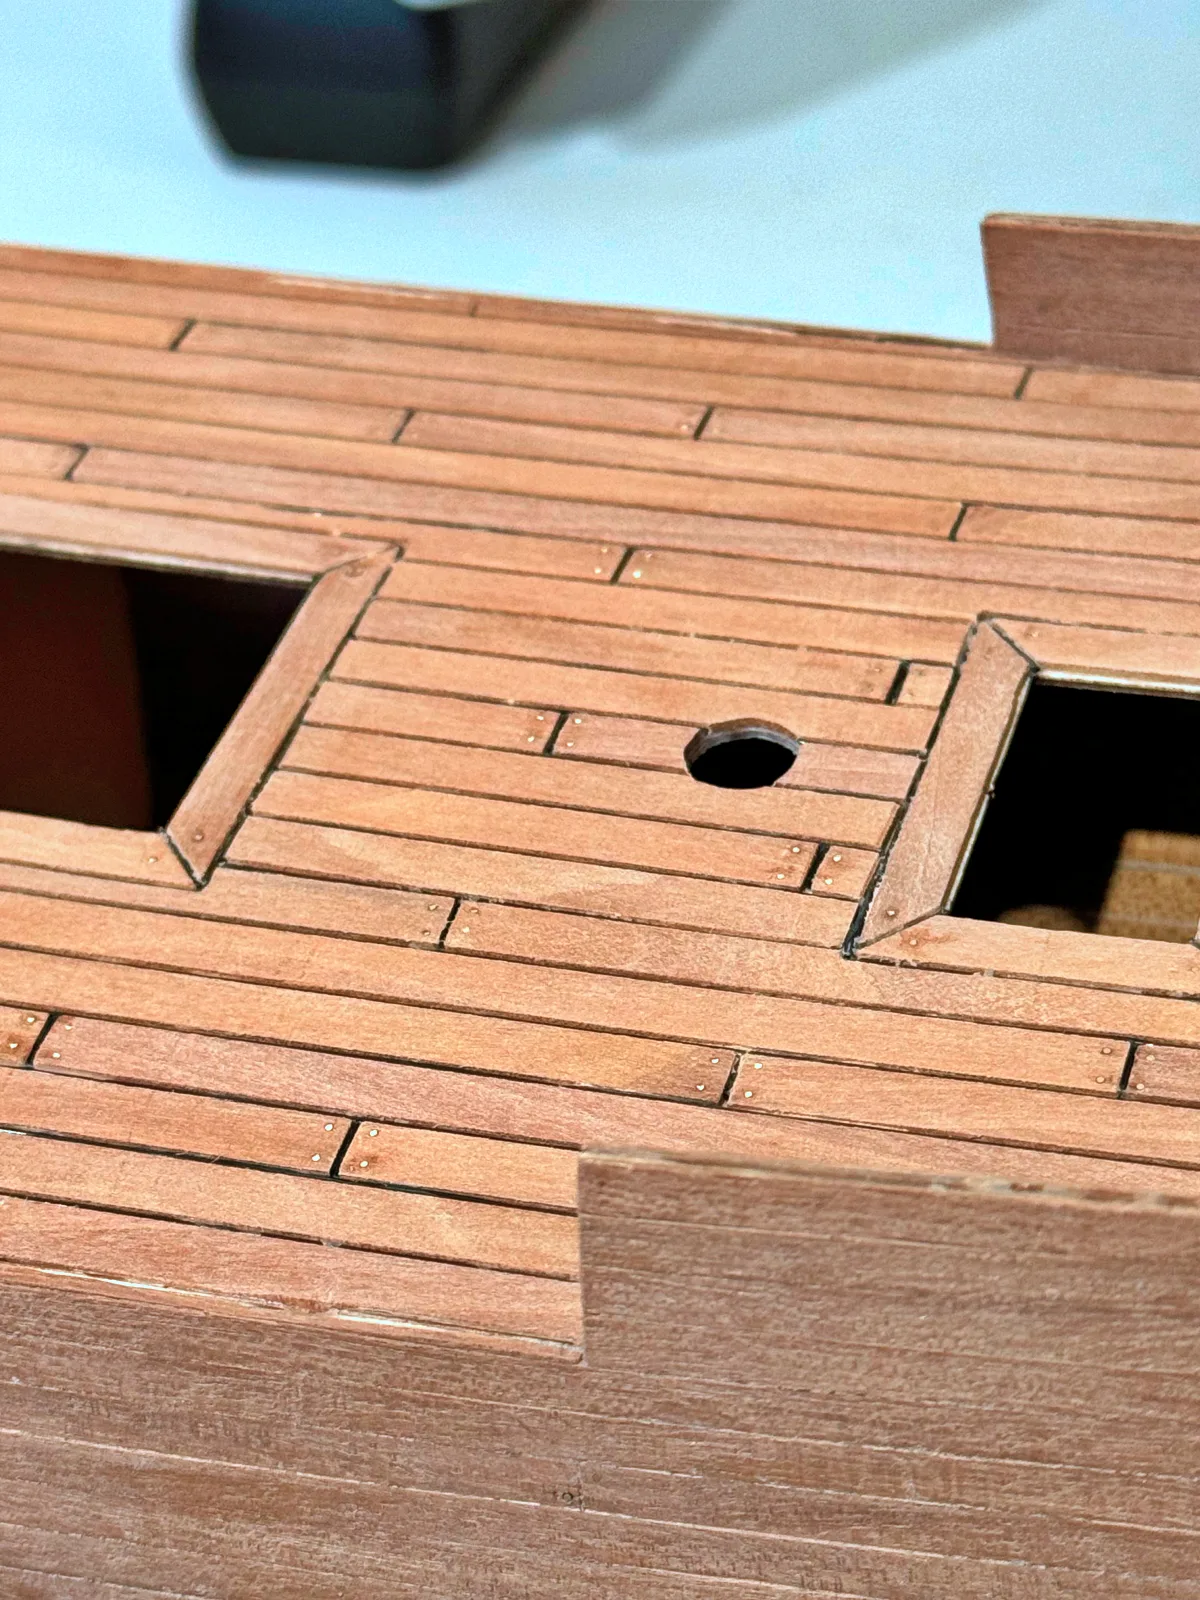
- Mark the nail heads with an awl or needle. This works well at scales of about 1:60 and smaller. If you are filling the seams with paste, this step is best done before the paste is applied so the filler can settle into the puncture.
- Insert fine brass wire. This can make sense decoratively, or where the original used copper fastenings. A hole is drilled for each nail to match the wire diameter, a short piece is inserted or glued in place, the excess is clipped off, and the surface is sanded flush. If a paste was used to fill the seams, then nailing should be done after wiping away the excess paste but before the final sanding. It can look very attractive, though it does not always match the prototype.
- Insert a wooden treenail. In my opinion, this is the most correct method, provided you have wooden dowels of the proper diameter — which, even at large scales, means about 0.5–0.7 mm. I usually come across 1 mm round stock, which can be reduced a little more, but it is labor-intensive. The technique is the same as in the previous method. Done properly, it gives an almost perfect match to the original, but it is really suitable only for scales of 1:50 and larger.
When choosing a nailing method, keep the total workload in mind from the start: the number of nail heads in hull planking can easily reach several hundred and sometimes several thousand ☺