Advanced Planking
In this section, we will discuss a few working methods and techniques that help produce a good result without heroic effort. That said, some effort will still be required ☺
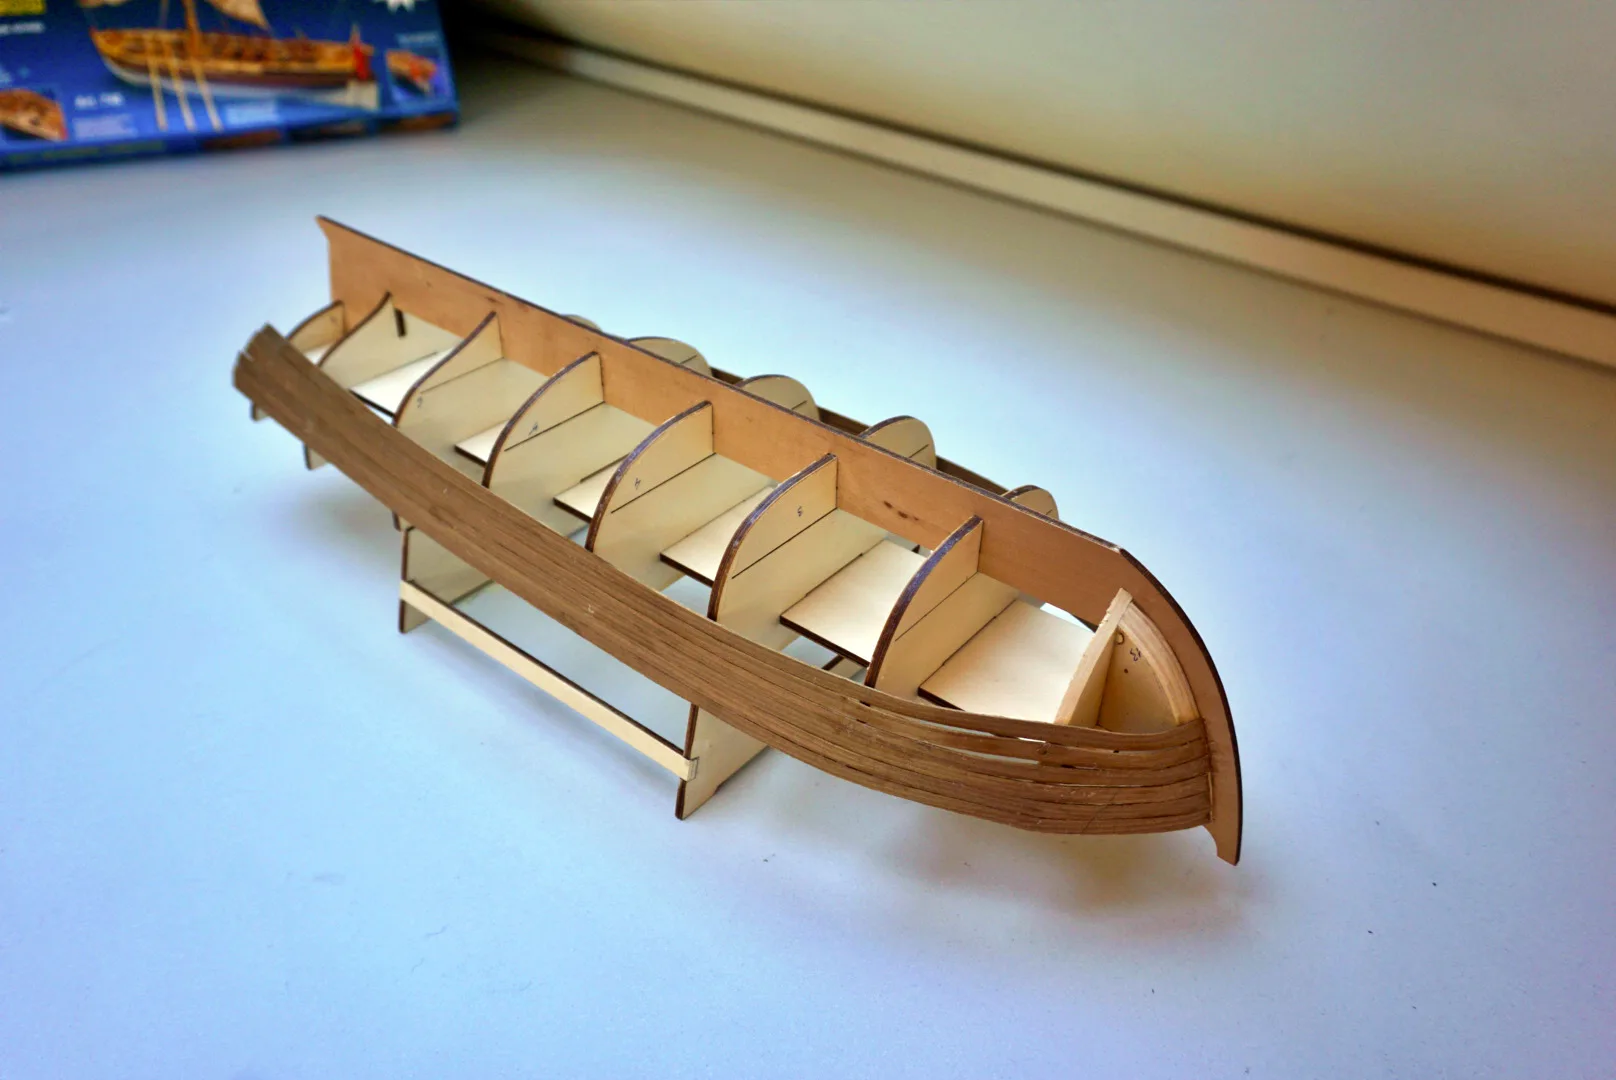
Thin strips are conveniently fixed with a heat applicator, which helps avoid problems holding the strip in place while the glue is setting. For the same reason, I recommend filling the spaces between the bulkheads in difficult areas, such as the bow and stern, with balsa blocks. Other wood can be used as well, but balsa is much easier to shape.
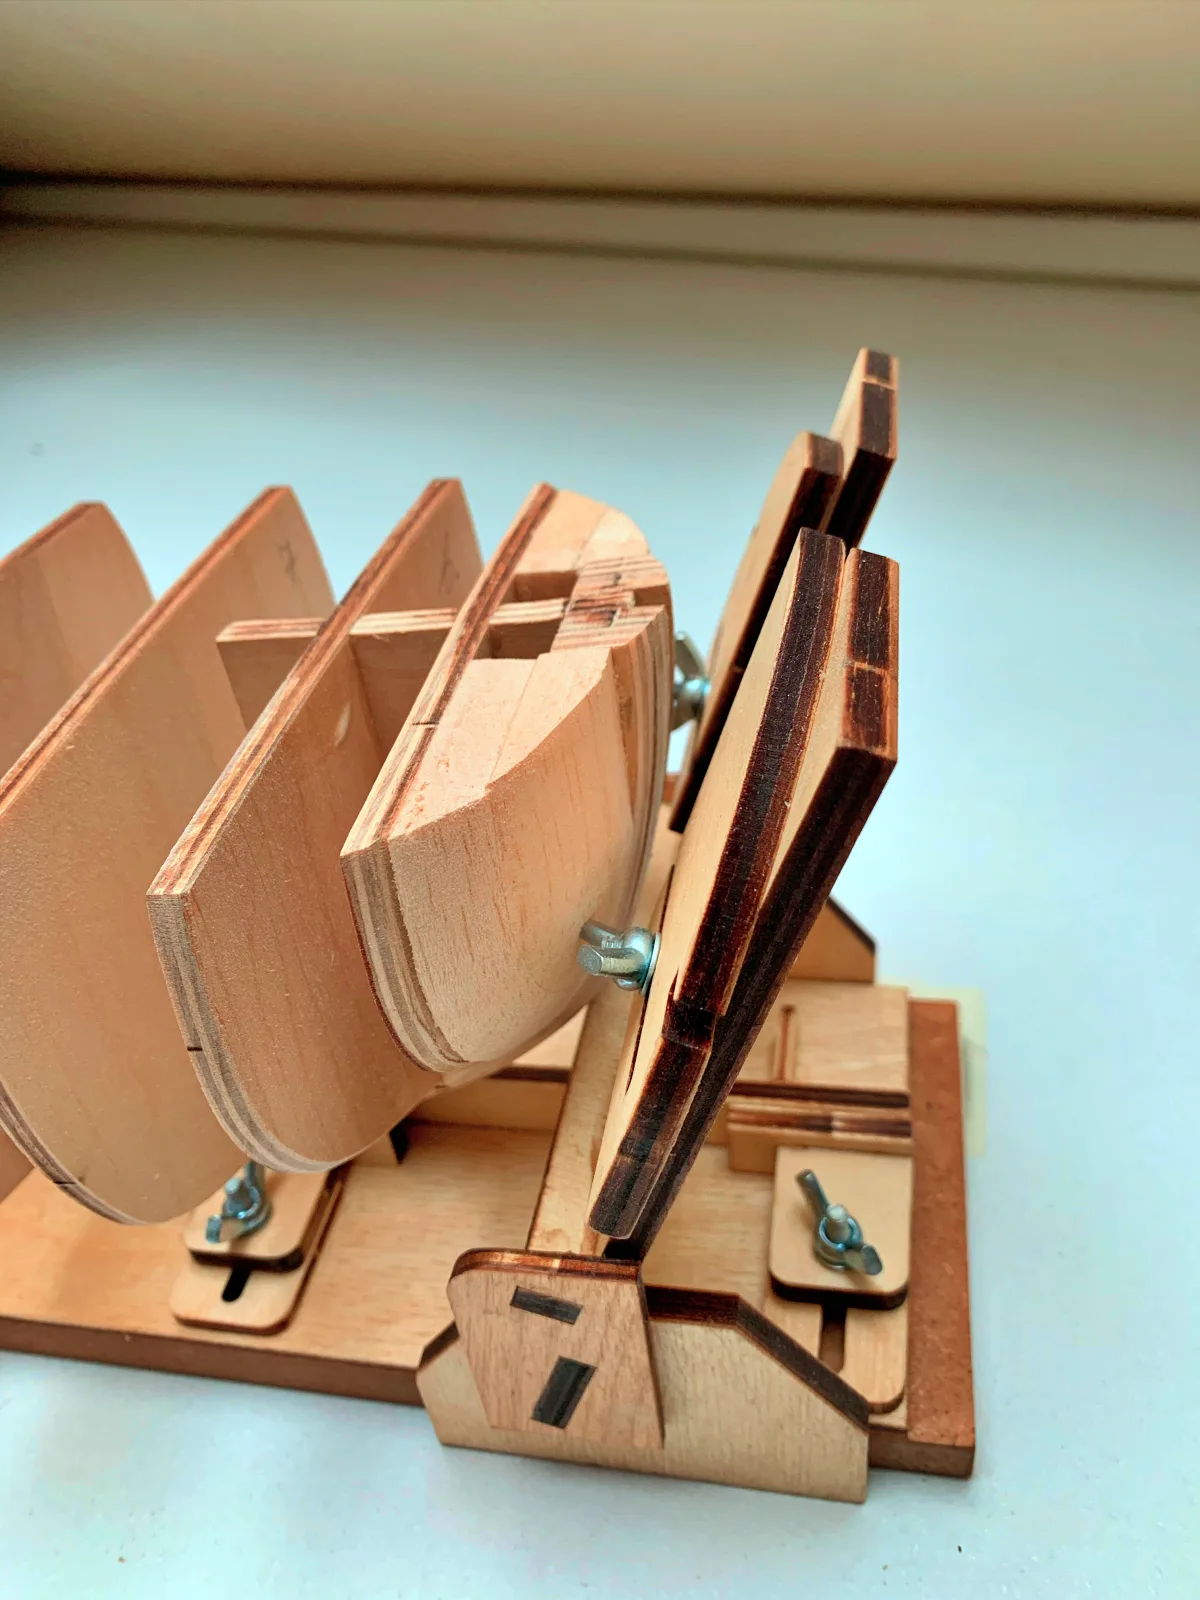
Use shorter planks as you move closer to the bow and stern, as this makes fitting and installation easier. As a rule, strips become slightly narrower toward the bow and slightly wider toward the stern than they are at midships. For precise fitting, it is useful to work with a strip of tracing paper and mark the outline of the future plank with a pin or pencil.
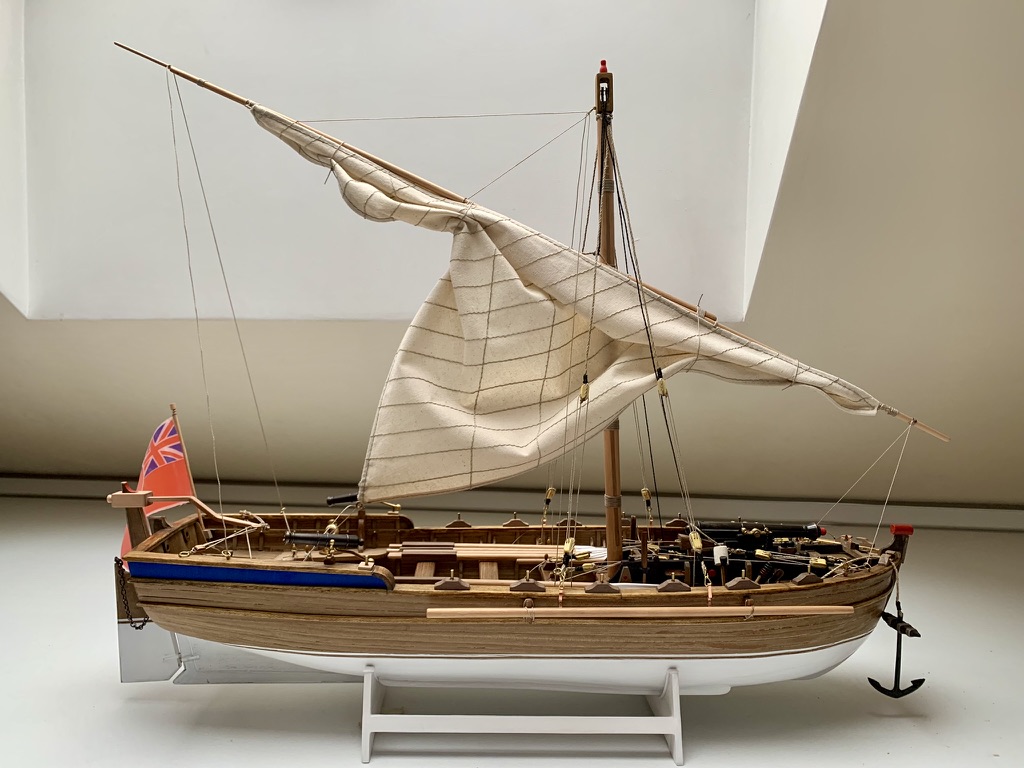
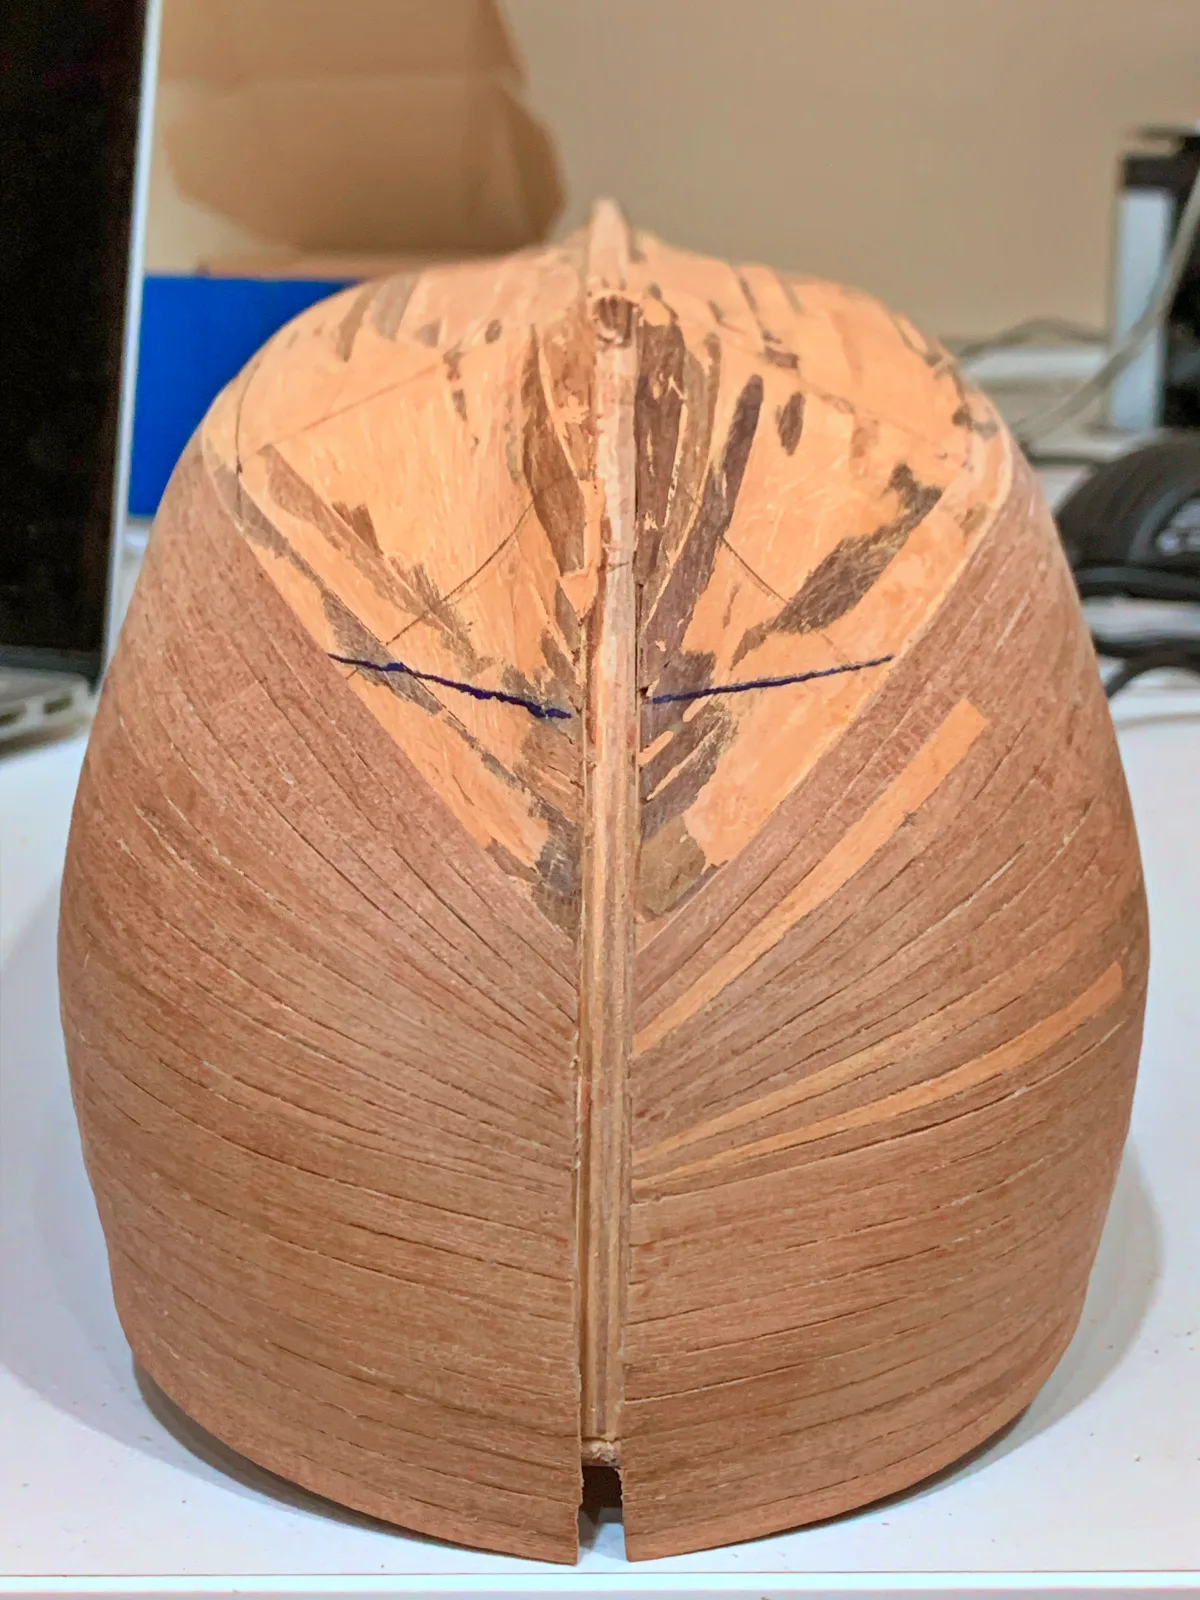
Try not to make the strips too narrow — not less than half of the original width. In such cases, it is better to merge two plank belts into one near the bow by using a stealer. To make the transition correct, the joint should not be straight but stepped — a scarf joint. Otherwise, those overly narrow planks at the bow do not look very good (see the Bounty bow example).
For double planking, thin strips around 0.5 mm are usually used. They can be given a slight bend across the wide face after the wood has been moistened by soaking or steaming (we will discuss wood bending methods in a separate section), but the strip must be dried under pressure, otherwise a warped strip will never lie properly against the hull.