Blackening metal parts
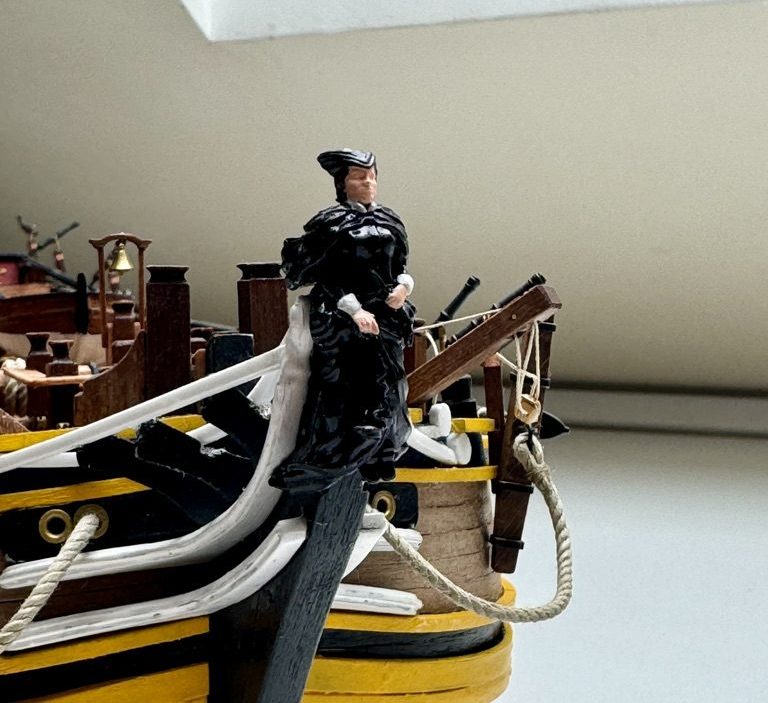
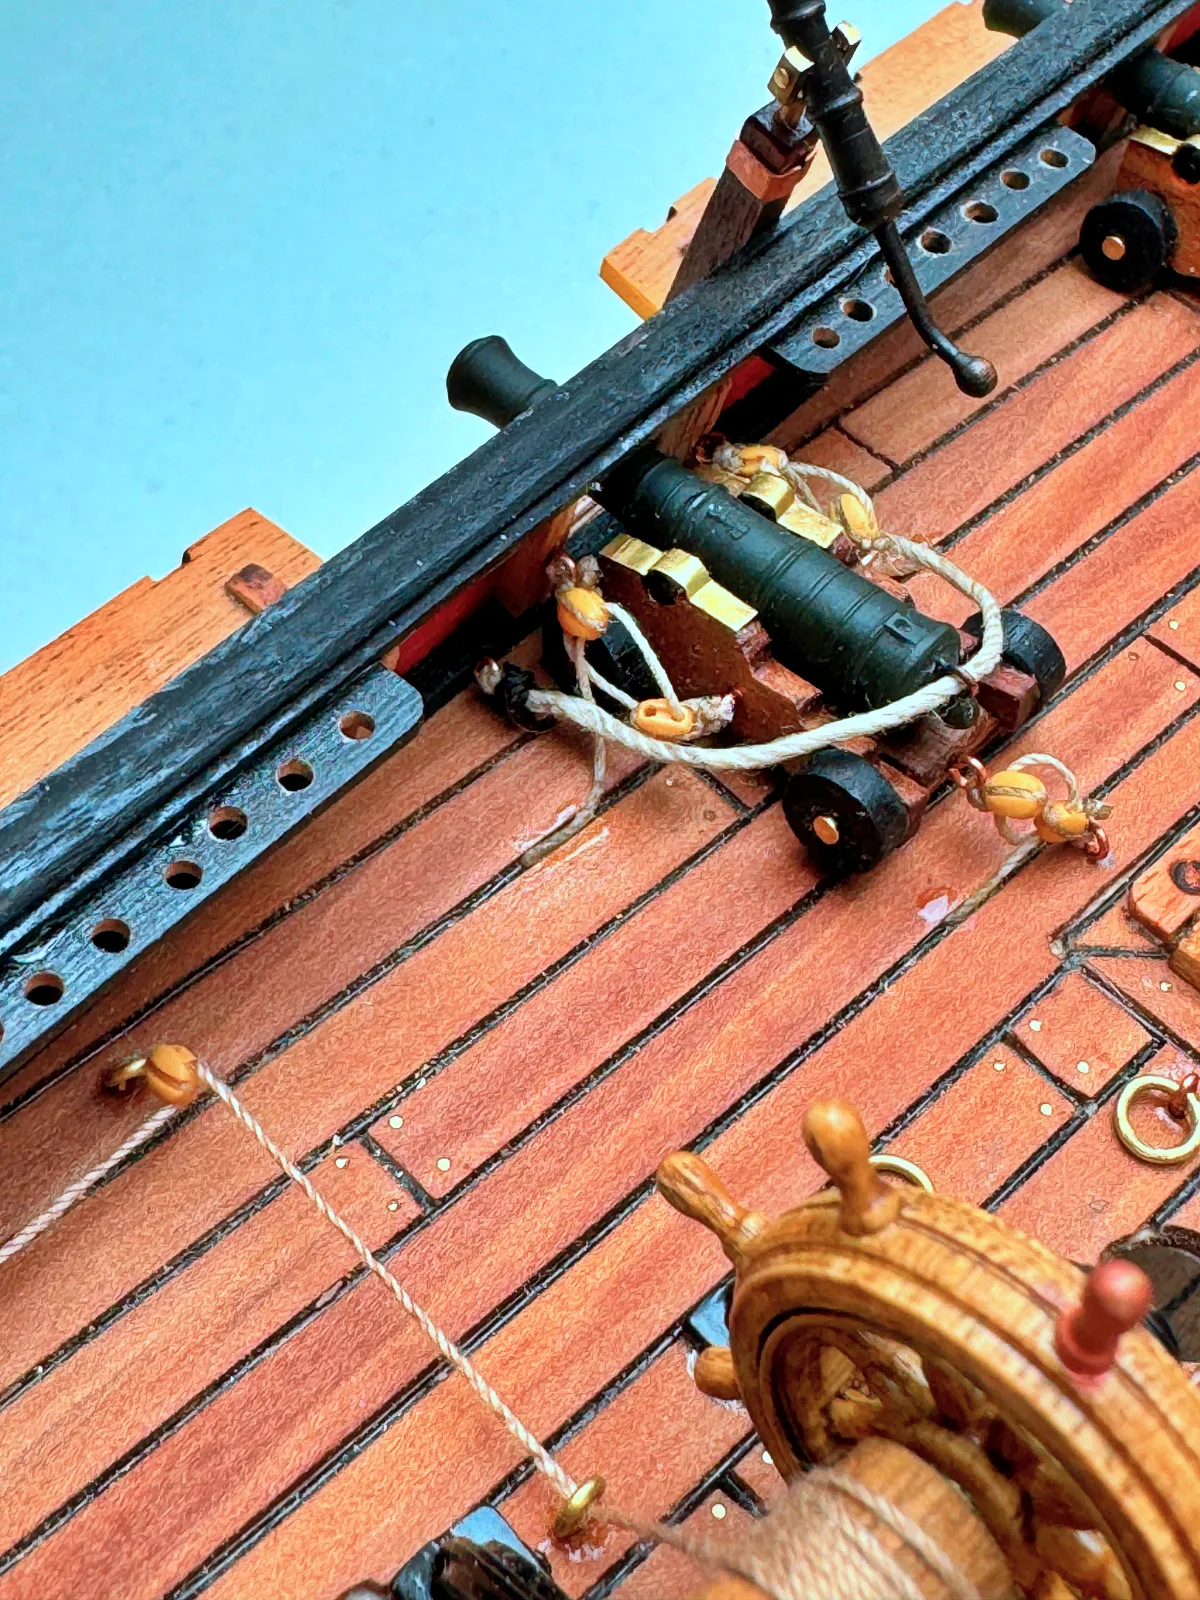
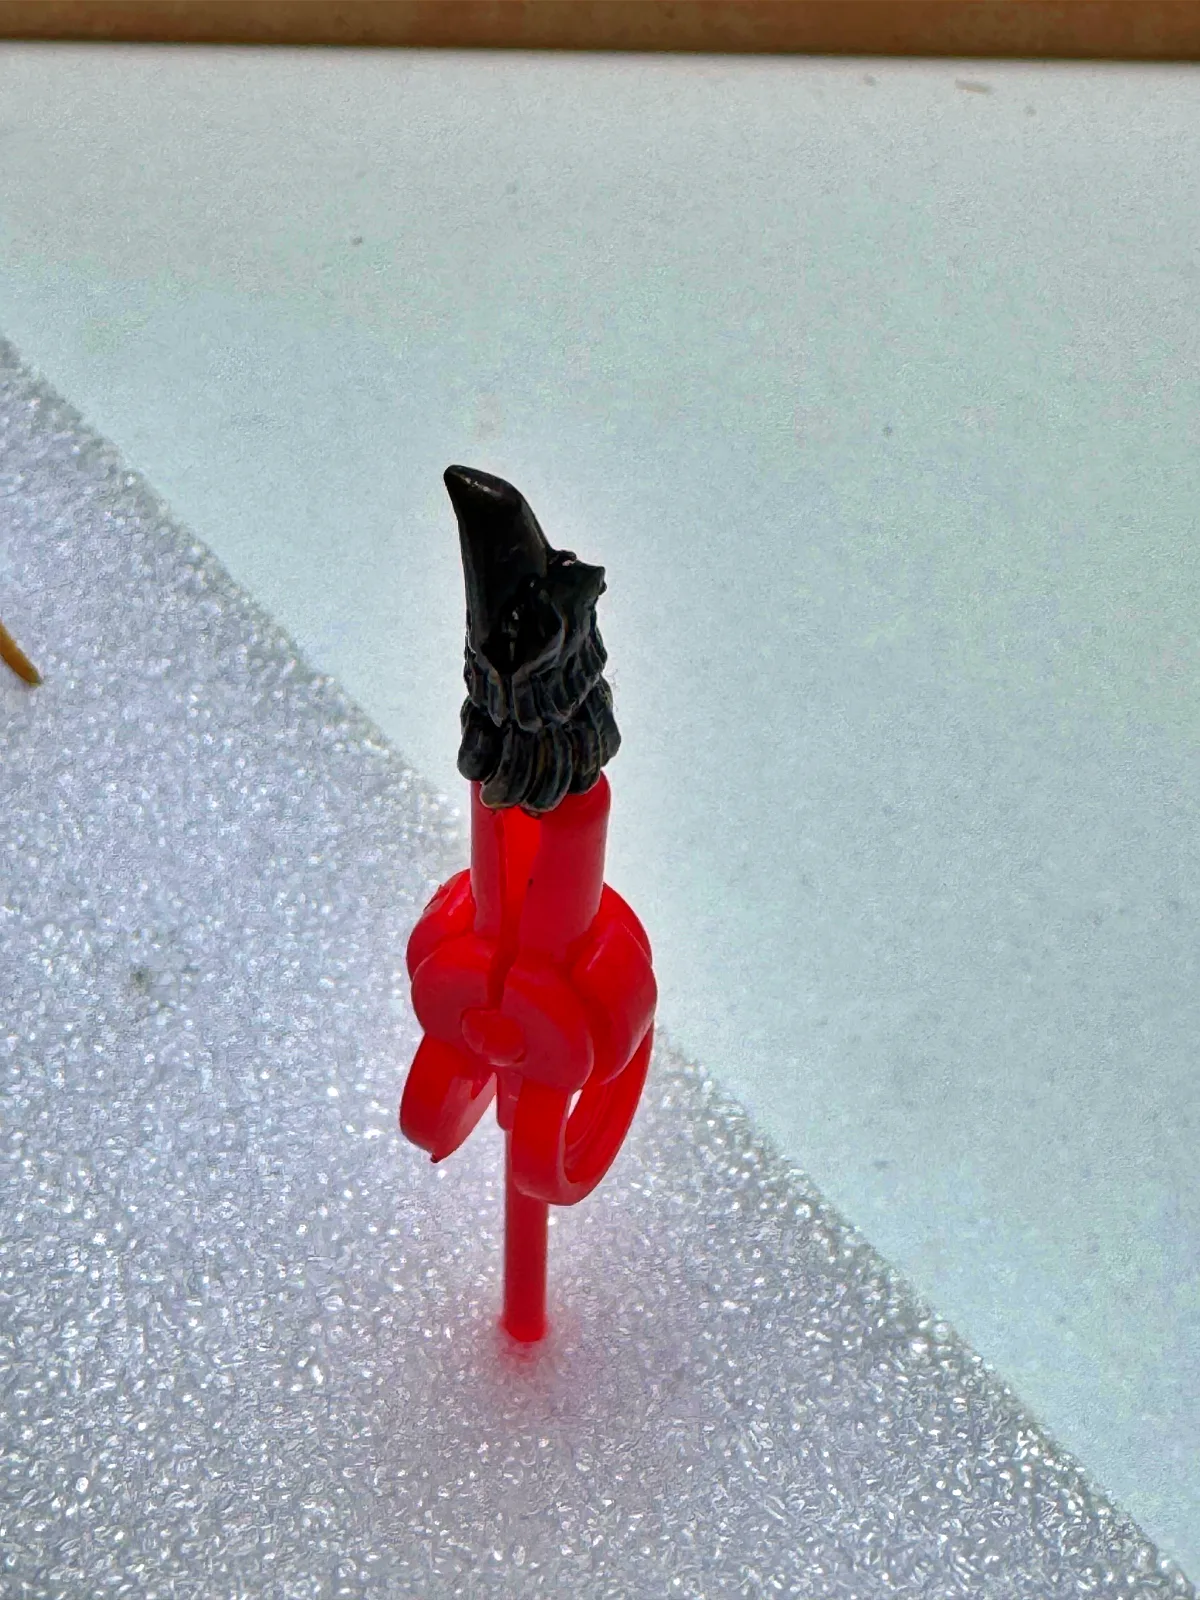
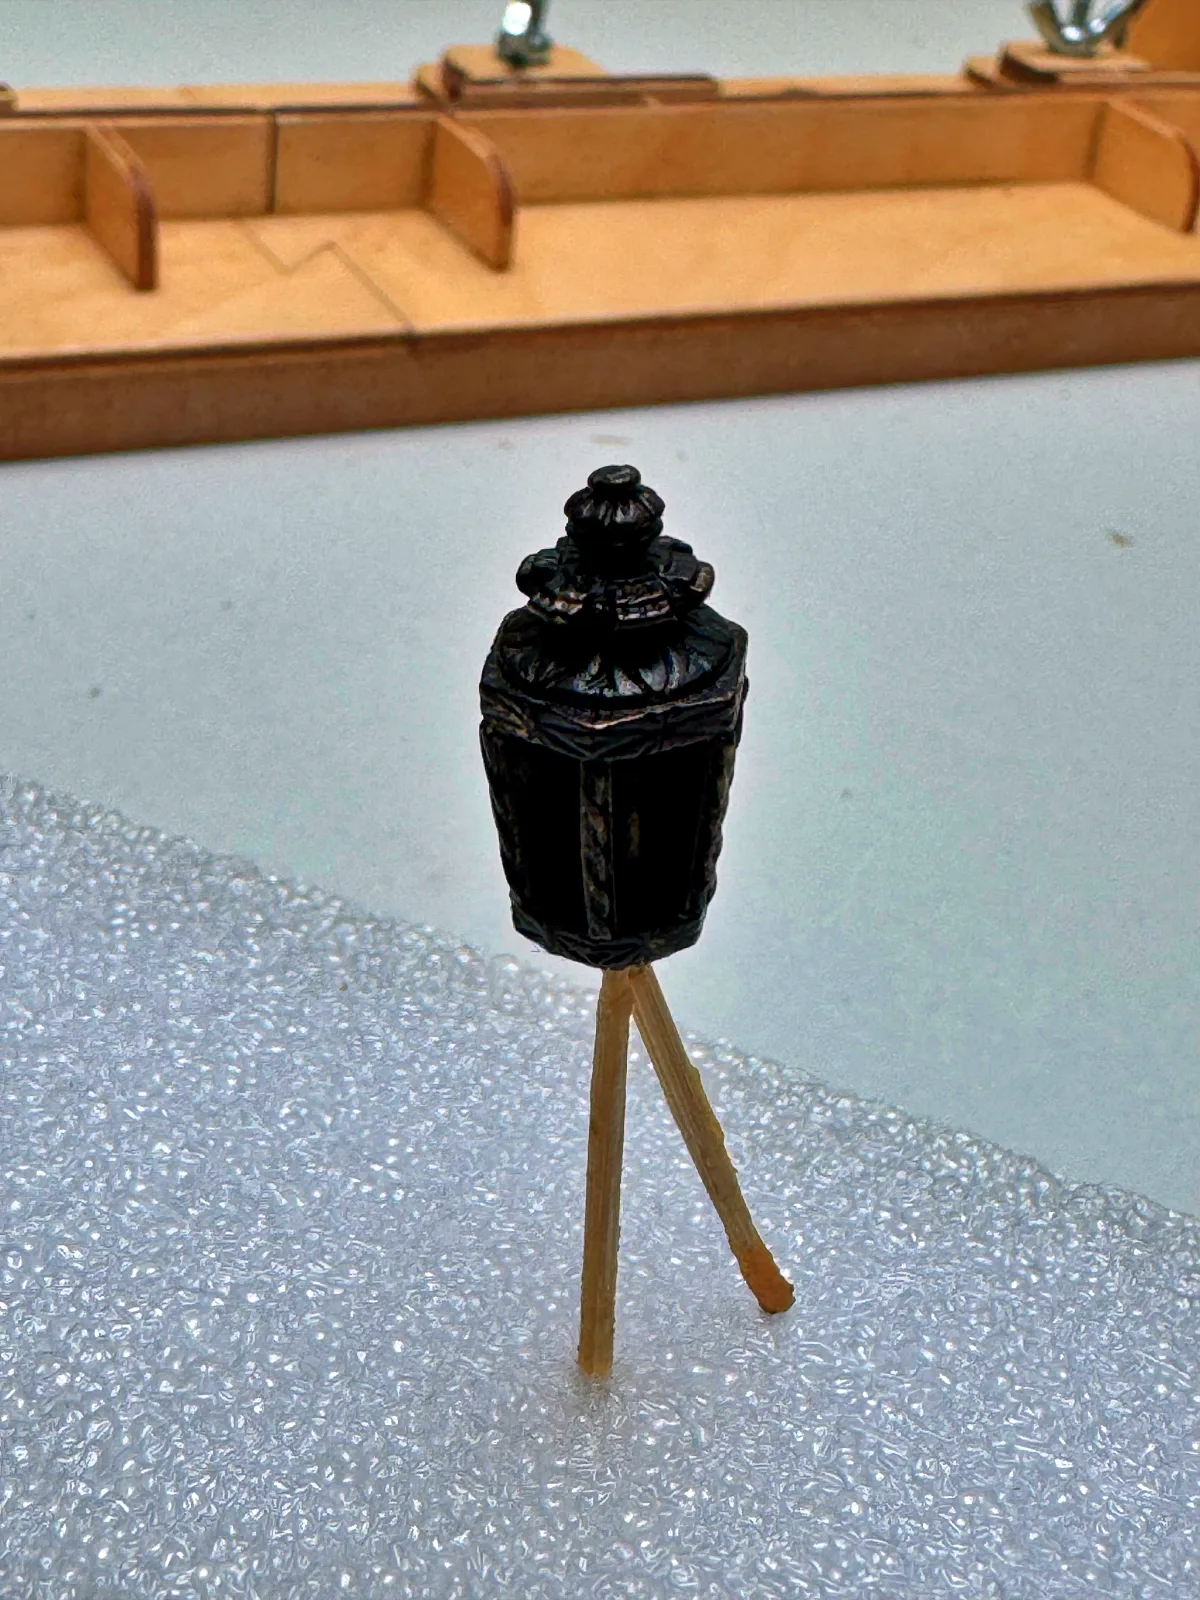
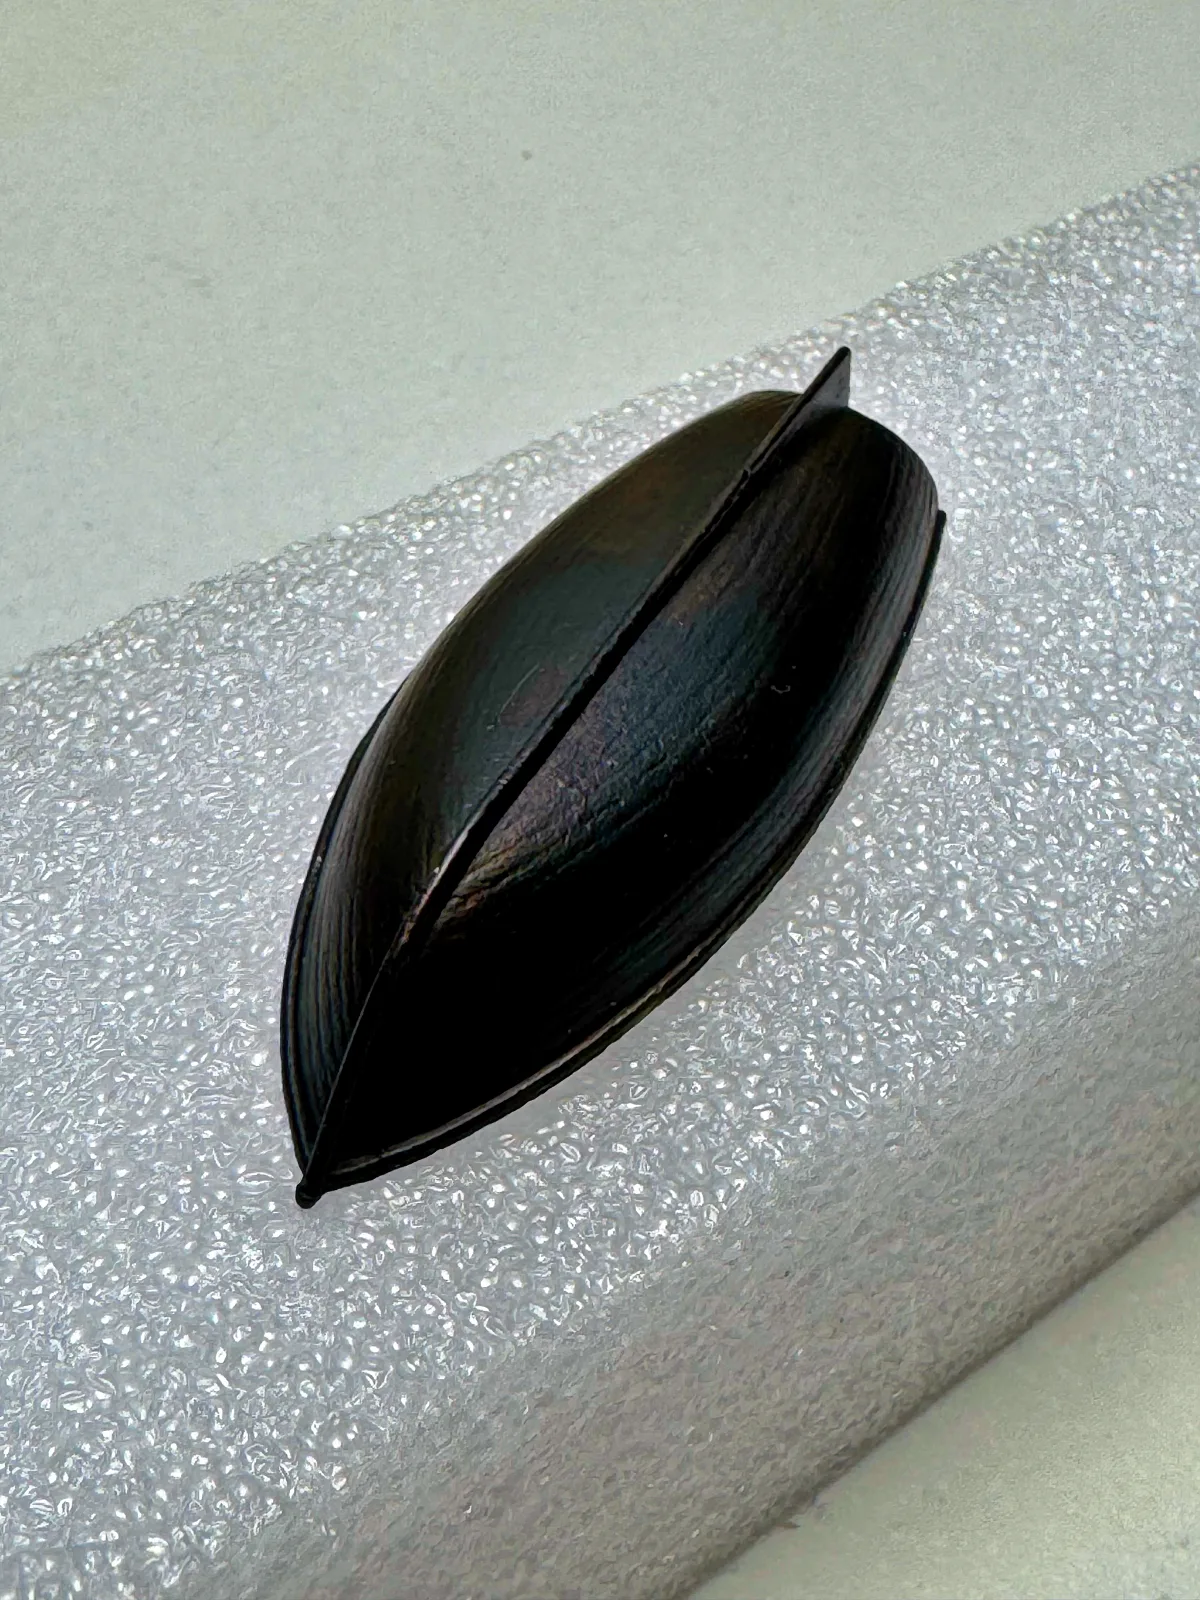
Chemical blackening is used as an alternative to painting. A chemical patina adheres better to the metal surface, produces an extremely thin coating, and avoids the risk of flooding fine detail with paint. Painting metal also requires not just degreasing but priming — which can be tricky on small parts.
Identifying the Metal
The first step is to identify the metal you are working with. Most blackening solutions on the market are formulated for one of three metal types — and each requires a different product:
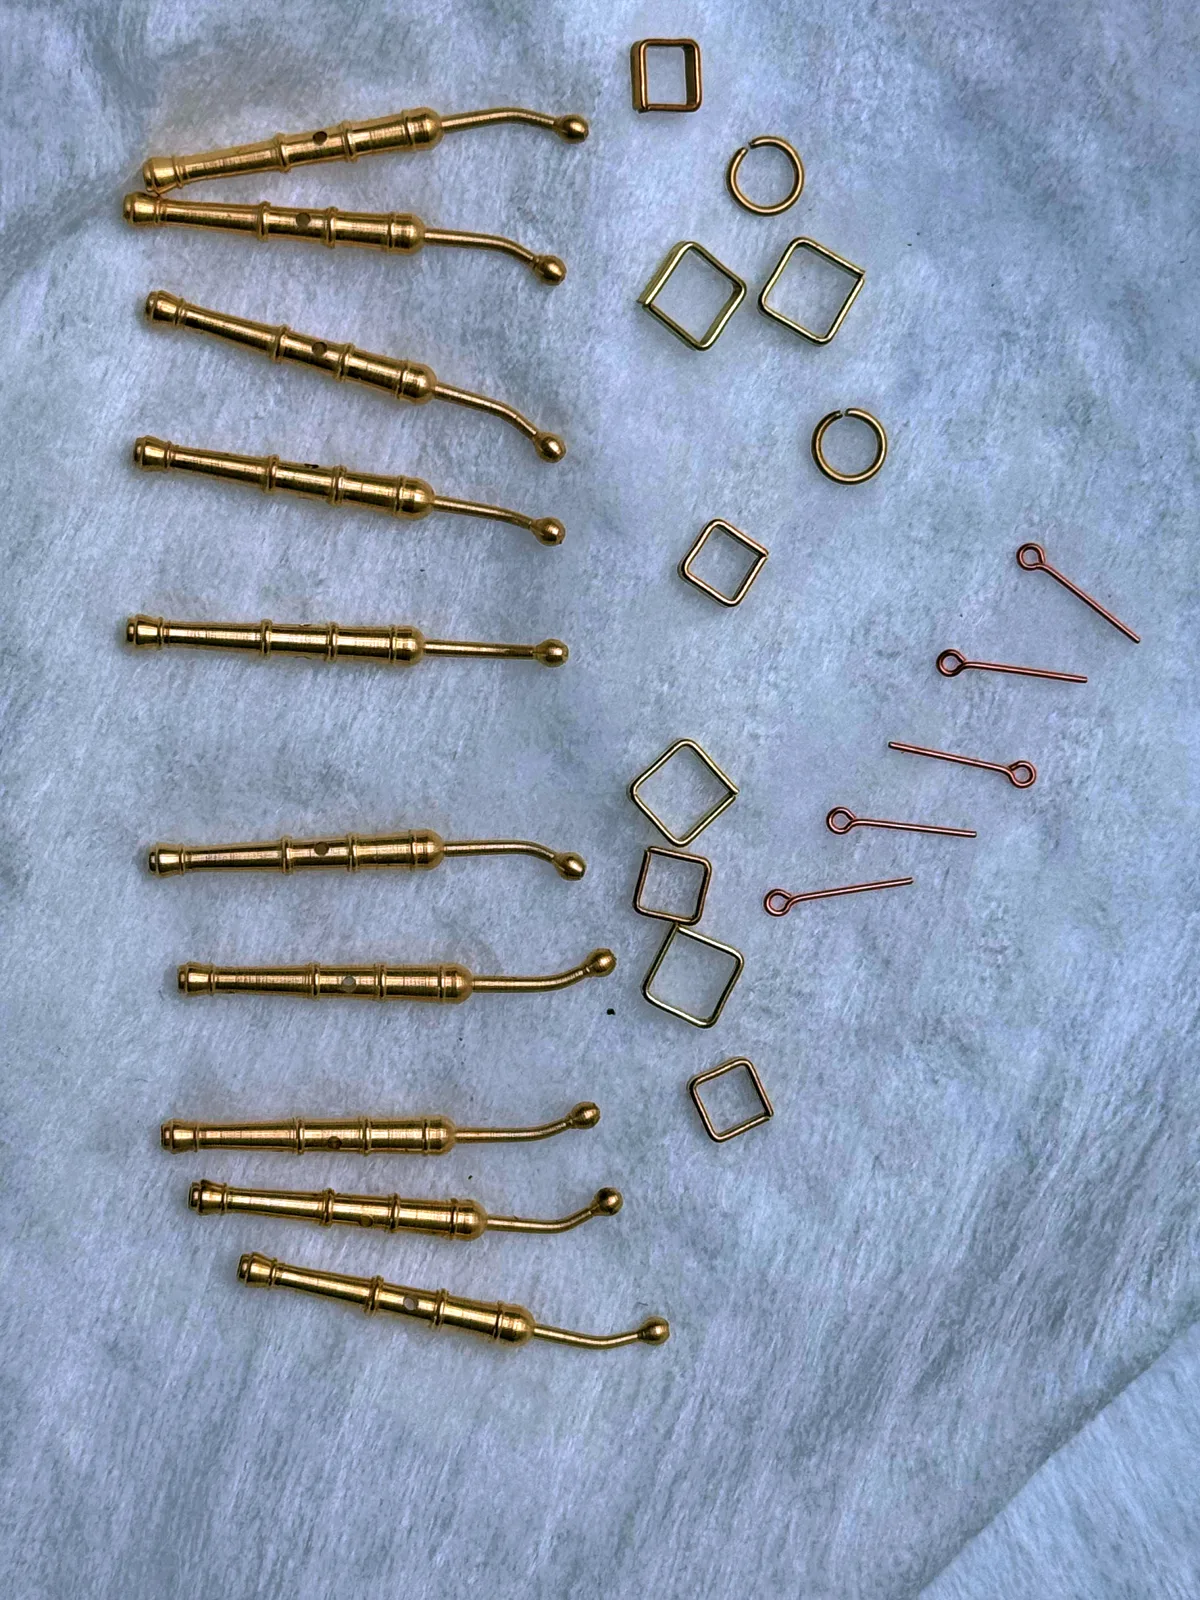
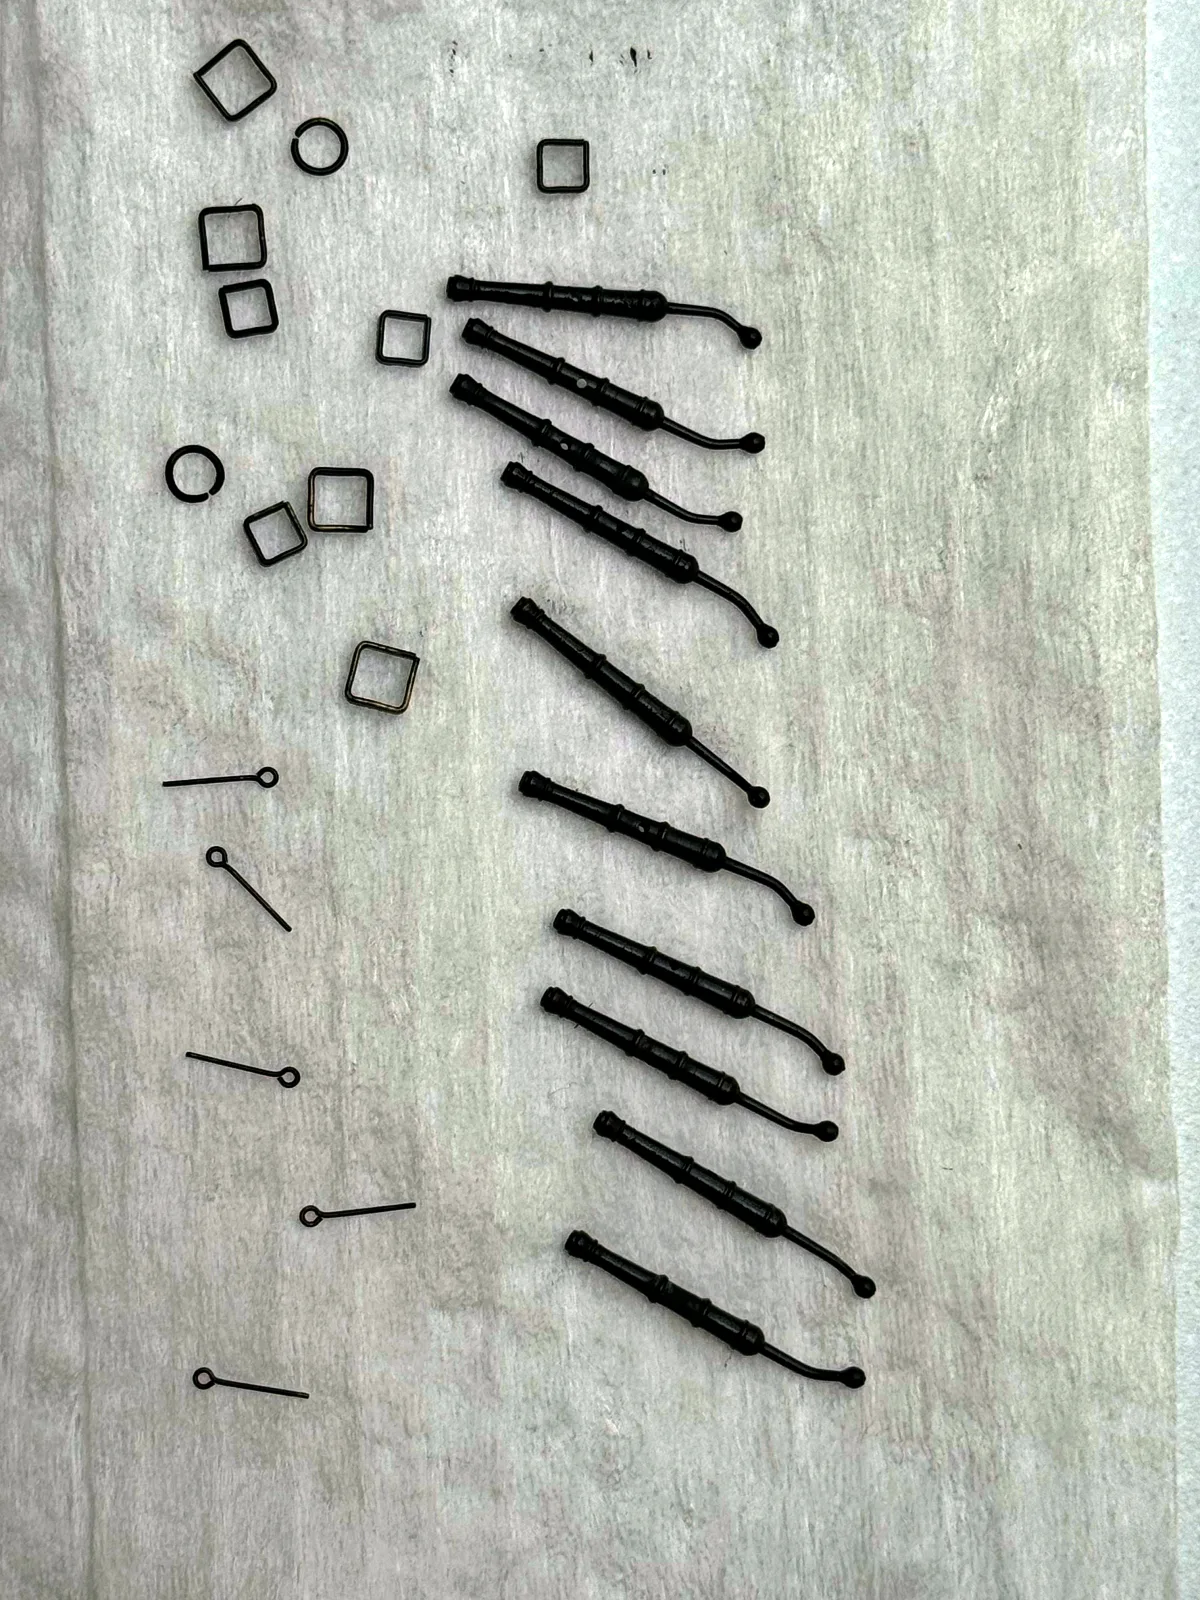
- Copper (and copper alloys — brass and bronze). Depending on the solution chosen, you can achieve anything from a greenish patina to an almost black finish.
- Aluminium. Typically produces a very dark brown, almost black result.
- Steel. Chemical bluing is the method here. Note that most bluing solutions do not work on stainless steel.
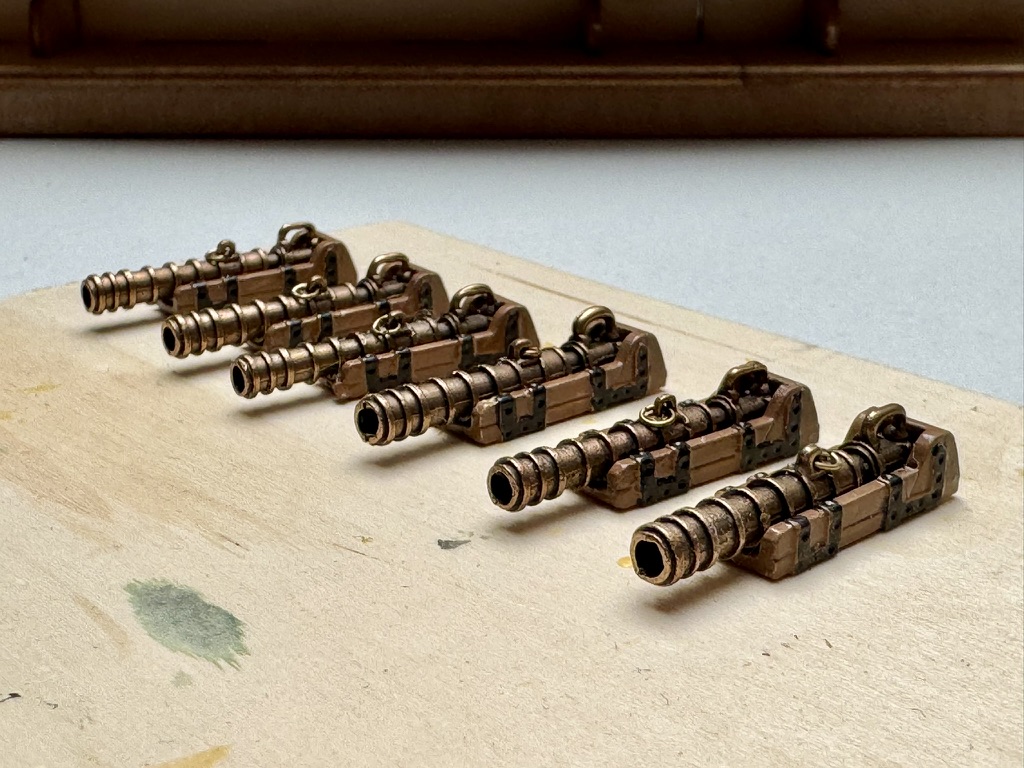
⚠️ In less expensive kits, parts are often made from unspecified tin-based alloys with minimal copper or aluminium content. These do not respond to most blackening solutions and are frequently lacquered (e.g. with a ‘bronze’ finish) that is very difficult to remove. Before you start, take some time to identify the material. In many cases, the lesser evil is to leave such parts as supplied, or to replace them with better-quality alternatives from a third-party supplier — for example, resin 3D-printed parts, which are often a superior option.
Safety First
⚠️ Many blackening solutions are corrosive. Always wear gloves, safety glasses, and a mask (respirator) throughout the process. Read the manufacturer’s instructions carefully — including the recommended actions in case of skin contact, eye exposure, or ingestion.
Choosing the Right Solution
Once you have identified the metal, select a solution to match your desired finish. For copper and its alloys the colour range runs from greenish through to near-black; for aluminium expect a very dark brown or black; for steel the result is black, sometimes with a dark blue tint. If you are unsure of the outcome, test on a single sacrificial part (or on the frame of a photo-etched fret) before committing.
Preparing the Part
Start by degreasing the surface thoroughly using a standard solvent — acetone or a petroleum-based degreaser work well. For non-ferrous metals, follow up by removing the oxide layer. I use a 10% solution of disodium EDTA (sometimes sold as Trilon B) for this step, though any suitable descaling agent will do. An ultrasonic cleaner speeds up the process considerably. After cleaning, rinse the parts thoroughly in cold water — filtered or ideally distilled.
💡 An ultrasonic cleaner is an excellent investment for any modeller working regularly with metal parts. It dramatically reduces cleaning time and produces consistently better results.
Applying the Solution
For larger parts, apply the solution with a cotton swab or pad. For smaller parts, use immersion — in a small separate container, not from the main bottle. After the recommended dwell time (typically 1–3 minutes, per the product instructions), rinse the part in cold water and allow it to dry. Repeat the cycle for a deeper, more saturated colour.
Once the part is rinsed and dry, I recommend applying a thin coat of gun oil for preservation and a more stable finish. A wide range of such products is available in both liquid and spray form. Allow the parts to stabilise for several hours — up to a full day — before fitting them to the model. Do not rush this step.
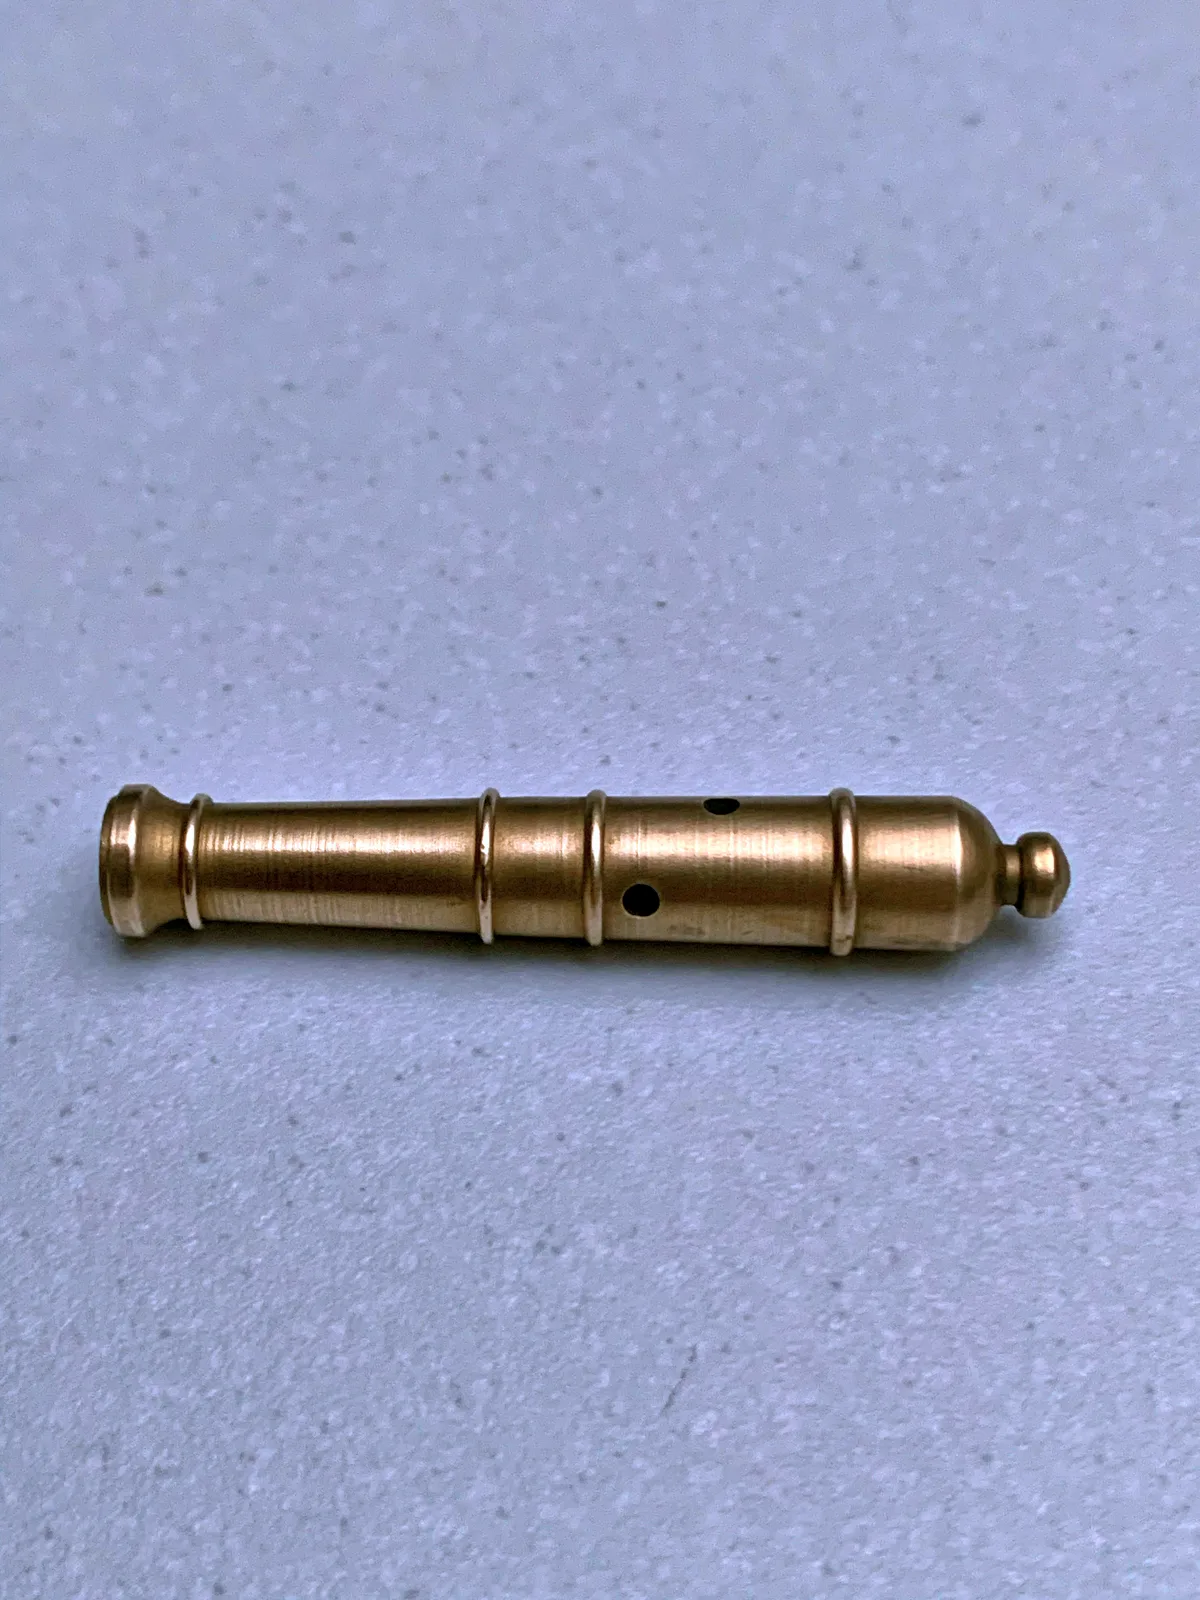
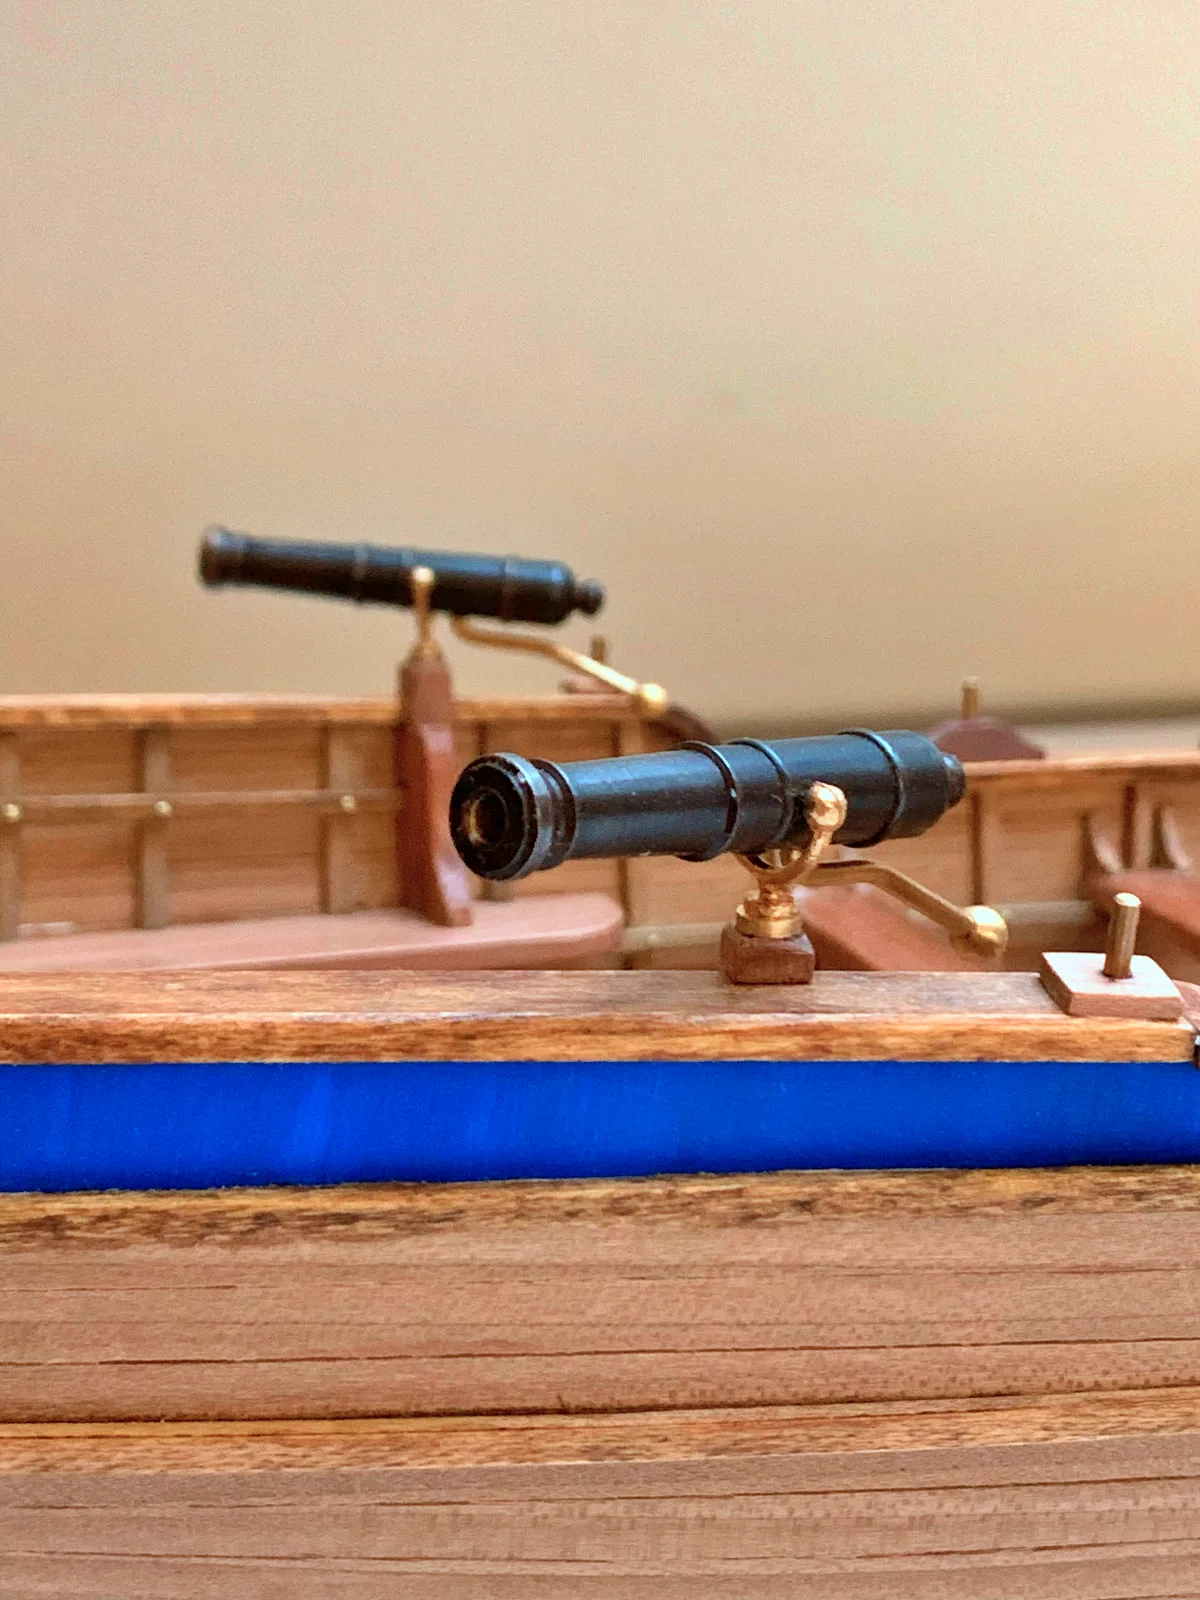
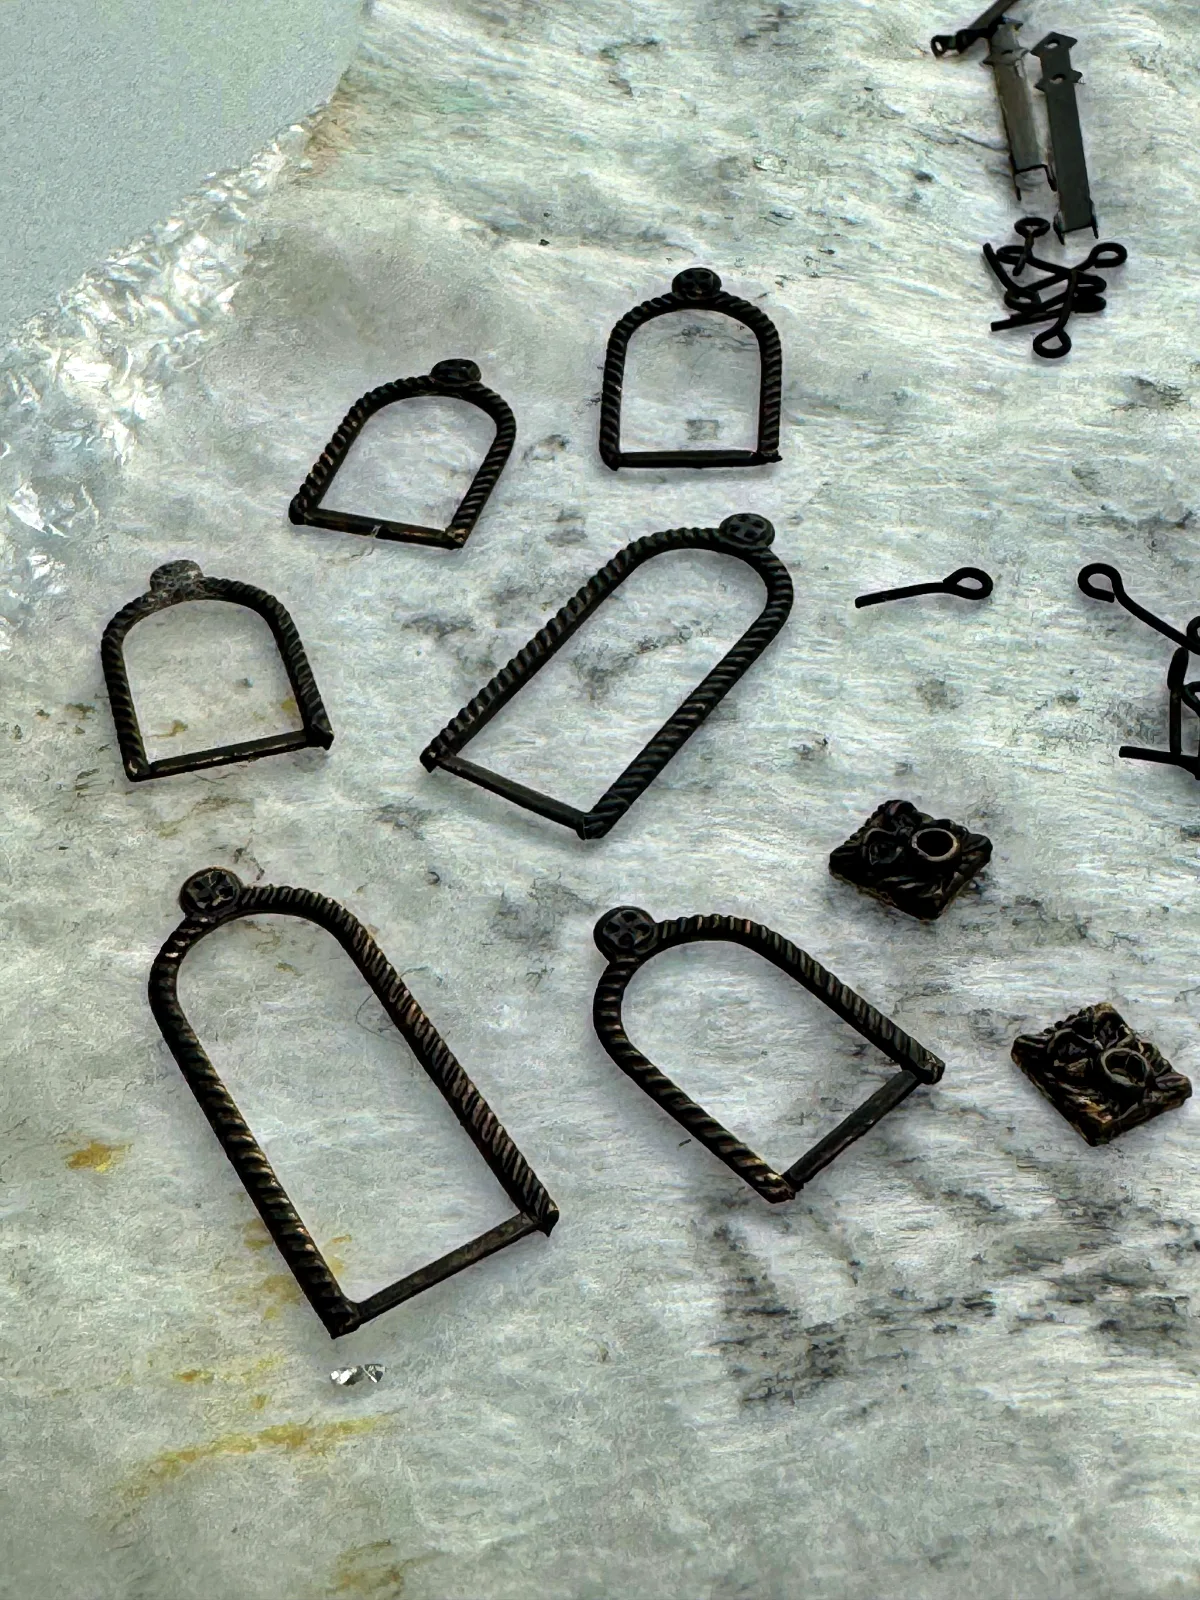
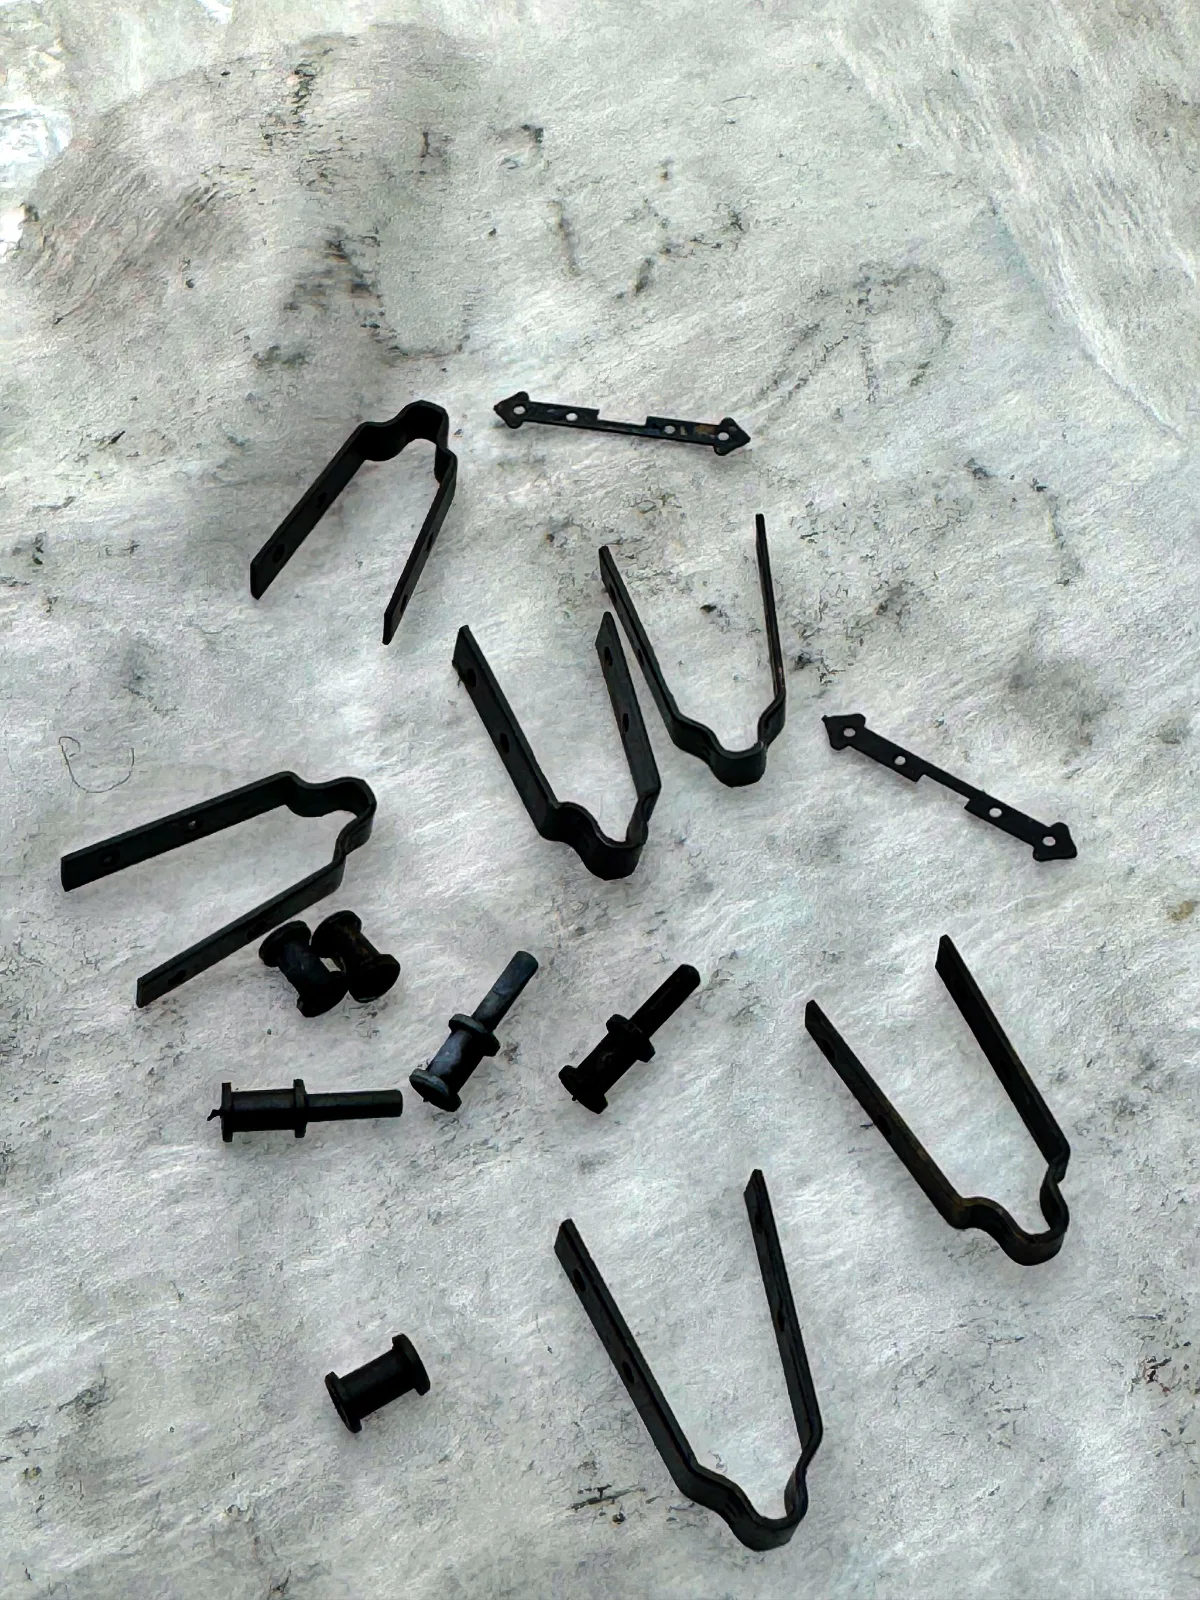
Troubleshooting
Below are the most common defects, their likely causes, and how to correct them:
| Defect | Likely Cause | Remedy |
| Part shows no colour change (or only minor change); re-treatment makes no difference | The metal is likely not what it appears — probably a tin-based alloy that does not respond to chemical treatment. The part may also be lacquered, which simple degreasing will not remove. | Try a different solution (e.g. one formulated for aluminium). Attempt to remove the lacquer coat. If all else fails, prime and paint the part, or replace it with a third-party alternative. |
| Solution does not adhere to the surface | Insufficient surface cleaning, or the solution was left on too long. | Repeat the full clean-and-rinse cycle, then re-apply the solution. |
| Uneven or patchy finish | Poor surface preparation, touching the part with bare hands during treatment, or uneven application. | Repeat the clean-and-rinse cycle, use gloves and tweezers throughout, and apply the solution quickly and evenly. Re-apply if necessary. |
I hope you found this tutorial useful. Any suggestions or comments are very welcome — reach out via any convenient channel