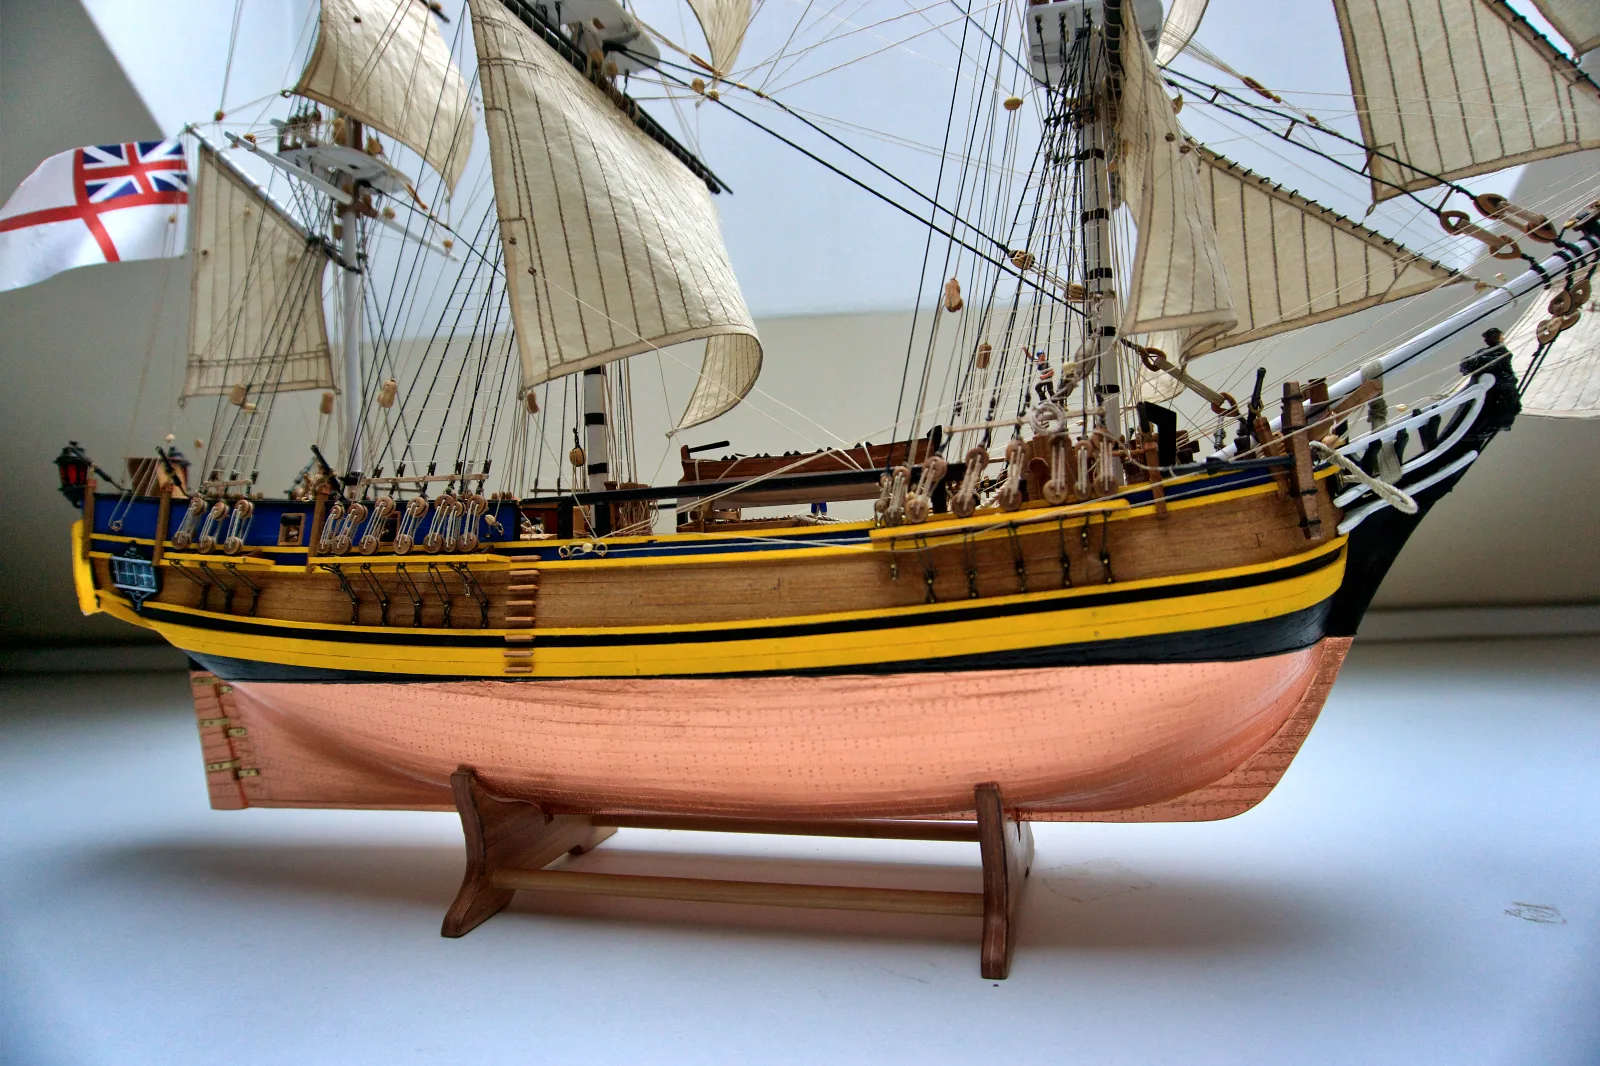
Painting and Finishing
A great deal of the final impression of a completed model depends on the finish. A good finish can add enormously to the model’s appearance, while a bad one can undo months of work. Besides, a model left without protective coating simply does not survive very long. That is why this section will focus on four important questions:
- What should you use for finishing?
- What should you finish?
- When should you finish it?
- How should you apply it?
There will be a lot of tables in this section, because they make it easier to choose the right combinations.
Any finish serves two purposes:
- to change the visual appearance by altering color and/or texture
- to protect the surface from harmful factors such as ultraviolet light, moisture, and pests
Usually both purposes are present at the same time, since even clear finishes change the texture to some degree, though there are exceptions such as products intended specifically for UV protection.
Important! No finish protects a model from children or cats — for that you need armored glass. But that subject lies outside the scope of this section.
Main types of finish:
- Paints. This term here covers all compounds that change the color of a part by being applied to the surface. Their penetration into the material is slight, so paint can be removed by stripping and sanding. Besides color, paints differ in opacity, gloss level, and chemical composition. All three factors matter when choosing one.
- Stains. These are similar to paints, but they change the color by soaking into the surface. They can be water-based or solvent-based. They preserve the visible grain of the wood and are mainly used to imitate different wood species.
- Varnishes. They change the color very little, ignoring tinted varieties. Their division by chemistry is similar to that of paints, but there are also special varnishes, for example for coating non-ferrous metals (see Tutorial Coppering). By surface character they may be matte, semi-gloss, or gloss. Personally, I do not like varnishes much and prefer oils.
- Oils. In purpose they are similar to varnishes, but unlike them, oils soak into the wood instead of forming a film on the surface. They usually darken the wood slightly, and this effect tends to increase over time. The result depends on the wood species and the direction of the grain, so if you are using an oil for the first time, test it first.
- Waxes. In my opinion, nothing else gives such a soft, silky sheen to a surface. Wax partly forms a film and partly fills the pores. But it is also the most difficult to apply well, because it requires rubbing and polishing, which is not always possible. It is my favorite finish, though I use it only where I can apply it properly.
The table below gives options for choosing a finish. It is not a rigid rule, but rather a set of recommendations based on personal experience. Chemical composition is intentionally excluded here and placed in a separate compatibility table so as not to overload the main one. The number indicates the layer number; optional layers are shown in square brackets. If several combinations are acceptable, they are grouped by the same color fill. For example, wooden hull planking can either be painted, with or without primer, or finished with oil or wax, with or without stain.
| Part type | Primer | Paint | Varnish | Stain | Oil | Wax |
|---|---|---|---|---|---|---|
| Planking (wooden planks) | [1] | 2 | [1] | [2] | [2] | |
| Planking (metal or plastic) | 1 | 2 | 3 | |||
| Deck planking | [1] | [2] | [2] | |||
| Spars | 1 | [1] | [2] | |||
| Small details | 1 | |||||
| Superstructures | 1 | |||||
| Photo-etch* | 1 | 2 | |
Photo-etched parts, like other metal parts, can be painted, but they are often better chemically blackened with special products. If you do decide to paint them, using a dedicated metal primer is highly desirable
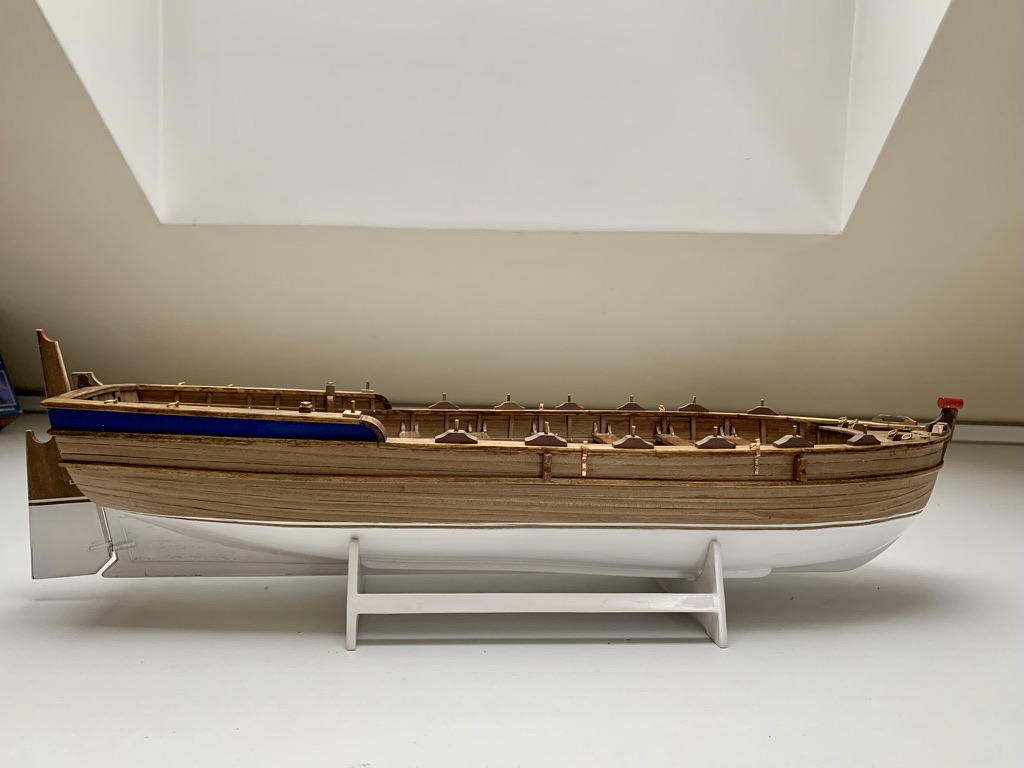
This is not a trivial question: any paint reduces the strength of a glued joint. So at first glance it might seem better to glue everything first and paint later. But try painting something buried in a thicket of other parts, especially when varnish, for example, often has to be applied in several coats with sanding in between. In practice, I use the following approach:
- If preliminary assembly does not make painting individual parts difficult, assemble first and paint later, using masking tape if necessary.
- If a part must be painted before it is glued in place, make sure the bonding surface is protected with masking tape. And/or add a mechanical fixing element such as a fine nail or a tenon, and choose the glue carefully.
- When applying one type of finish over another, take compatibility into account (see the table below).
| First/Second coat | Water-based paints, primers, and varnishes | Solvent-based paints, primers, and varnishes | Water-based stain | Solvent-based stain | Oil | Wax |
|---|---|---|---|---|---|---|
| Water-based paints, primers, and varnishes | Compatible | Incompatible | Incompatible | Incompatible | Incompatible | Incompatible |
| Solvent-based paints, primers, and varnishes | Compatible | Compatible | Incompatible | Incompatible | Incompatible | Incompatible |
| Water-based stain | Compatible | Incompatible | Compatible | Use with caution | Compatible | Compatible |
| Solvent-based stain | Incompatible | Incompatible | Incompatible | Compatible | Use with caution | Use with caution |
| Oil | Incompatible | Incompatible | Incompatible | Use with caution | Compatible | Incompatible |
| Wax | Incompatible | Incompatible | Incompatible | Incompatible | Incompatible | Compatible |
In this part, I would single out three main aspects:
- Surface preparation
- Application technique and tools
- Post-treatment
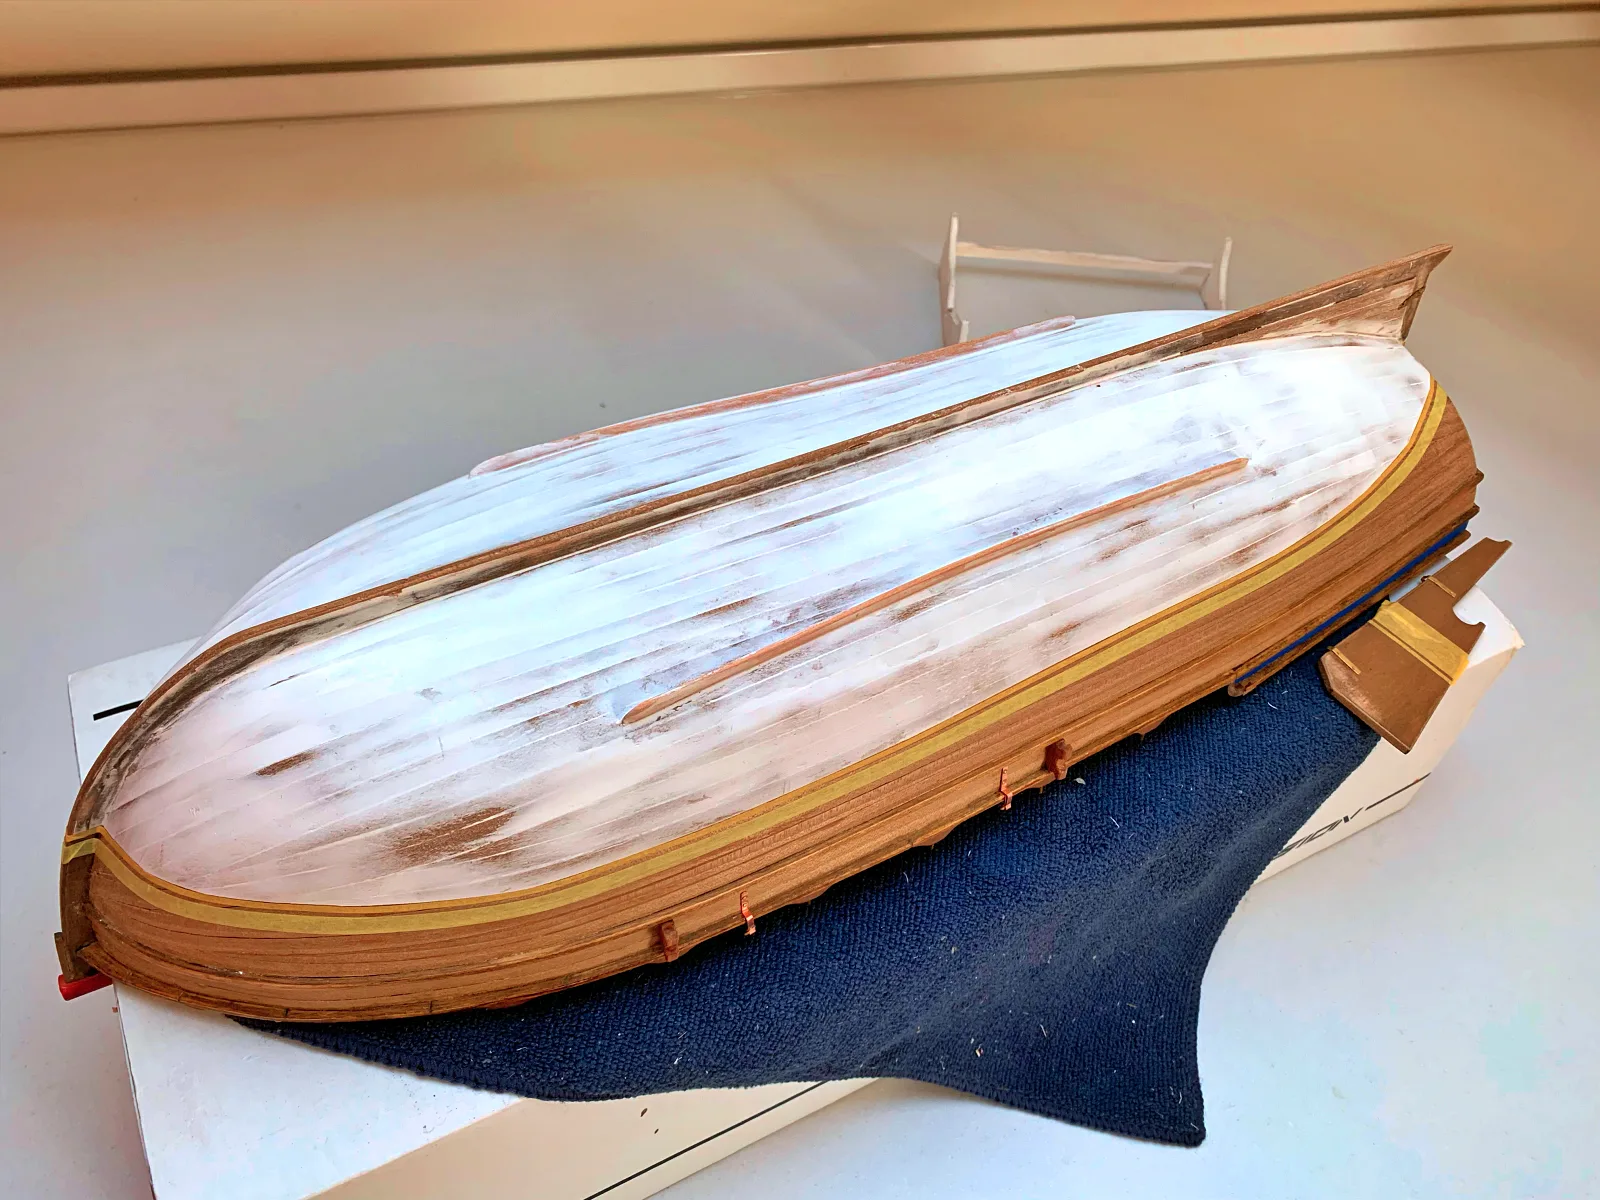
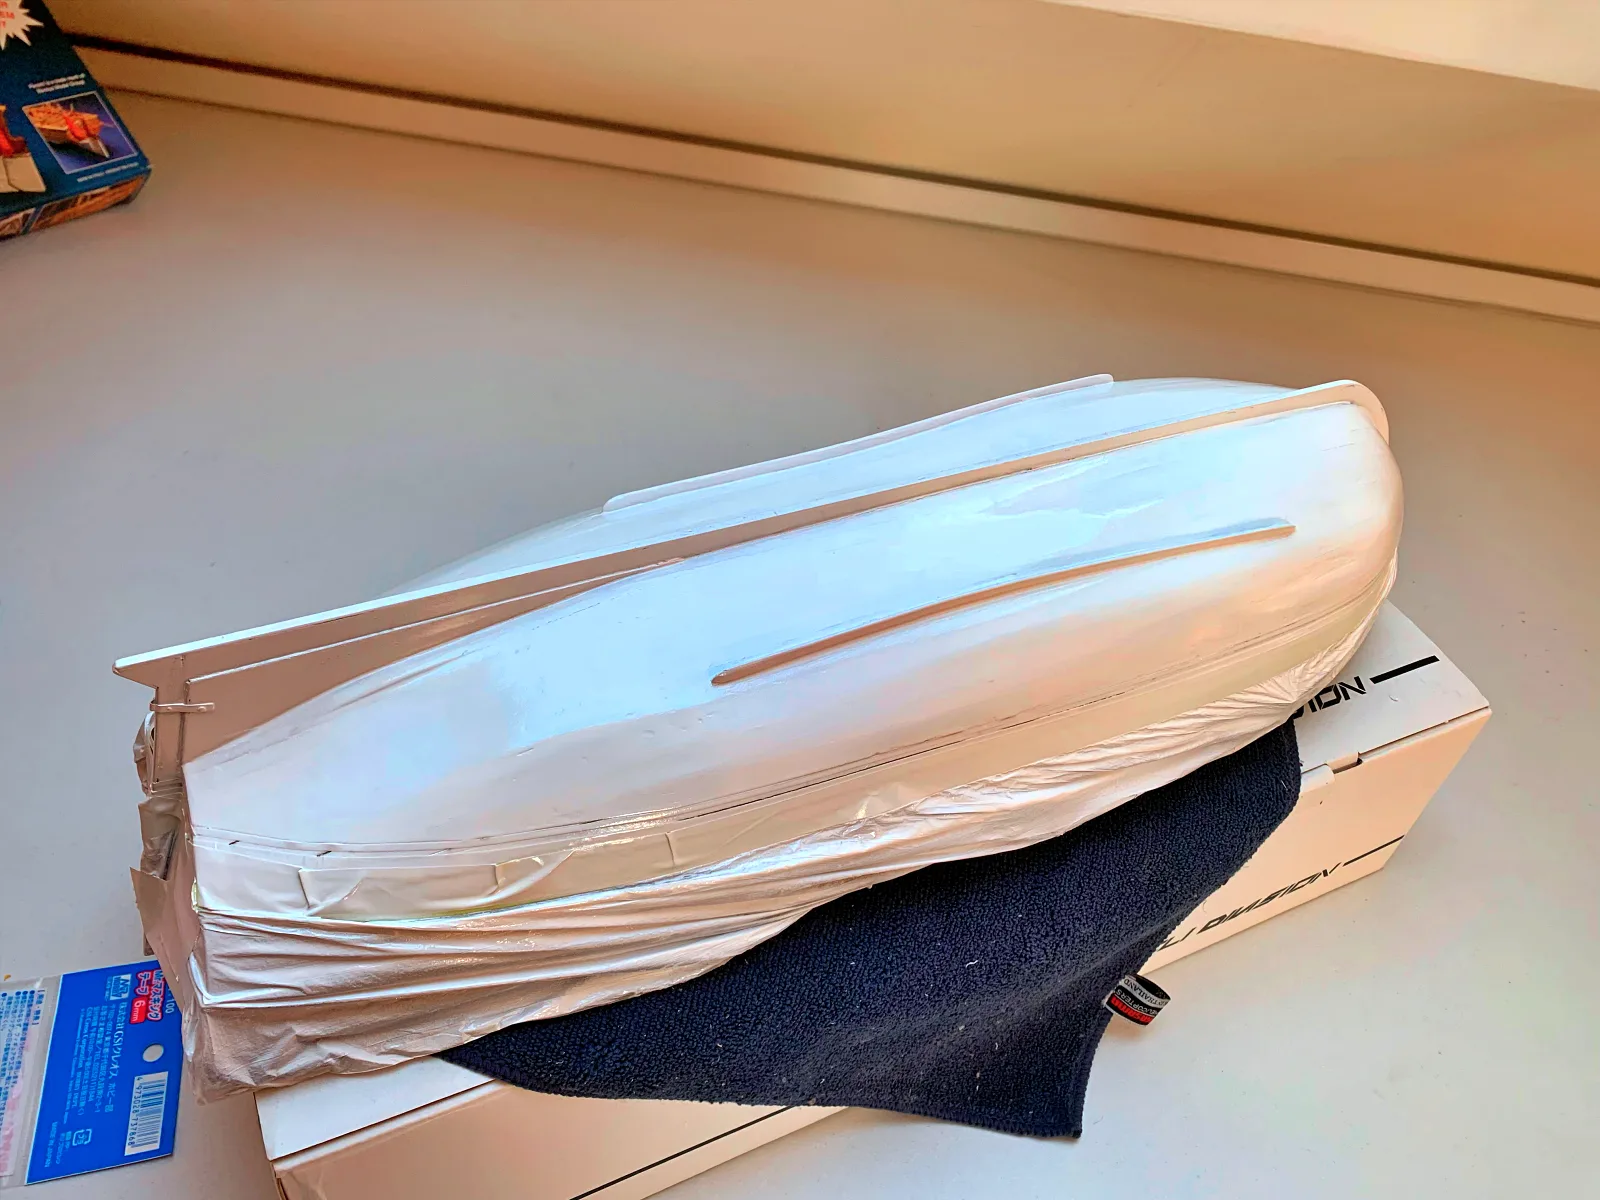
Any surface must be prepared before applying a finish: at minimum, sanded and dust-free; if necessary, filled and primed with an appropriate primer. If you hope that paint will hide small surface defects, that hope is misplaced — paint only emphasizes them. So below is the full preparation cycle for a surface intended to imitate a ship’s metal hull plating, assuming the rough sanding has already been done:
- Sand with fine sandpaper (220–240 grit) to remove minor unevenness and raised grain.
- Fill the surface and sand it after drying with fine sandpaper (600 grit). If necessary, repeat this step several times until the surface becomes smooth, with no visible traces of plank joints — like an eggshell.
- Final sanding with very fine sandpaper (1000–1500 grit), almost to a glass-like smoothness.
- Apply primer with an airbrush or spray can.
- Repeat the sanding from step 3.
Not every step is mandatory. If you are using something other than an opaque paint, or if you want to preserve the texture of the wood, it is usually better to avoid filler altogether, or at least use it only locally and with very careful color matching. Keep in mind that stains and oils soak differently into areas that were filled, so even well-matched patches may stand out after finishing. Primer can also be applied with a brush, but achieving a perfectly even coat that way is difficult. So if the aim is to imitate metal, an airbrush or spray can is the better option.
Technique and tools
Of course, everything must be guided by the instructions for the product and by the final effect you want, but a few rules are worth keeping in mind:
- Do not try to cover a part in one heavy coat. It is better to apply several thinner coats, each after the previous one has dried.
- Use the appropriate tool (see the table below).
| Part (surface type) | Paint/ Varnish | Stain | Oil | Wax | Primer |
|---|---|---|---|---|---|
| Planking (wooden planks) | Airbrush/brush | Brush/pad | Brush | Pad | Airbrush/brush |
| Planking (metal or plastic) | Airbrush | – | – | – | Airbrush |
| Spars | Airbrush/brush | Brush | Brush | Pad | Brush |
| Photo-etch | Airbrush/brush | – | – | – | Brush |
| Deck planking | Airbrush/brush | Brush | Brush | Pad | Brush |
| Display stand | Airbrush | Brush | Brush | Pad | Brush |
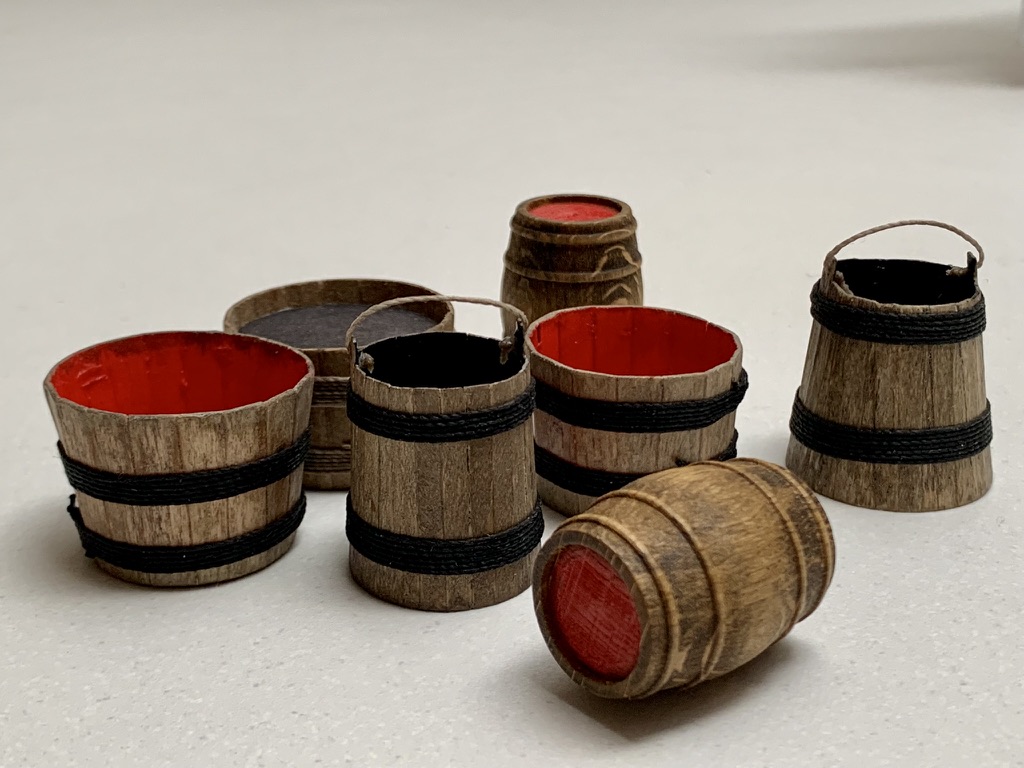
| Small details | Airbrush/brush | Brush/dip | Brush | – | Brush |
| Superstructures | Airbrush/brush | Brush | Brush | – | Brush |
- Thin the paint or varnish correctly according to its chemistry and the tool being used. Use only compatible thinners.
- Clean your tools promptly.
- Between coats, the surface can be sanded with very fine sandpaper if necessary, but this must be done very carefully and only after the coat is completely dry.
- Always consider material compatibility.
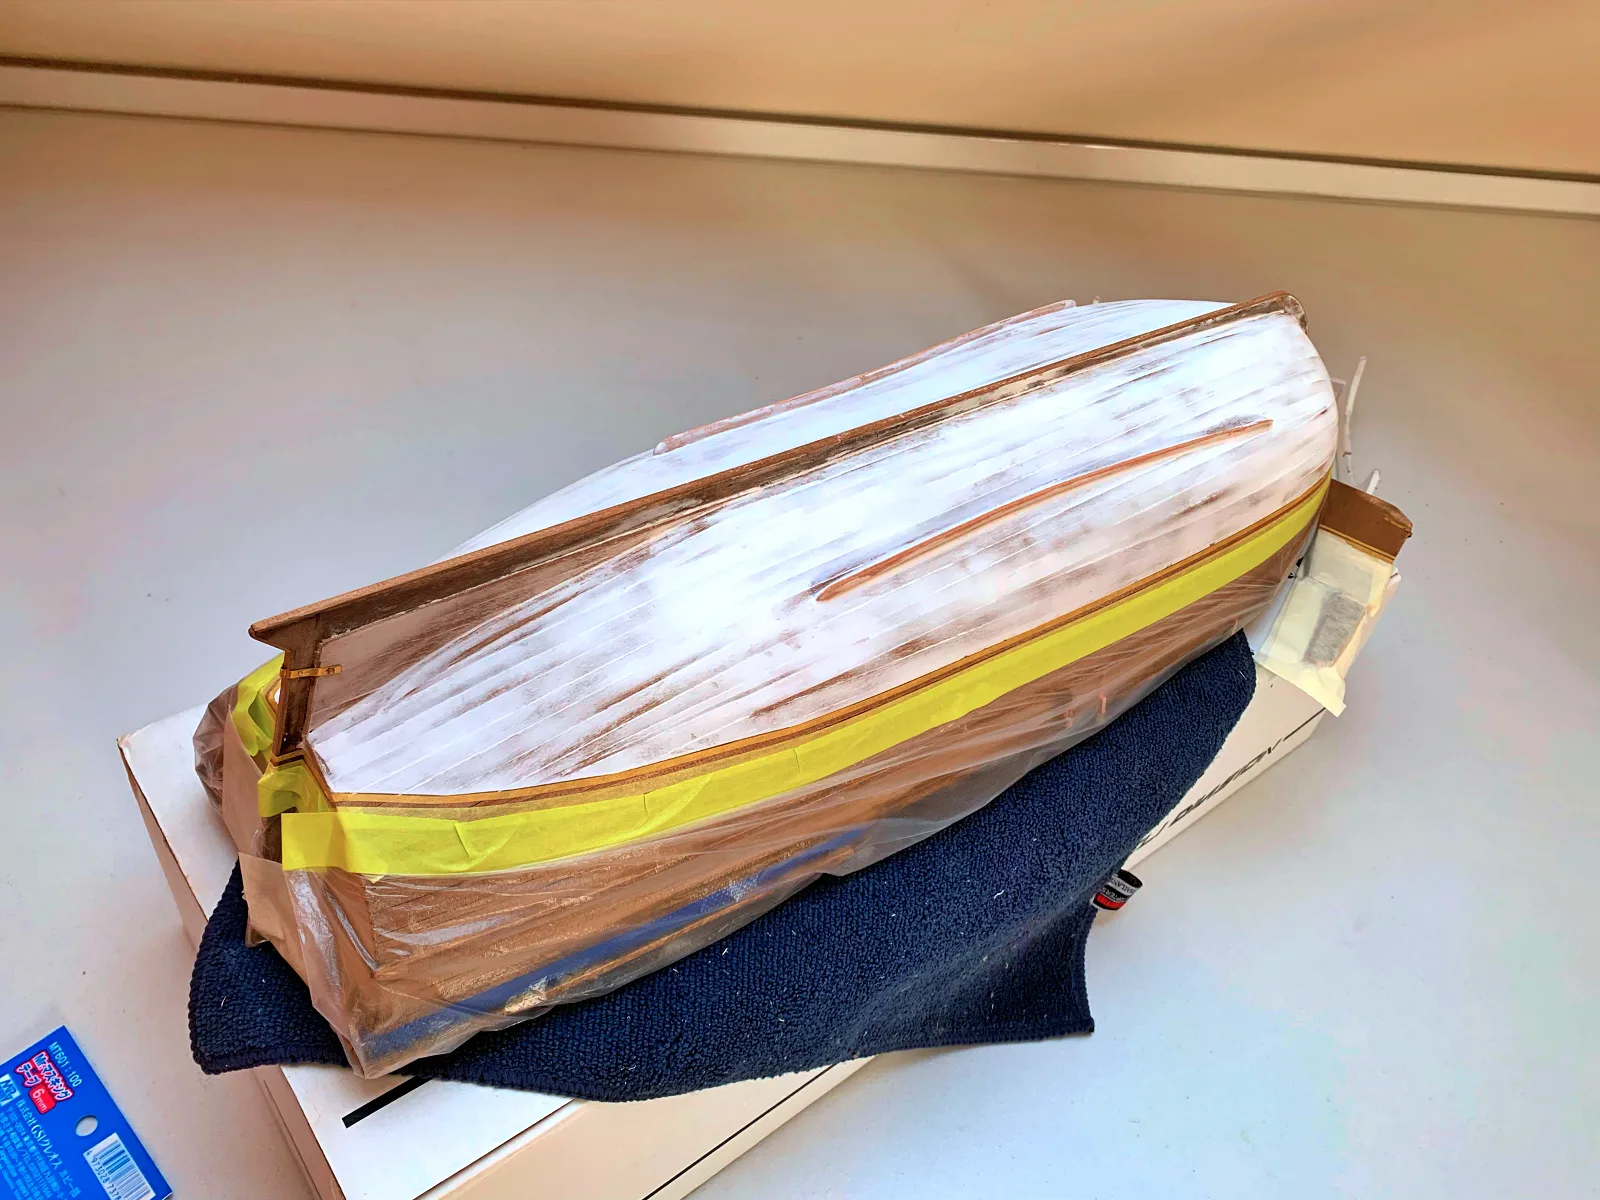
- Use masking materials such as tape, film, or putty to separate colors.
- Remember gravity — paint must not run onto an area of a different color, even if that area is masked. The edge with masking tape should be positioned so that the tape is above the painted area; otherwise, you may end up with runs that are difficult to remove.
After the final coat has dried, post-treatment may follow: polishing, additional protective coats, weathering, or applying decals. Since many parts are installed after painting, special care is needed not to damage the finish during assembly. Soft microfiber cloths placed over the building slip, masking tape in the work area (just do not forget to remove it promptly, as it may leave marks), and any other protective measures can all be useful.