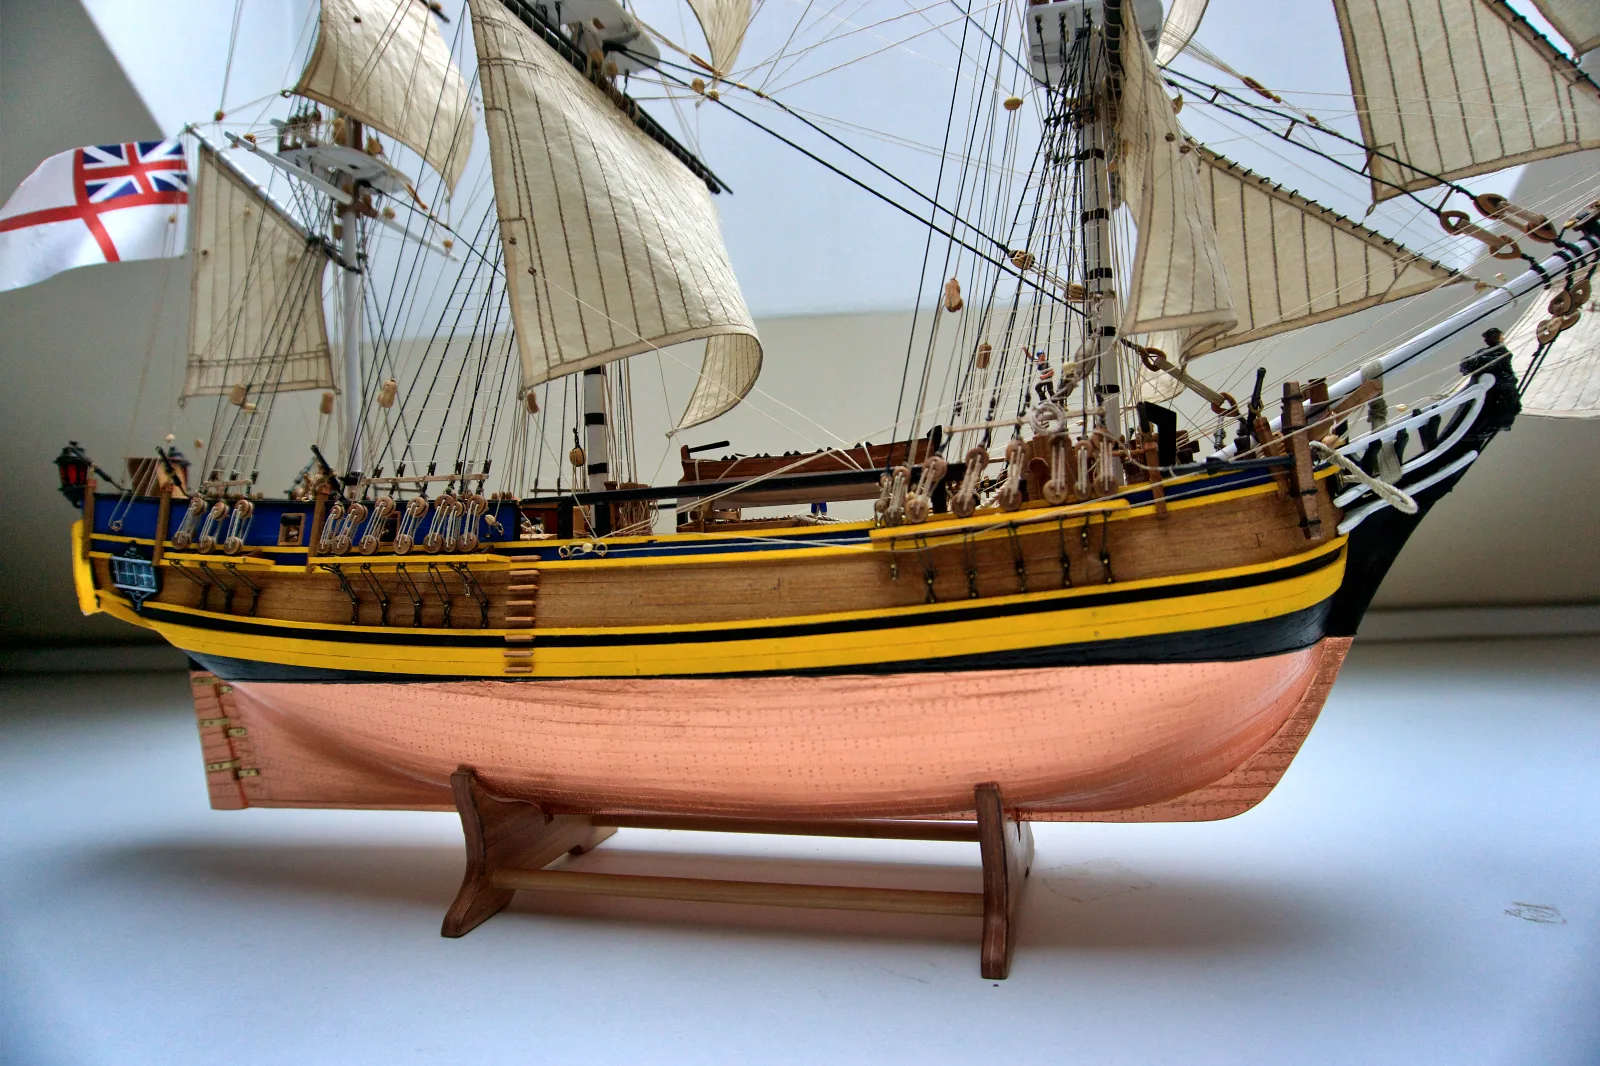
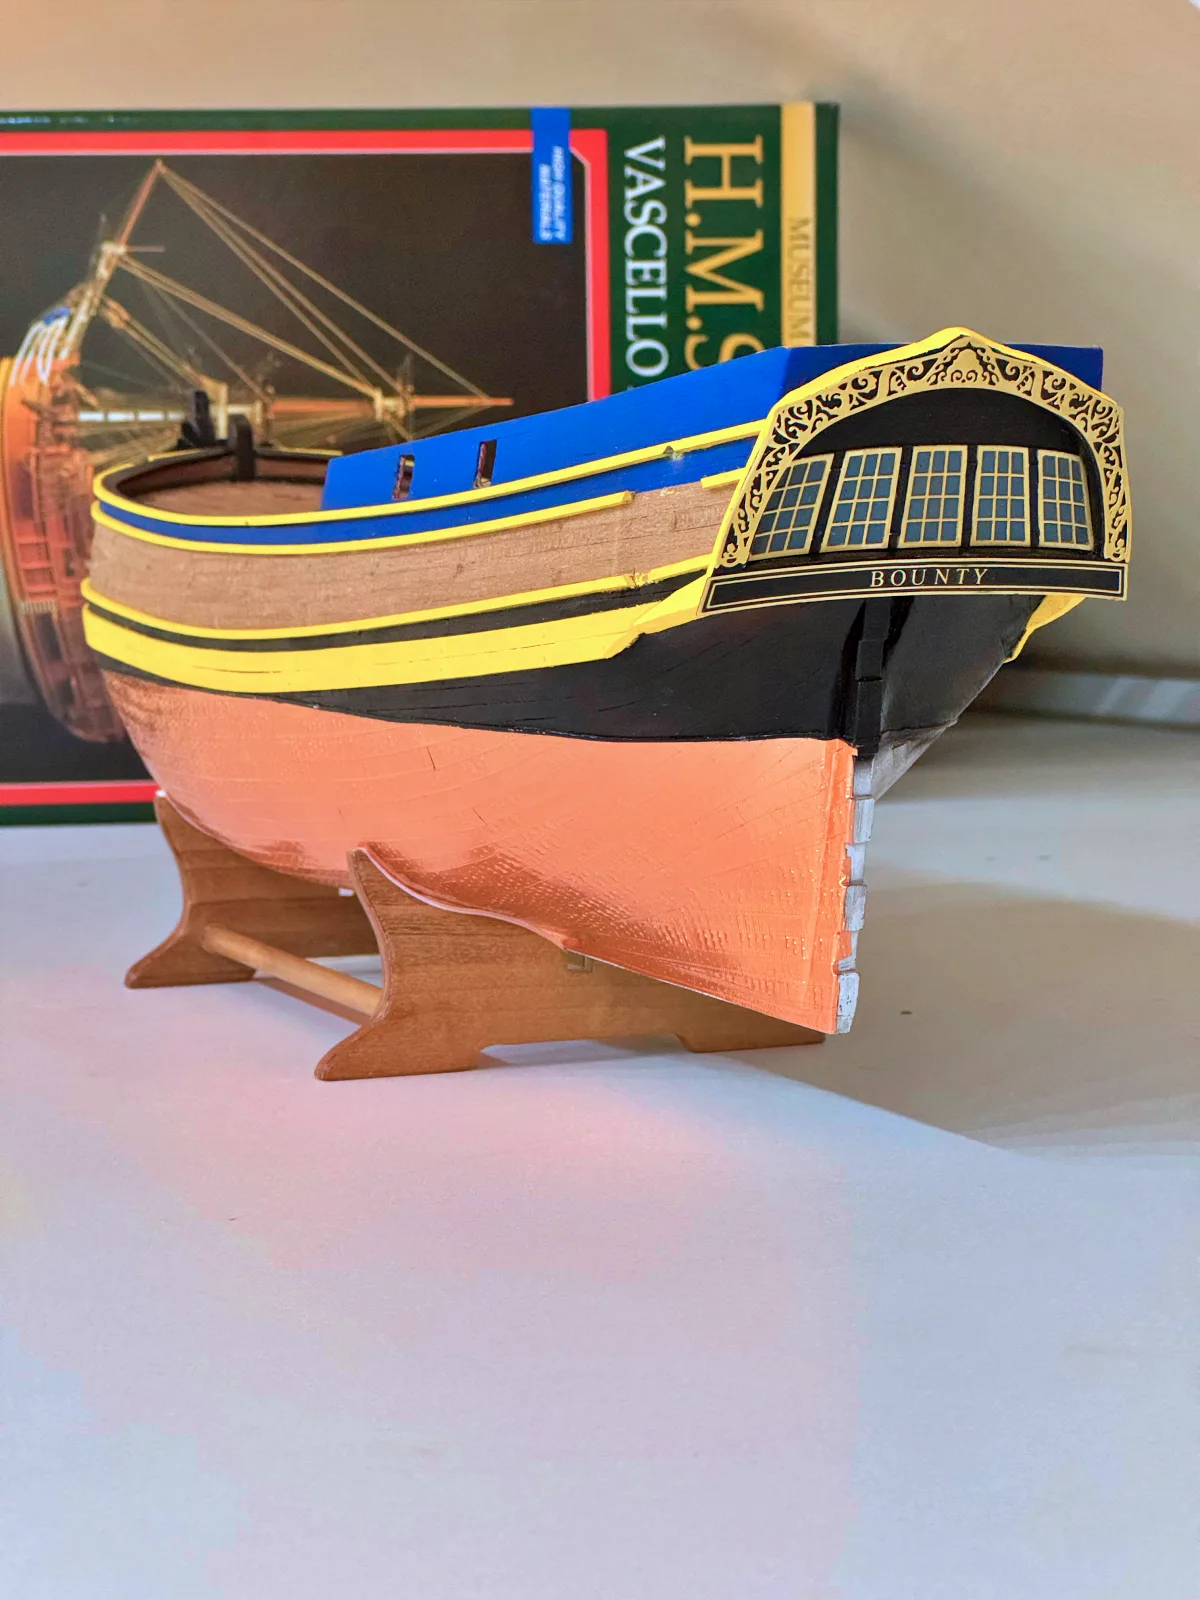
Coppering
The transition to copper sheathing below the waterline in the second half of the eighteenth century was a true revolution in the sailing navies. It marked the end of the era of tar, tallow, and endless careening, made it possible to forget for long periods about fouling and shipworm, and gave the fleets of the leading maritime powers — above all the British — a real strategic advantage in speed, range, and readiness for battle.
Before deciding to do it, first make sure the original vessel actually had such sheathing. If it did, the plate size must be matched correctly to the model scale. Even when plates are included in the kit, manufacturers are not always concerned with such trifles as historical size. The required quantity can then be estimated using the formula:
N = 2 × L / l × (H / h + 2), where
L = the length of the waterline on one side, measured along the hull rather than the overall hull length on the plans
H = the height from the waterline down to the keel along the side at midships
l and h = the scaled size of one copper plate. Important: the plate size must be chosen with your available tools and materials in mind (foil strip, embosser, or ready-made set). Choose the nearest practical size to the calculated one and then substitute that into the formula. L and H can be measured with thread.
Next, choose the technique: ready-made plates or a brass foil strip. I recommend buying either type on a paper backing with a self-adhesive layer. It is, of course, possible to work with glue, but that requires very careful glue selection and a great deal of precision to keep adhesive off the foil. To avoid the risk of copper lifting over time, the surface must be thoroughly degreased before application, and the uncovered part of the hull should not be touched with bare hands while you work. For reliability, I coat the finished plates with a special lacquer for brass. Note that the lacquer must be specifically intended for direct application to non-ferrous metals, without primer.
Bounty example: typical plate dimensions were about 4 × 1.17 feet, which at 1:60 scale gives a range of roughly 18–22 by 5–7 mm. Round that to the embosser you actually have, 6.35 × 21.6 mm, and a strip width of 6.35 mm.
L = 550 mm, H = 120 mm
This gives: 2 × 550 / 21.6 × (120 / 6.35 + 2) = 1064 plates. Multiplying 1064 × 0.0216 gives the required strip length in meters — 23 m. So you buy 33 meters, because of course it is never sold in smaller amounts ☺
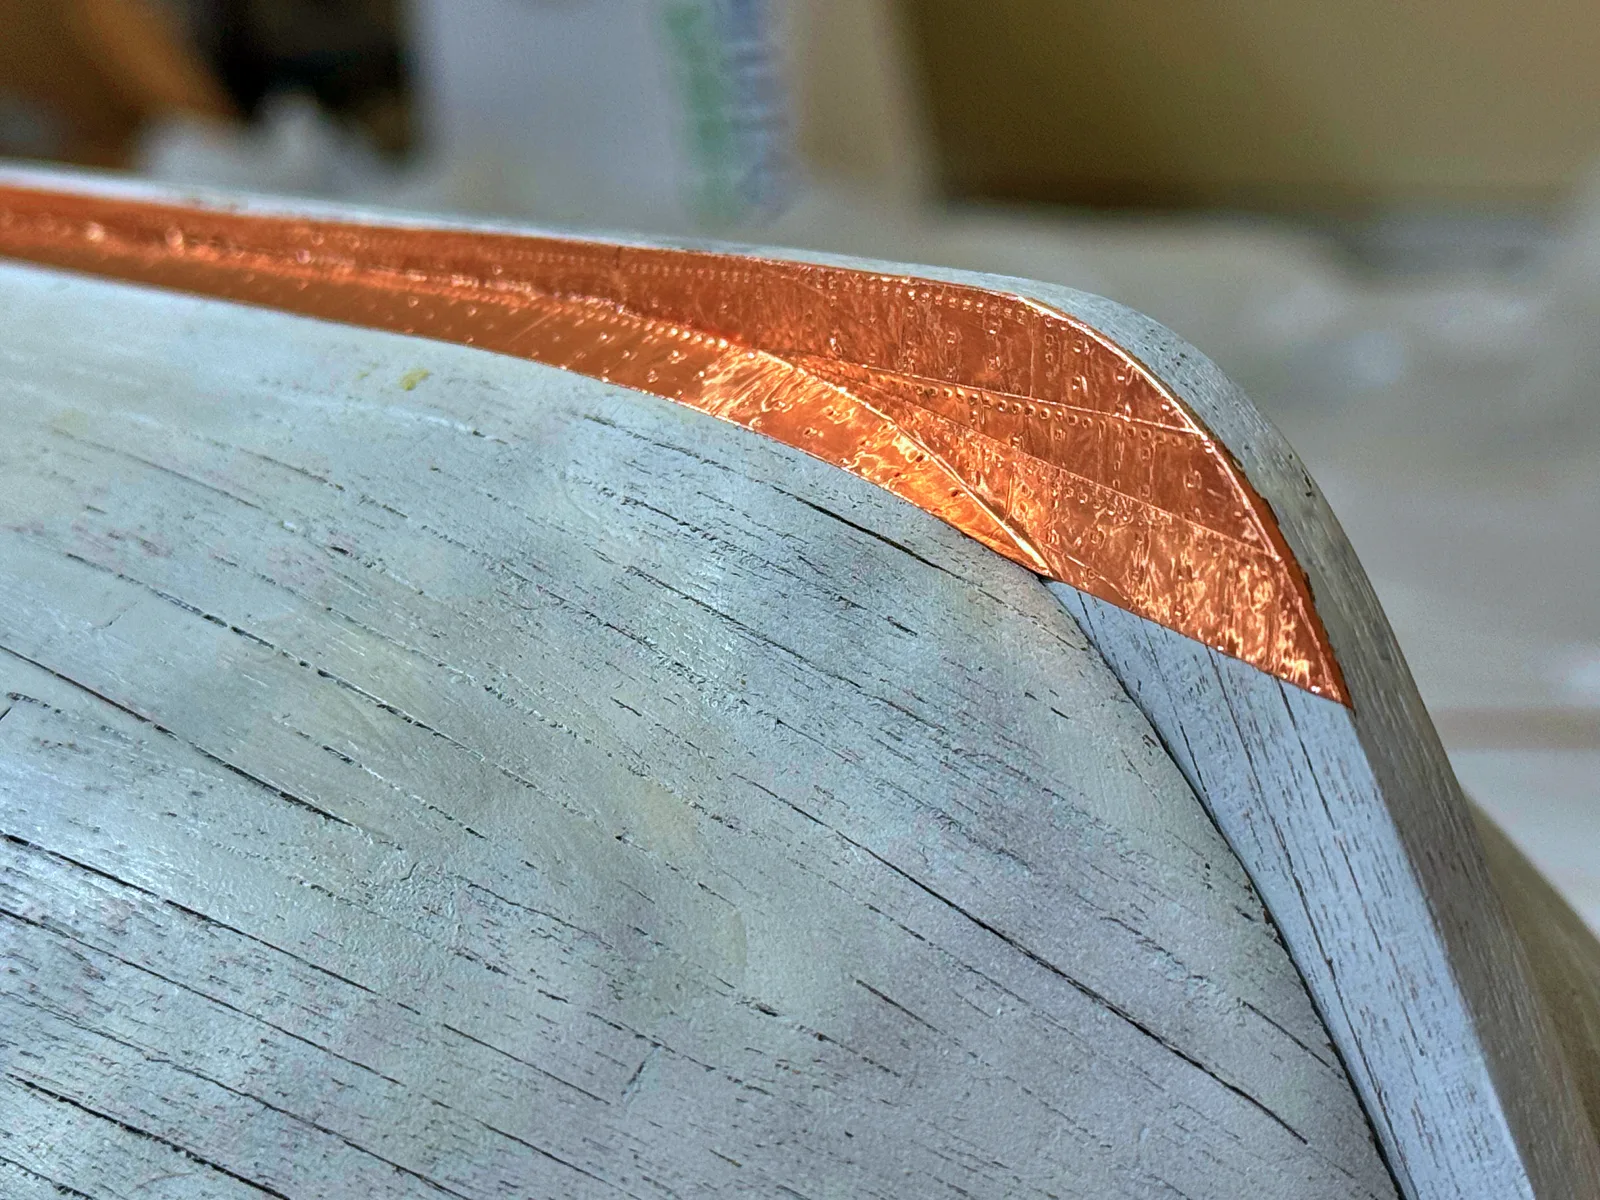
Now about the application method. I first glue a very thin wooden strip along the waterline, ideally 0.5 × 0.5 mm. If only 1 × 1 mm stock is available, it is better to sand it down slightly after gluing so it does not stand out too much on the hull. This strip makes a convenient stop for the first copper belt and helps produce a clean, neat joint between the copper and the wooden planking.
If you are using ready-made plate blocks or individual plates, you can skip the next paragraph ☺
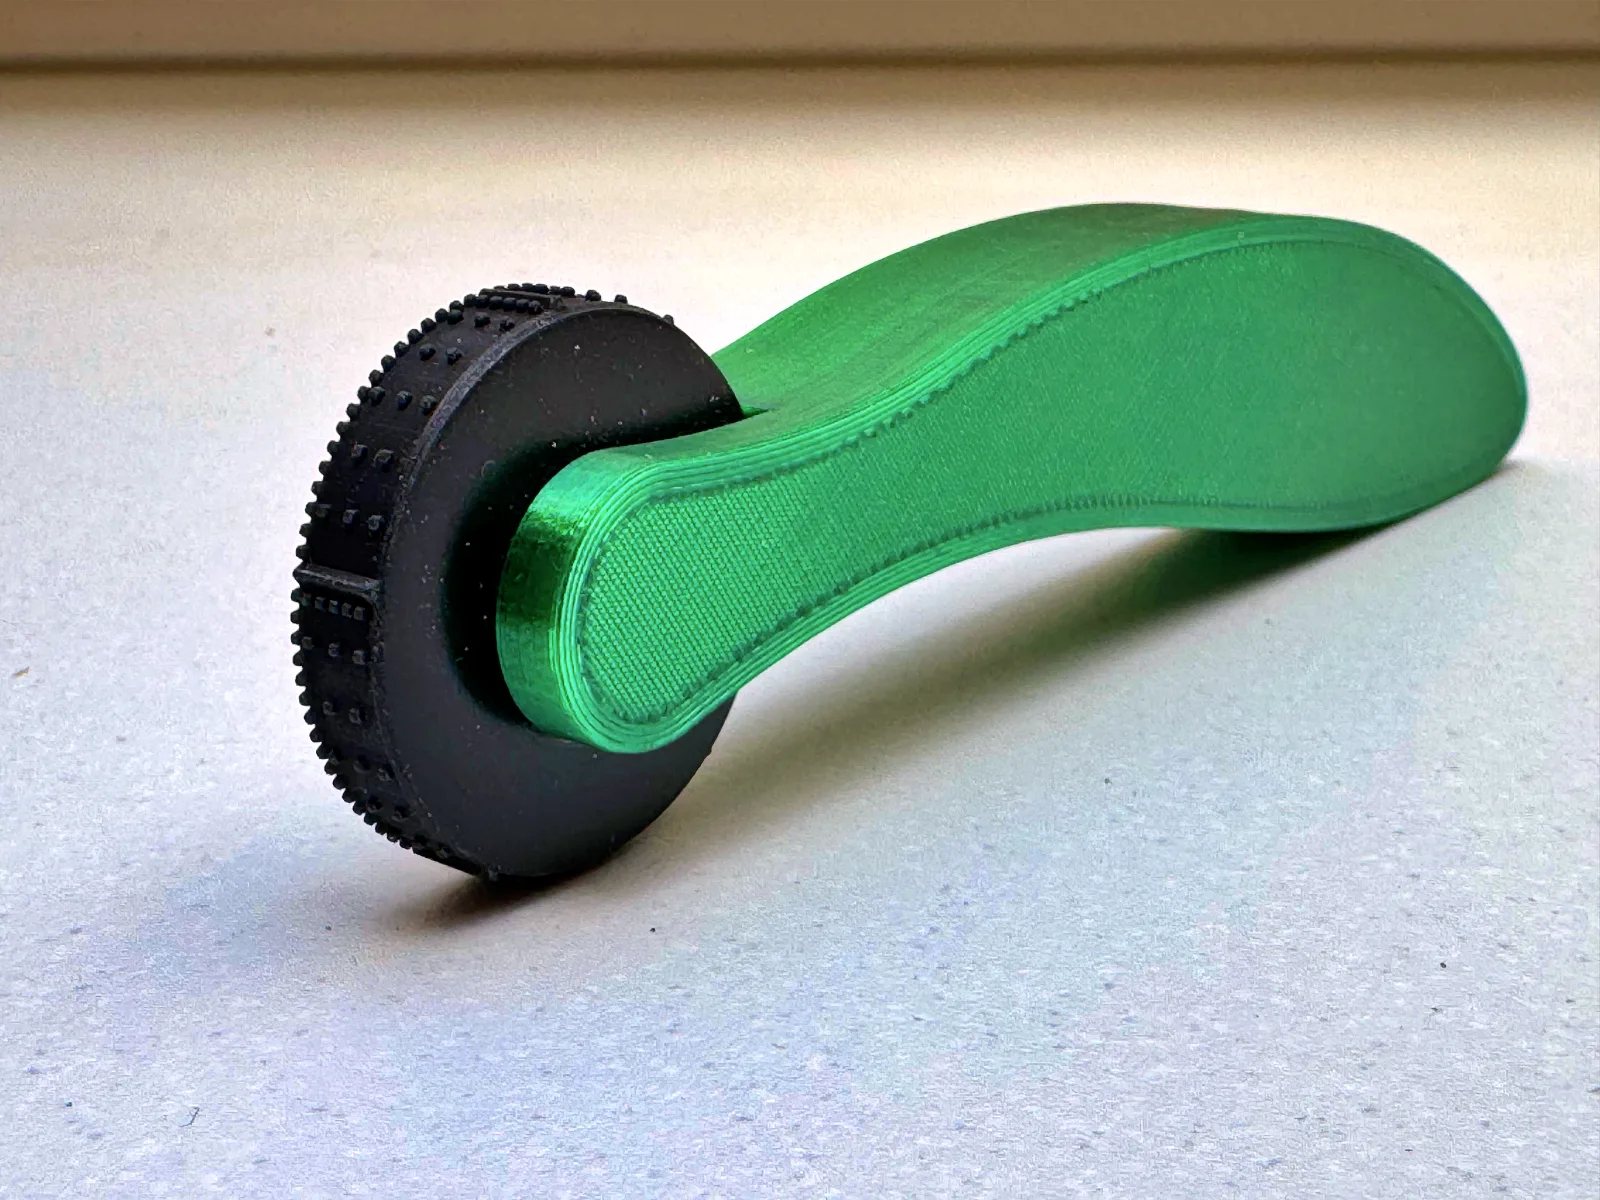
If you are using foil strip: cut off a piece of convenient length, enough for about five plates for example, and mark the plate and seam pattern with the embosser. Ideally, the embossing should be done from the backing side, but if that does not work well, it can also be done from the foil side. During embossing, the strip should lie on a moderately firm elastic backing made of rubber or polyurethane foam. If the backing is too soft, the strip will crumple; if it is too hard, the pattern will not emboss properly.
Remove the paper backing and immediately apply the strip carefully to the hull, working from stern toward bow. Do not rush, but do not hesitate either. Each strip is really a one-shot operation — do not try to peel it off and reapply it; it is better to take a new strip. Press the strip down firmly, but do not burnish it with hard objects, or you may damage the embossing. You will quickly get the hang of it and reduce mistakes to a minimum. I begin at the keel and work upward to the waterline, trimming the excess foil flush against the previously glued strip at the waterline. After the main sheathing is complete, the run along the keel from the stern to the stem on the underside of the hull can be finished.

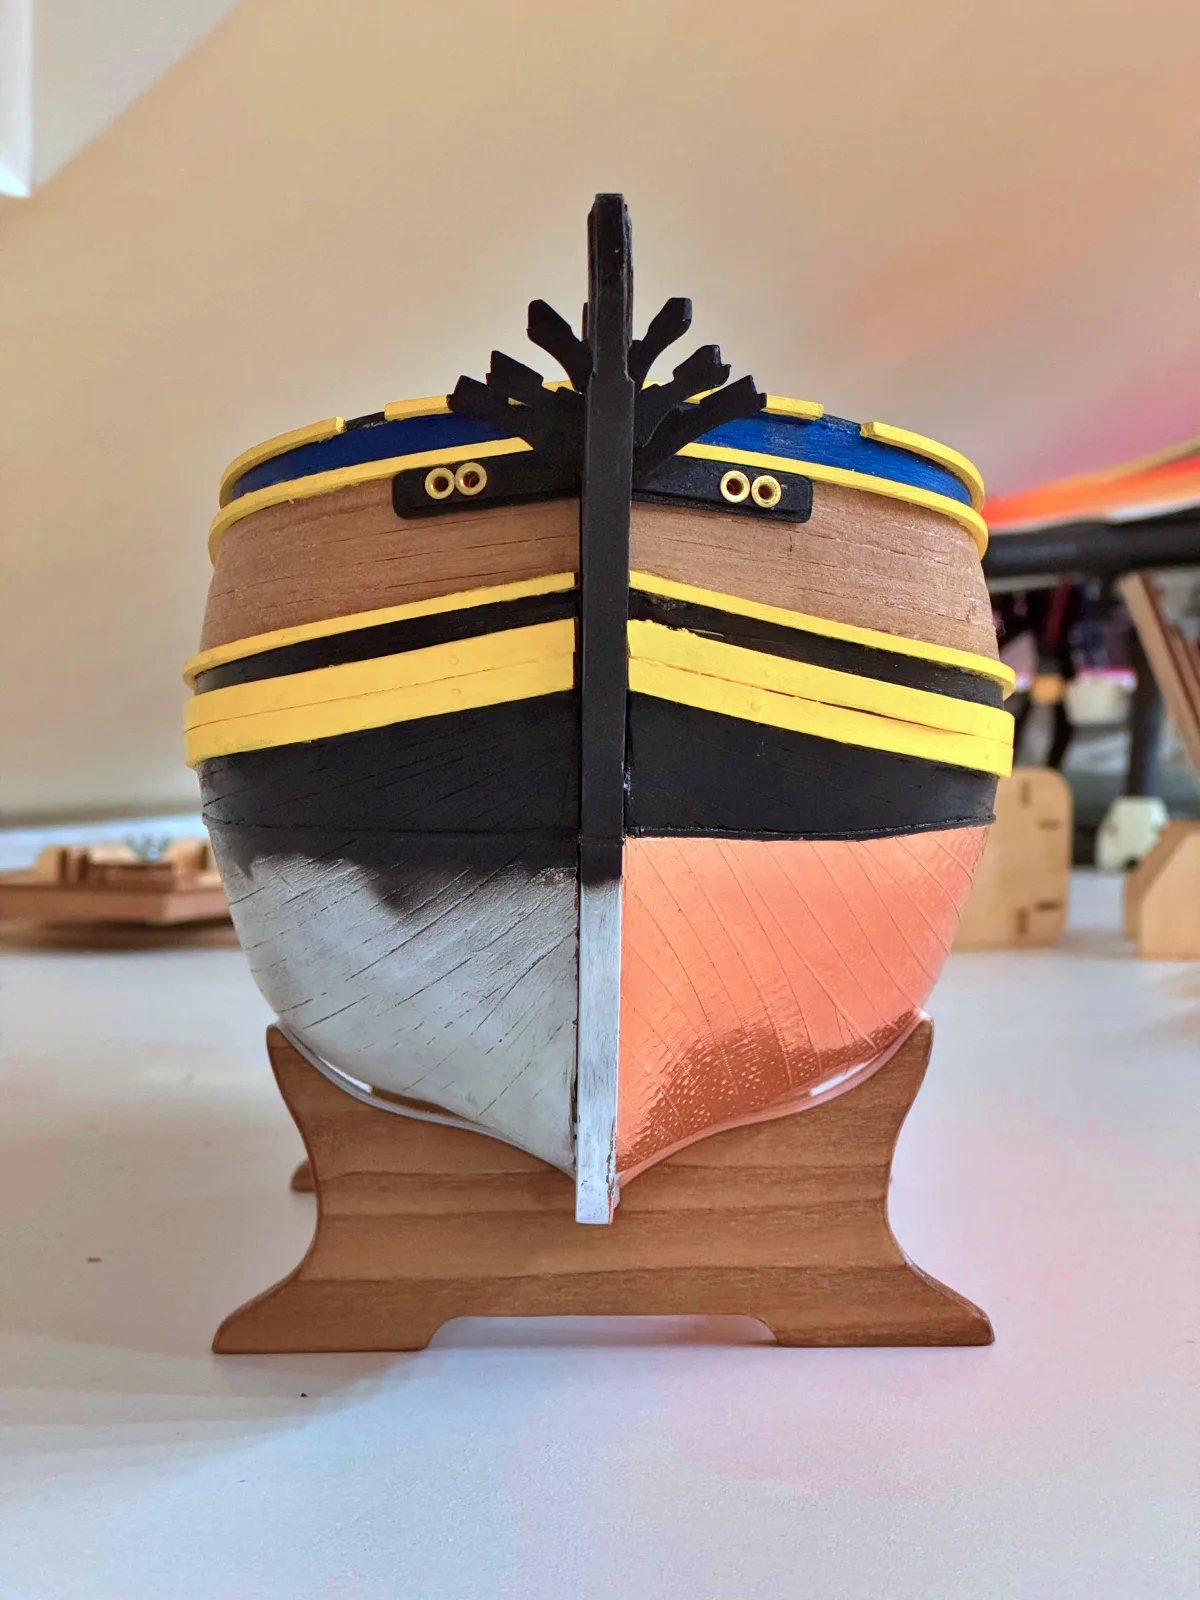
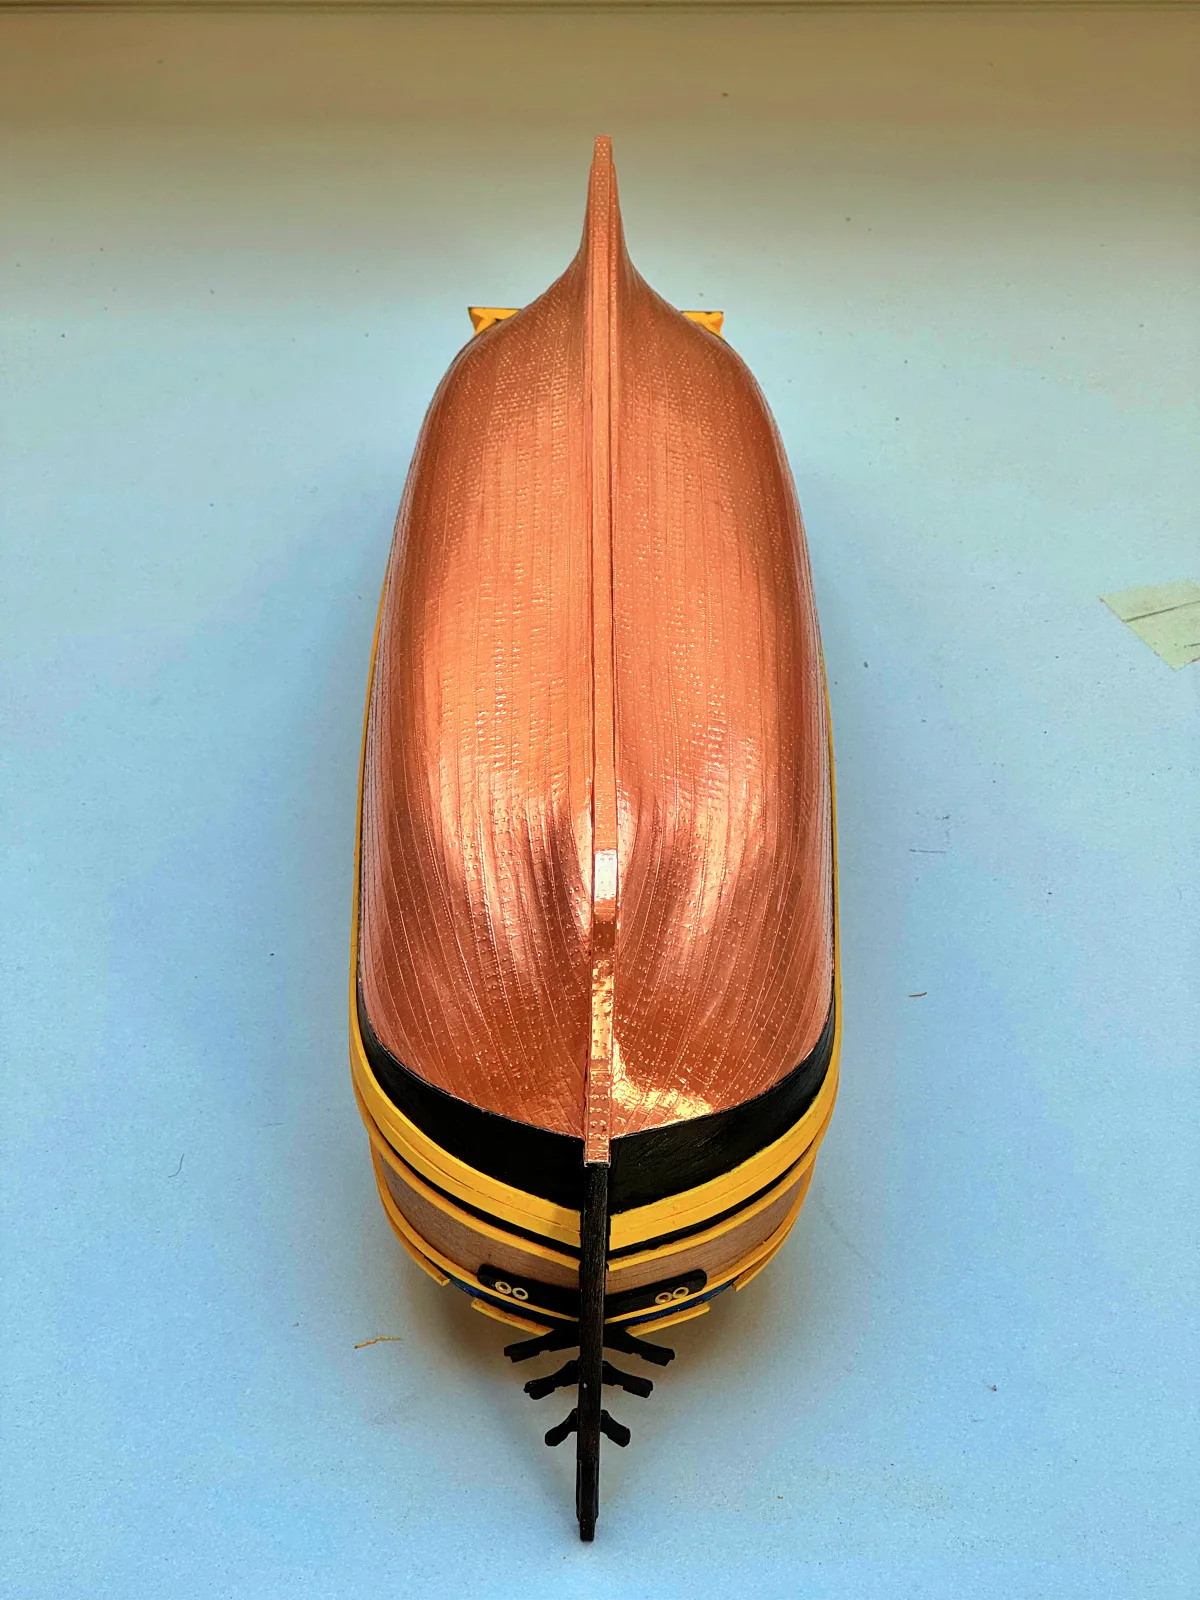
After application, I usually coat the bottom with a special brass lacquer in two coats, masking the rest of the hull with tape and film. It is important to let each coat dry properly according to the instructions for the particular product. Any mistake at this stage can ruin the whole job.
If, after reading all this, you decide to give up on copper sheathing, that is perfectly normal, especially if this is your first model. And if your first model requires copper sheathing, then you probably rushed into it a bit. Put that one aside and choose something simpler — the model will wait quite patiently for its time ☺