Spars
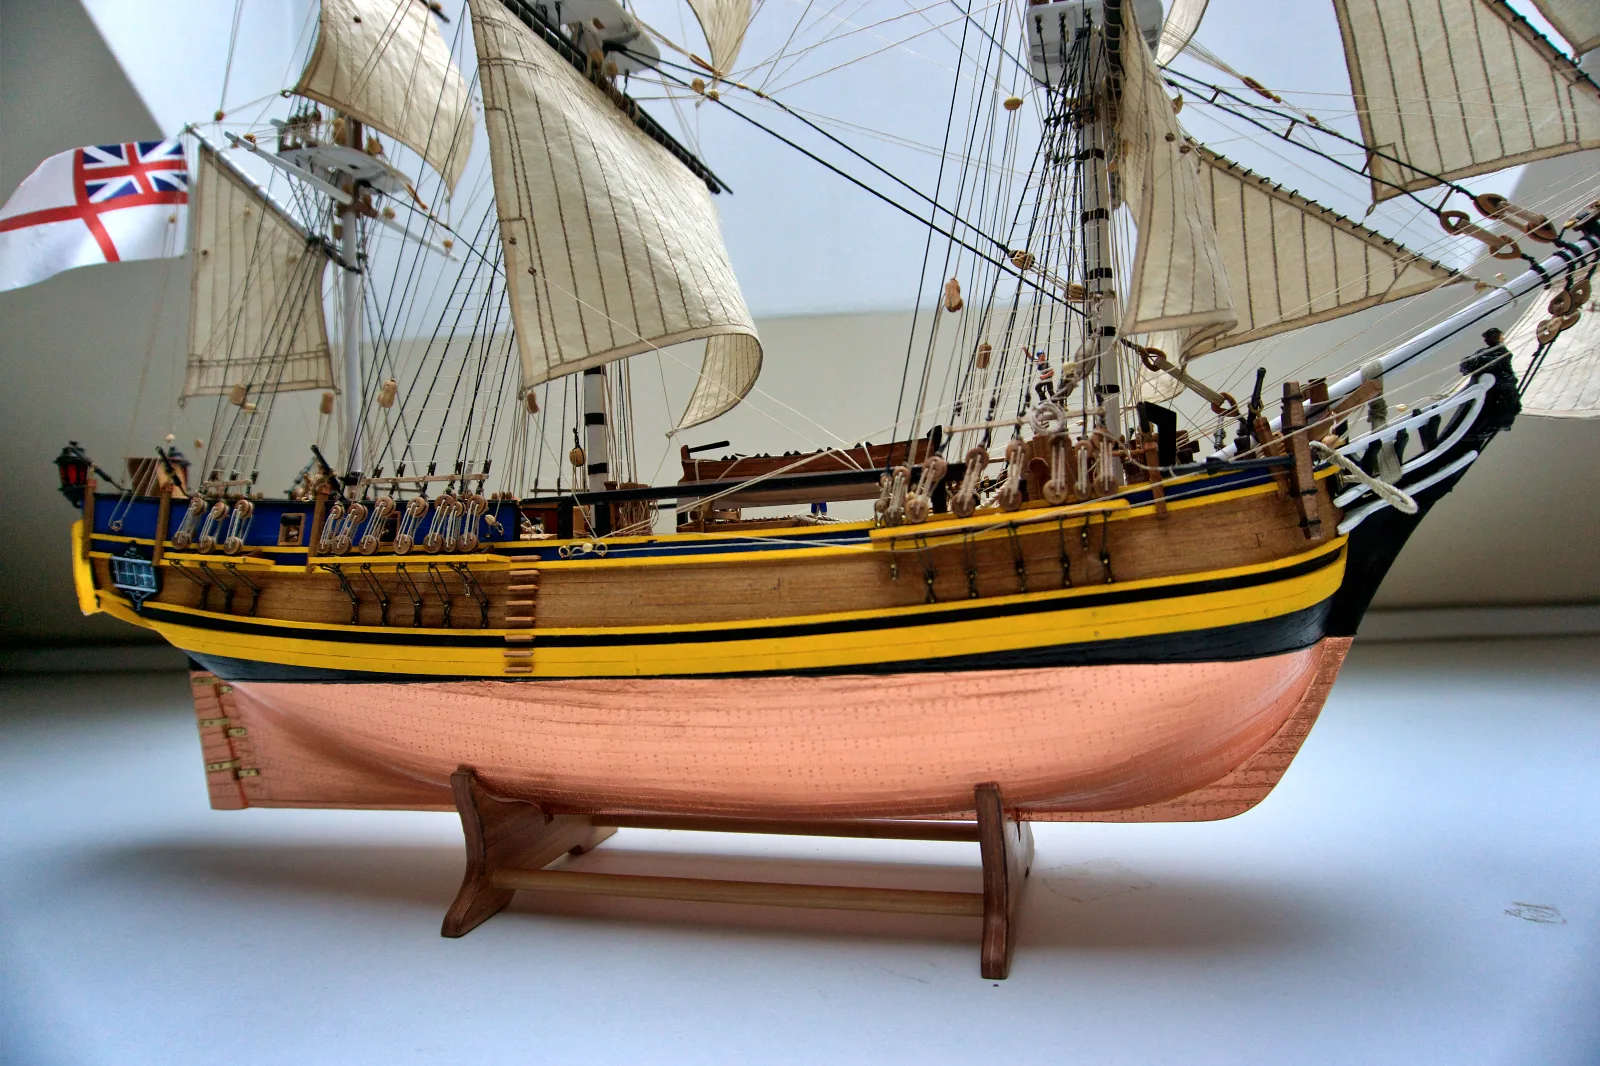
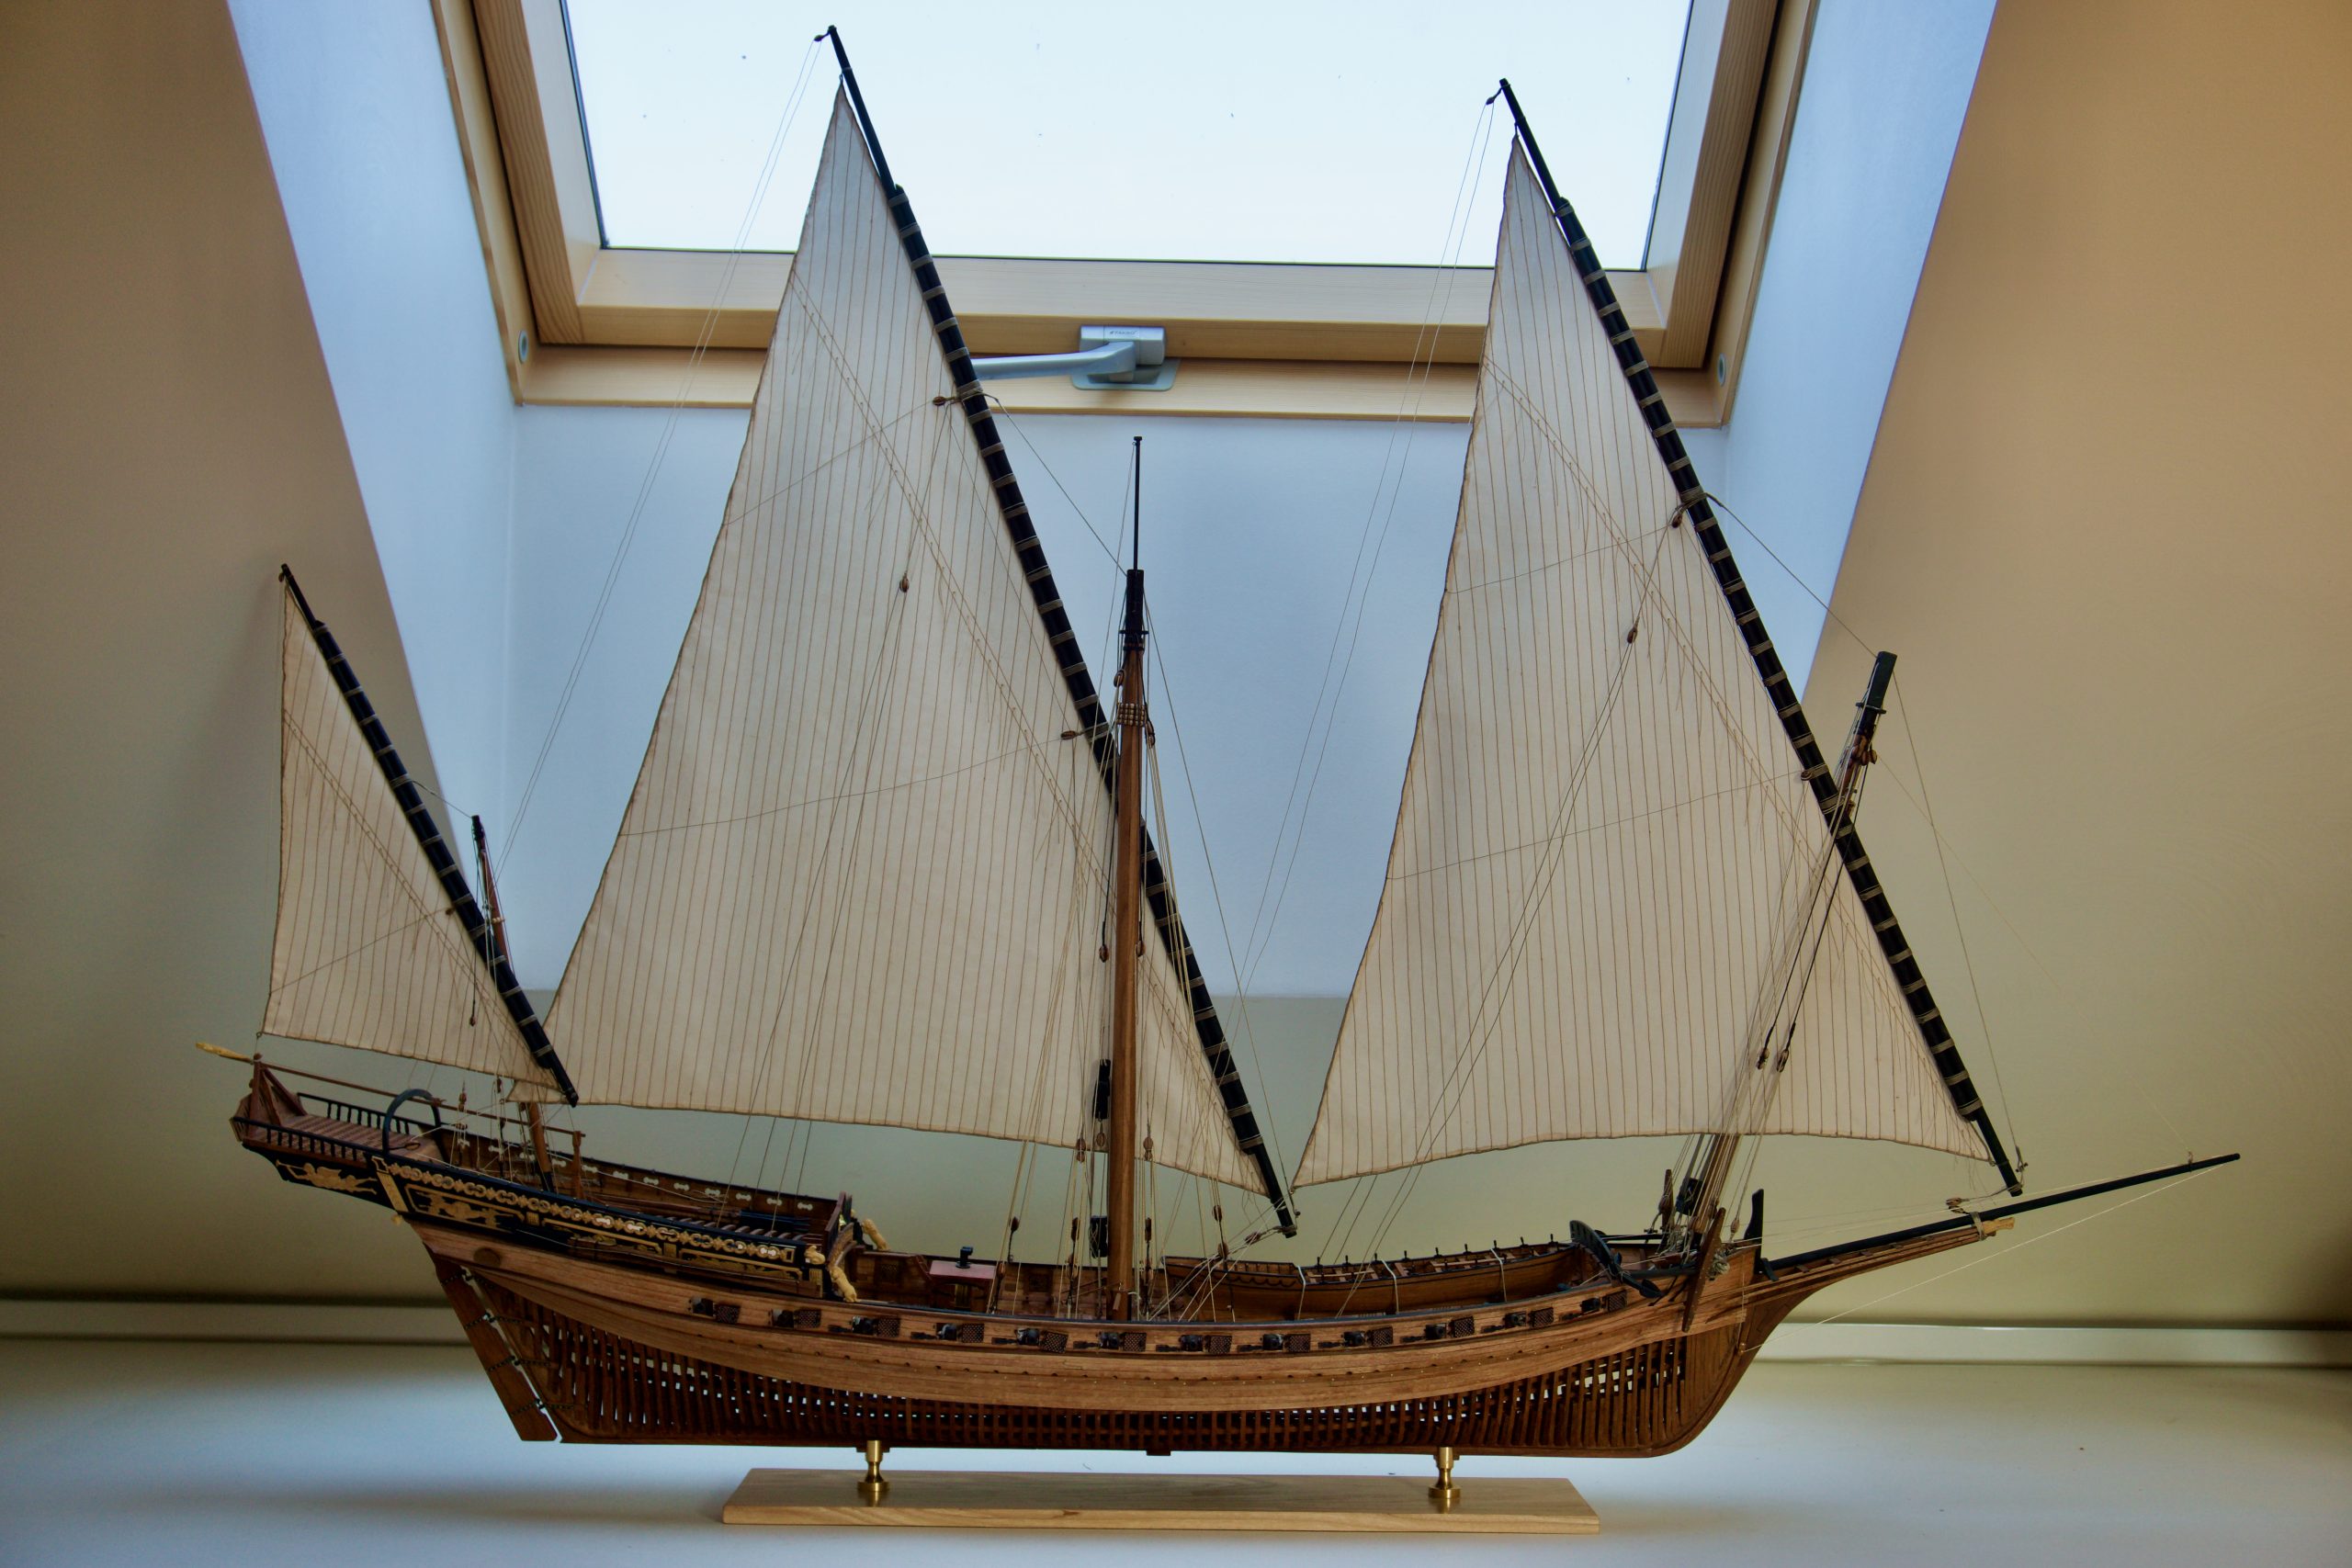
The spars of a sailing vessel define its principal silhouette, and it is therefore important to execute this work well, since carelessly made or incorrectly stepped spars can spoil the impression of the model.
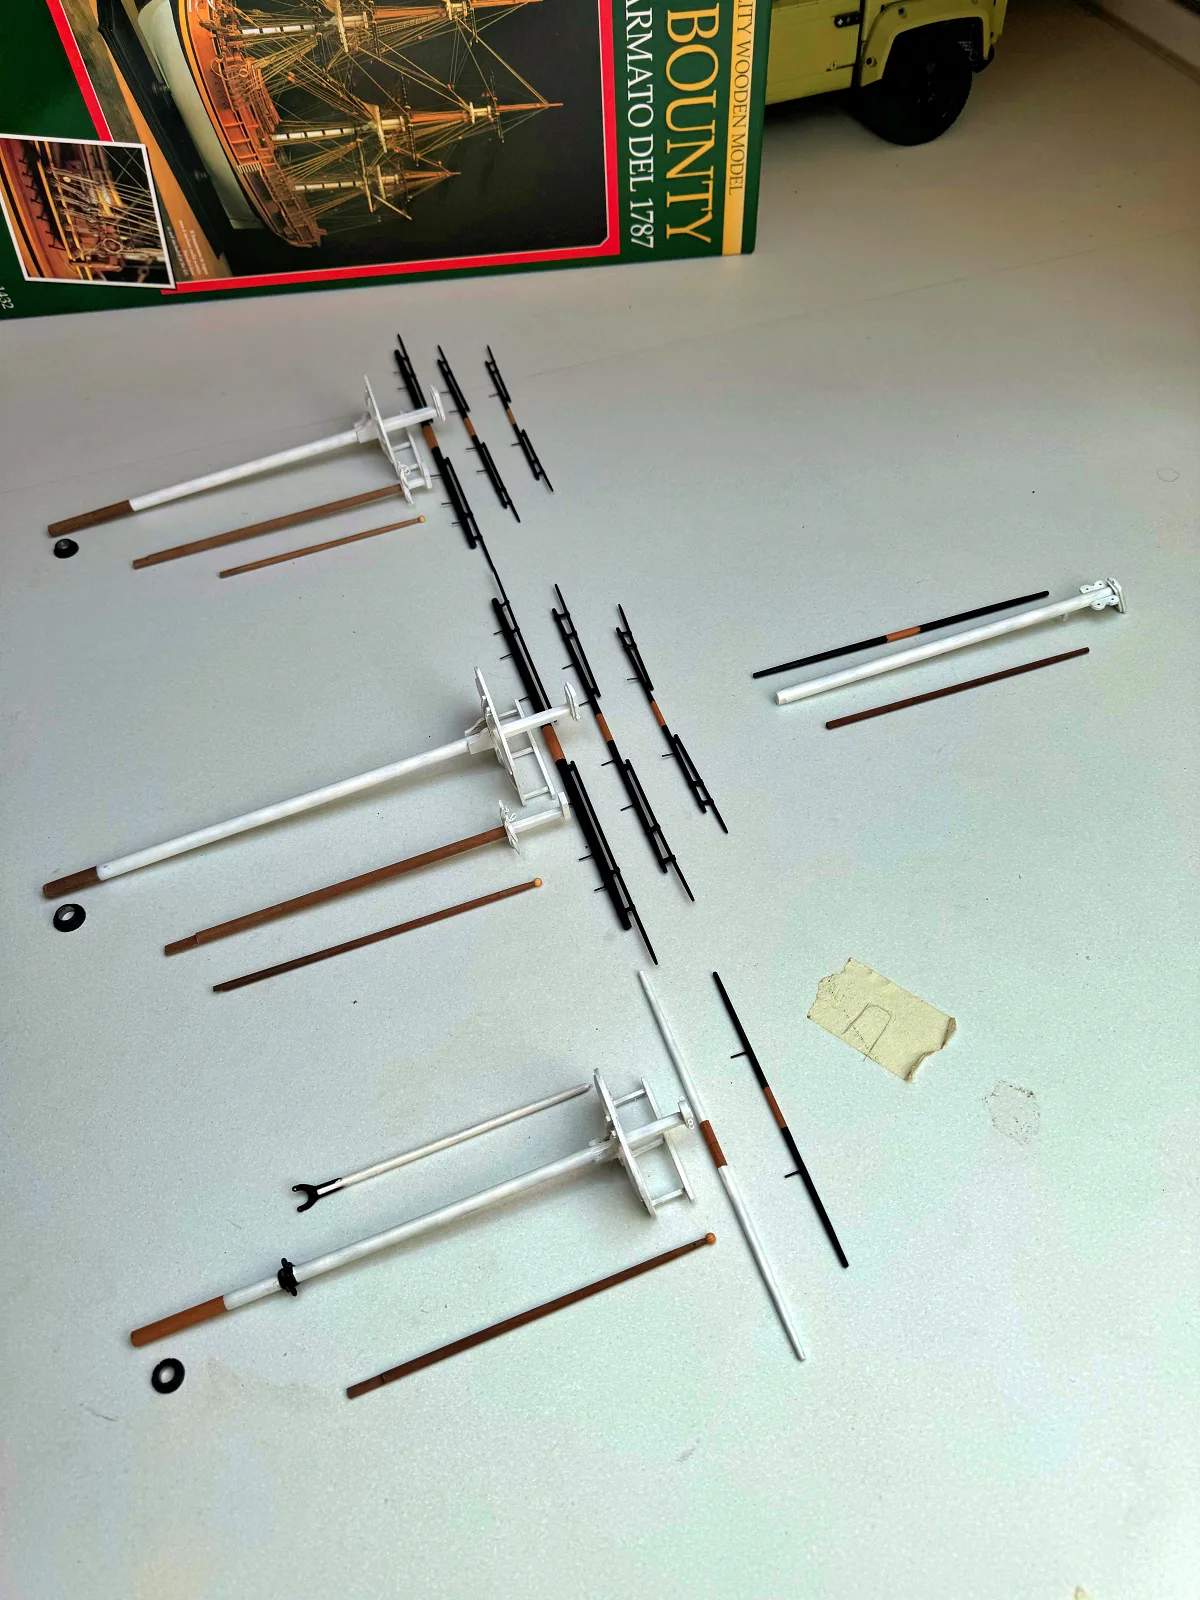
First of all, study the plans carefully to understand the overall construction and form a work plan. Spar installation and standing rigging often proceed in parallel, since it is more convenient, for example, to fit the shrouds on a mast before the topmast is stepped. Depending on the ship and the level of detail of the model, the spars may range from a few simple parts to a complex assembly with compound trestle-trees, a fully detailed top and so on. I generally try to follow the principle of “fore to aft and bottom to top” — that is, the principal spars are stepped first: bowsprit, fore, main and mizzen masts (depending on the model), then the jib-boom and topmasts from fore to aft, and so on. One can make all the spars first and then step them in the chosen order, or make them progressively as installation proceeds — it is a matter of personal preference and workflow. I prefer to make everything first, as this allows all the woodworking — including machine work — to be completed in one go, so that subsequent stages can proceed “without dust and shavings”.
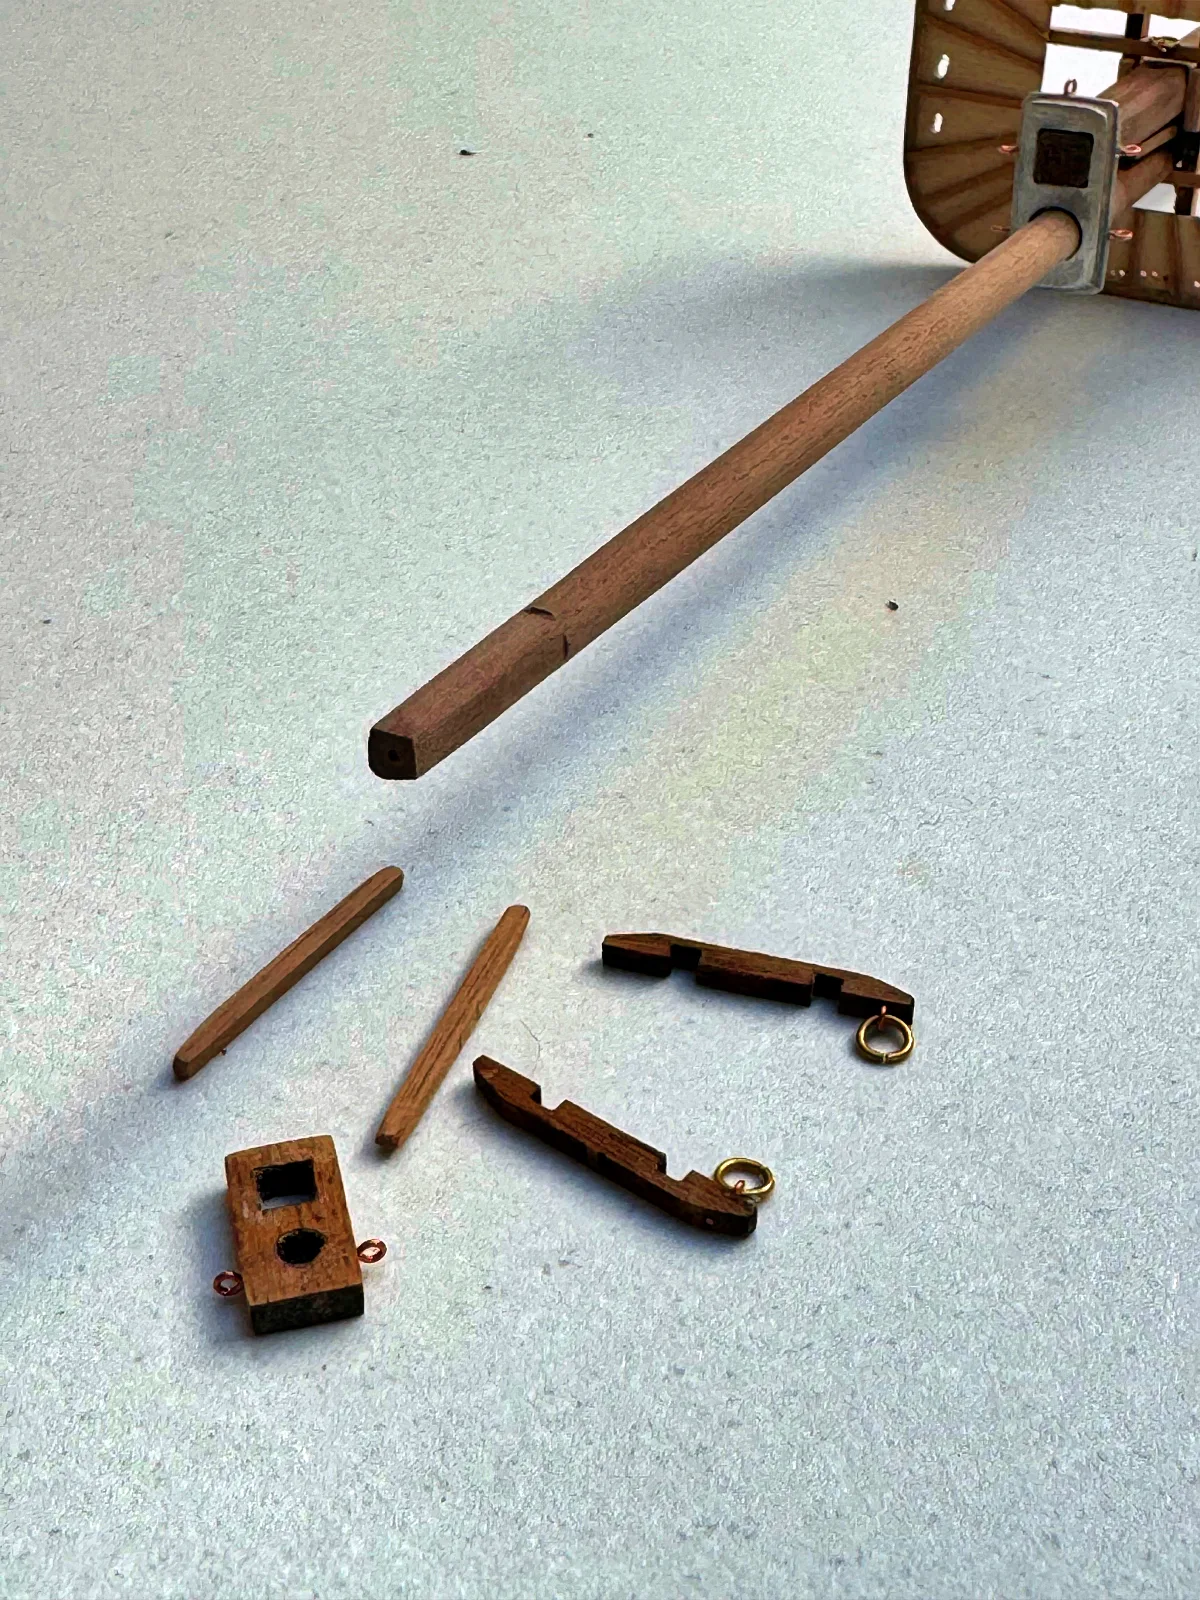
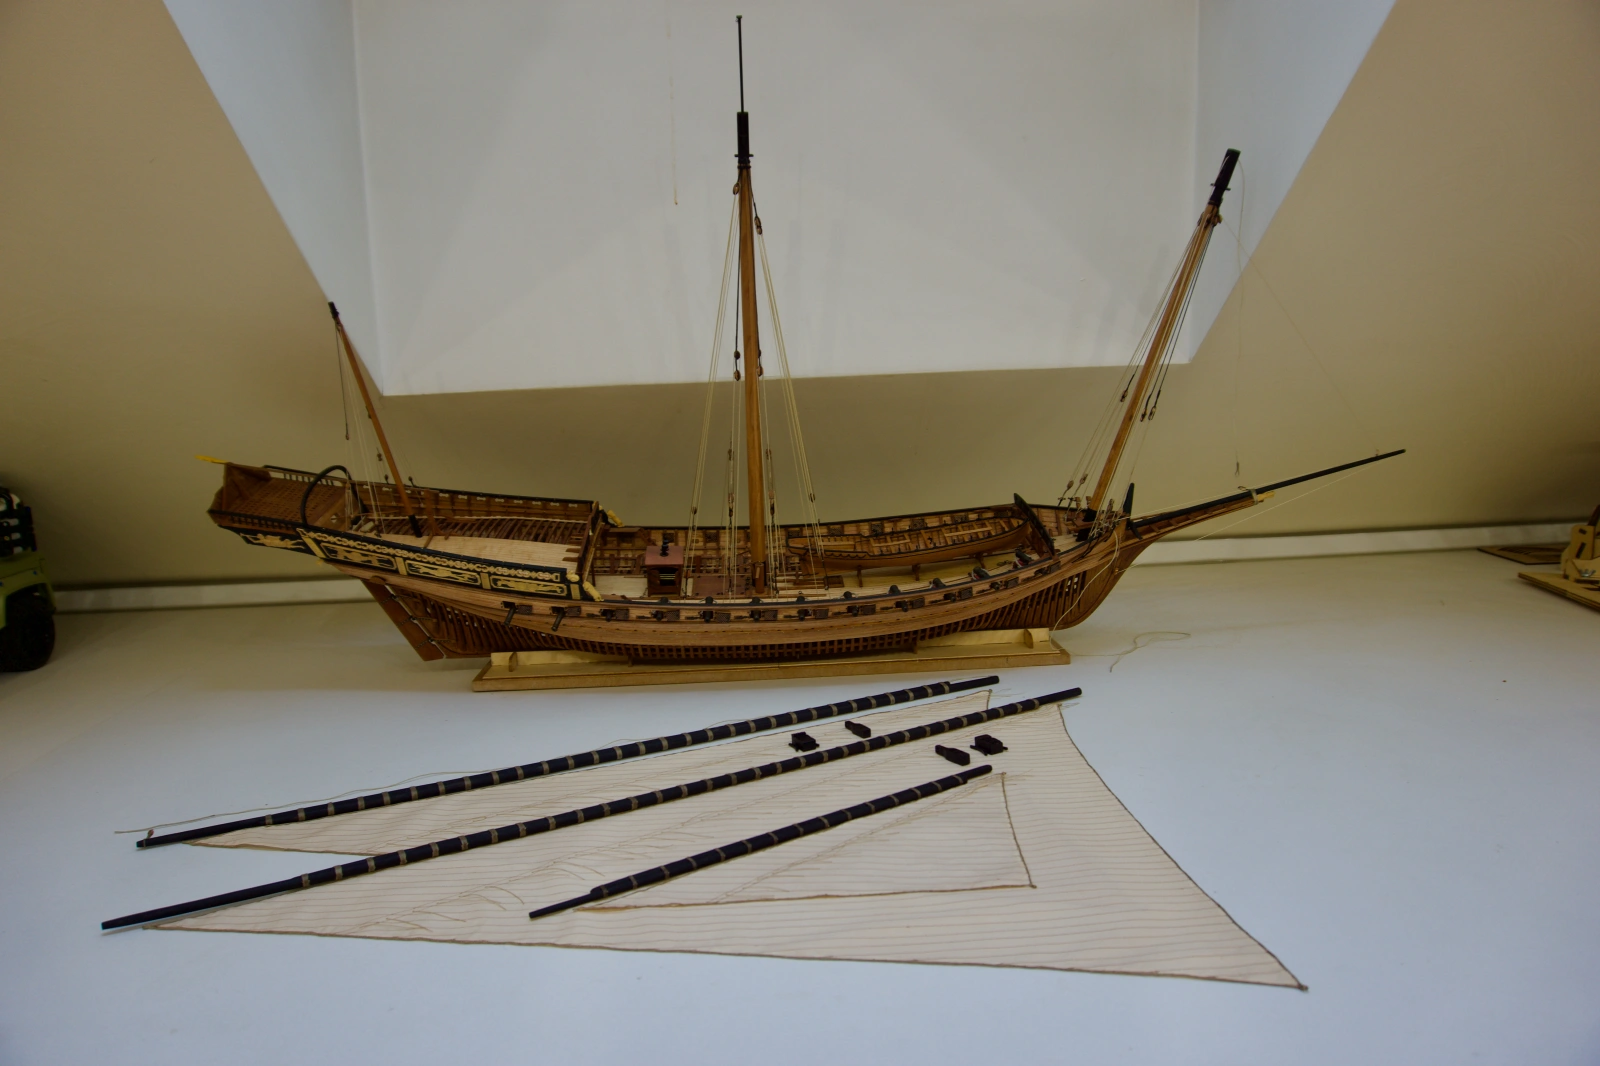
Making individual spars. Choose blanks of a suitable diameter in advance, and mark on them the lines at which the cross-section will change. Note that both the diameter (spars generally taper towards the top) and the shape can change (transitions from round to square section and back; elliptical sections are also occasionally encountered). When measuring the length of a blank, do not cut strictly to the plan — leave a margin for gripping in the chuck of a lathe or drill. Then begin forming the required shape: start with the round sections, then move to the square (or polygonal) sections, as dictated by the plan. To taper spars you can use a wood lathe (if available) or simply chuck the blank in a drill and remove surplus wood with sandpaper. Work gradually, checking dimensions constantly against the plan. Once the required taper is achieved, form the non-circular cross-sections — usually where the spar joins the hull or another spar.
Fitting additional elements. Once the main part is ready and sanded, fit the additional elements: cheeks, trestle-trees, cross-trees, cap and others, checking carefully against the plan. Consider the colour scheme: it may be worth painting certain elements in advance to avoid the difficulty of painting an assembled spar. Pay particular attention to the angles at which elements are fitted — especially caps, trestle-trees and cross-trees — since other parts of the rig will rest on them.
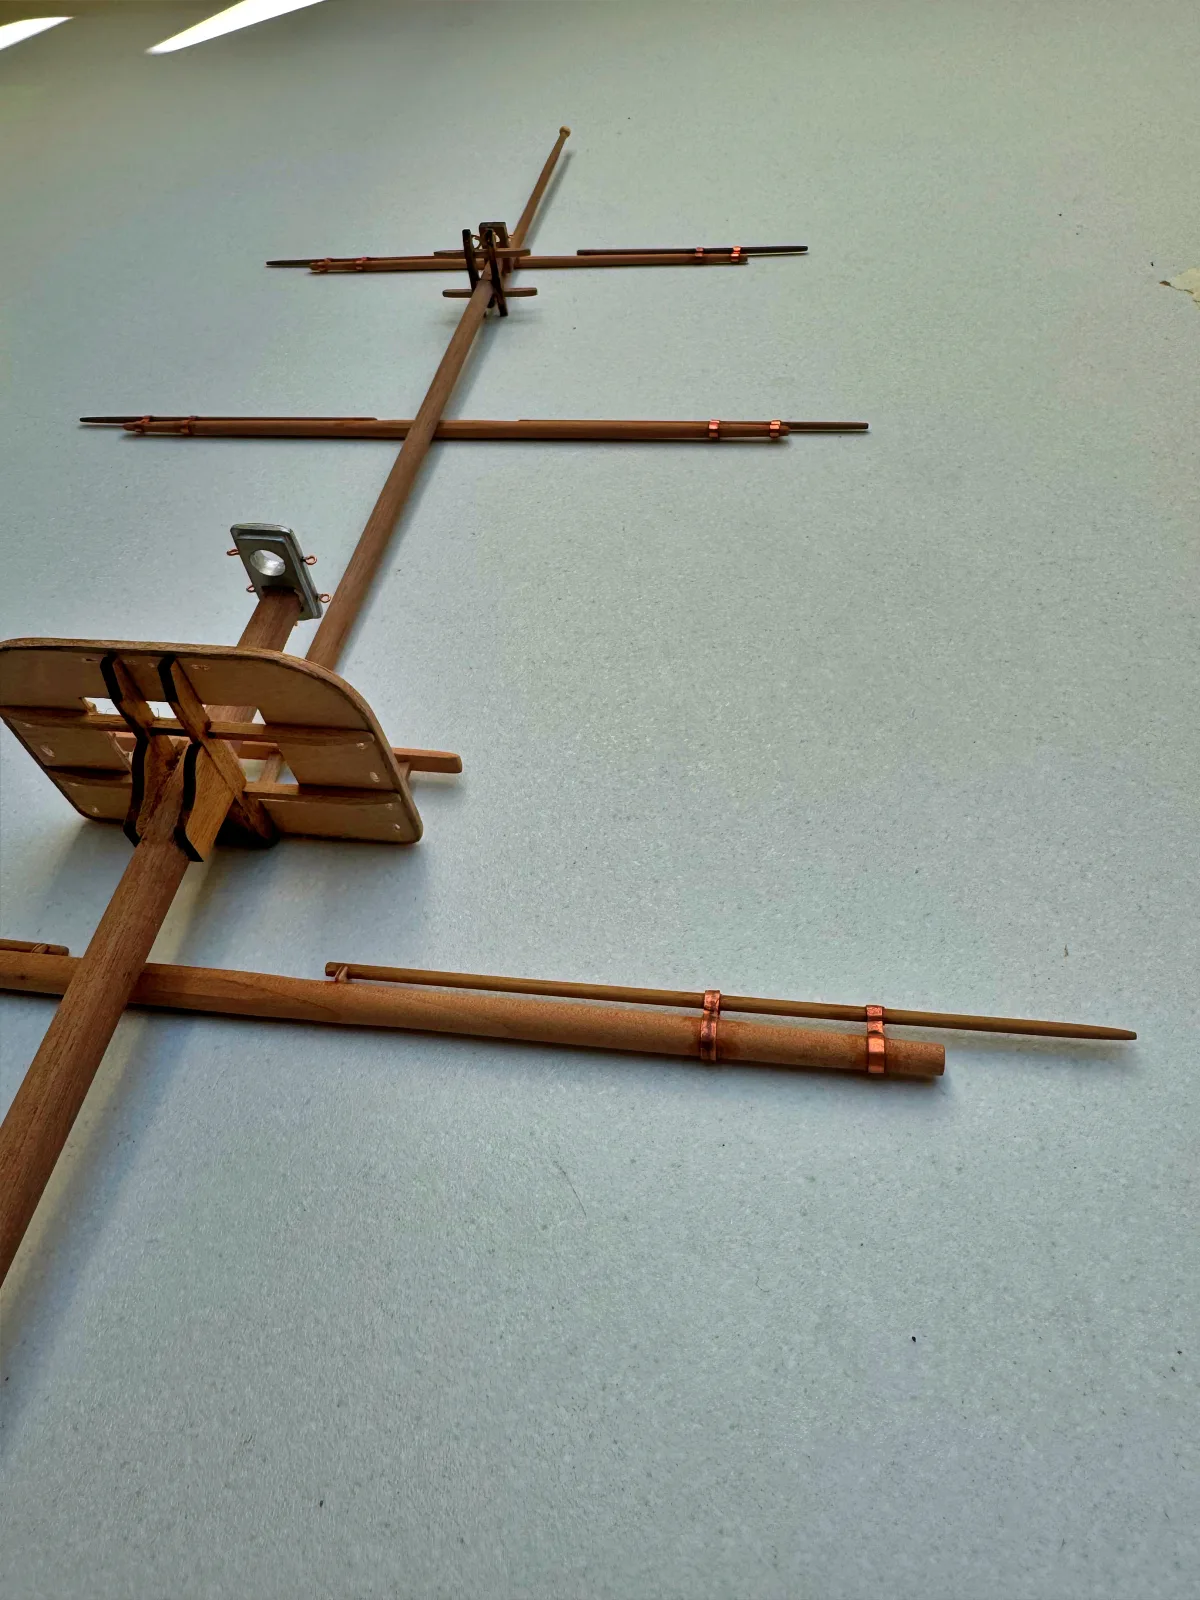
Dry-fitting the spars. Once the spar components are ready, it is worth checking that they fit together correctly without glue and without stepping on the model. If necessary, adjustments or even reworking can still be made at this stage. Once a spar is stepped and bound with rigging, doing so will be considerably more difficult. All parts must fit one another well. Ideally, the assembled spar should hold together even without glue.

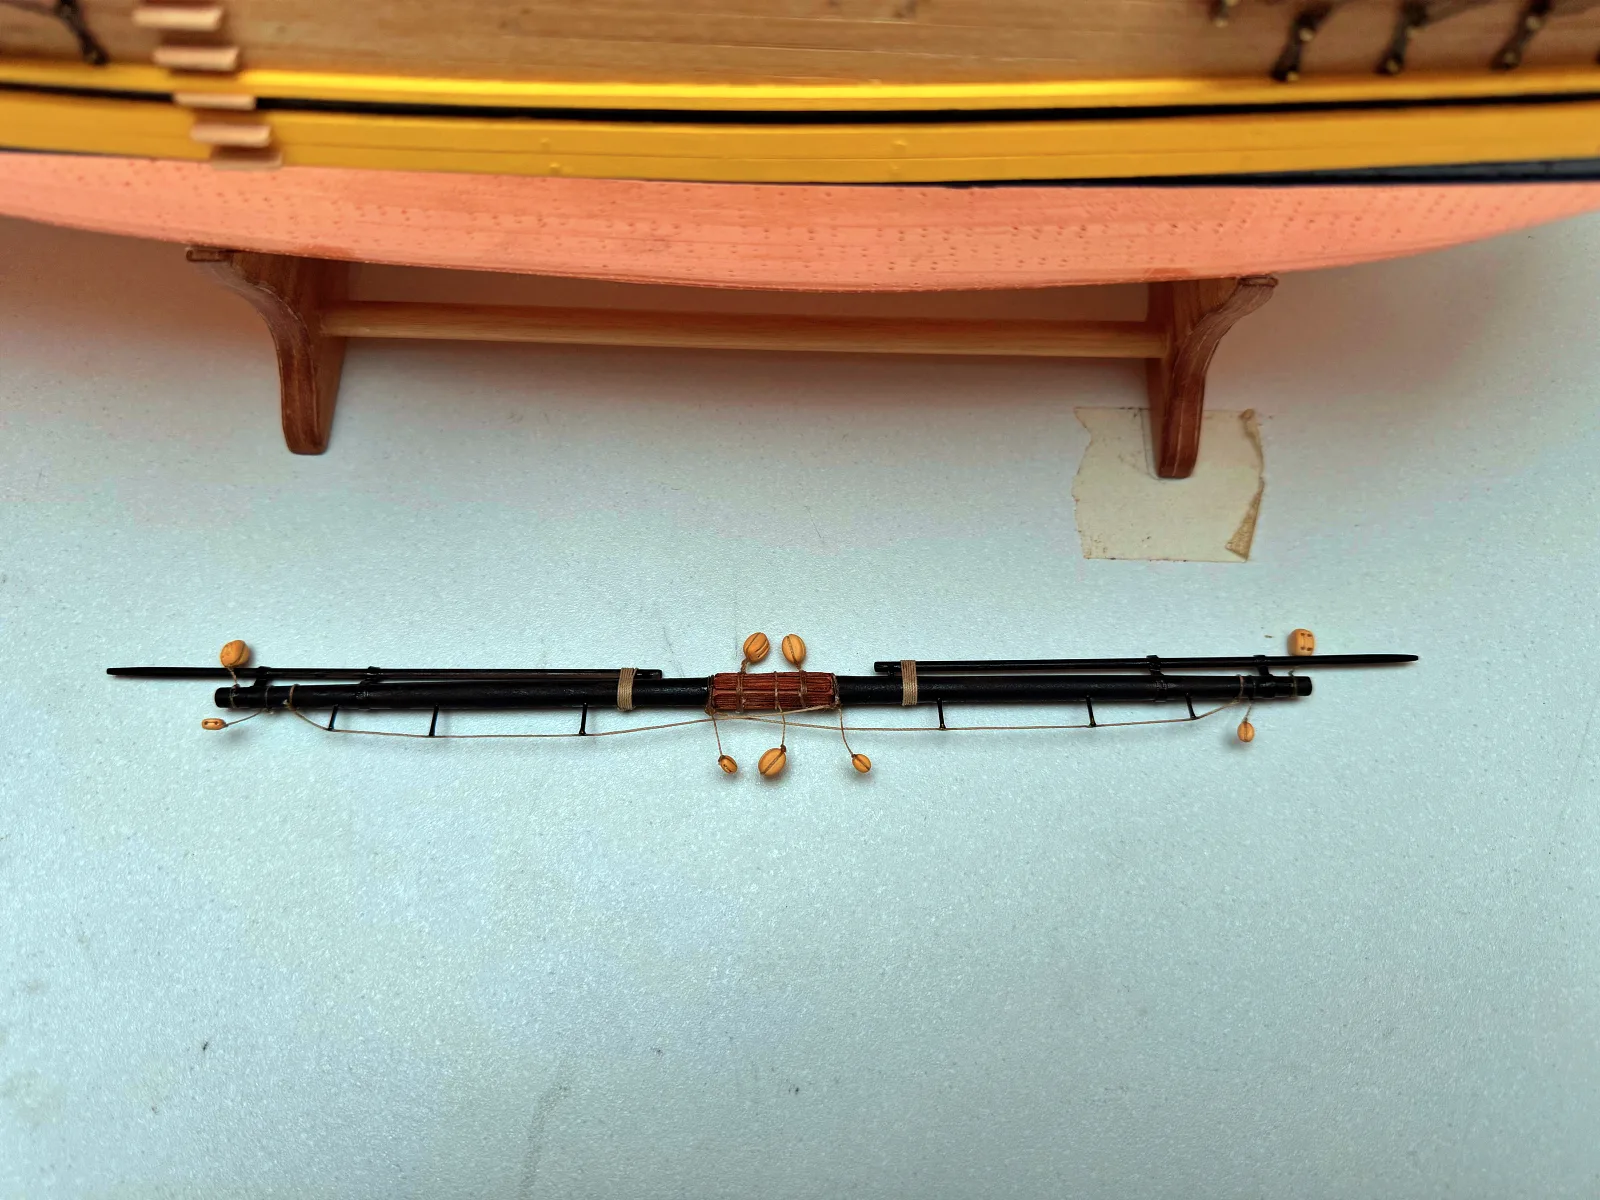
Rigging the spars. It is worth fitting the necessary blocks and strops to the spar components in advance, before stepping them on the model. This applies particularly to yards, which usually carry not only blocks but also footropes, for example.
Stepping in the chosen sequence. Begin stepping the spar components in the order chosen at the first stage. Take account of the standing rigging sequence — for instance, fit the shrouds to a mast before stepping the topmast, so that the shroud eye can be properly secured at the masthead. The installation of standing rigging is discussed in a separate article (see link below).