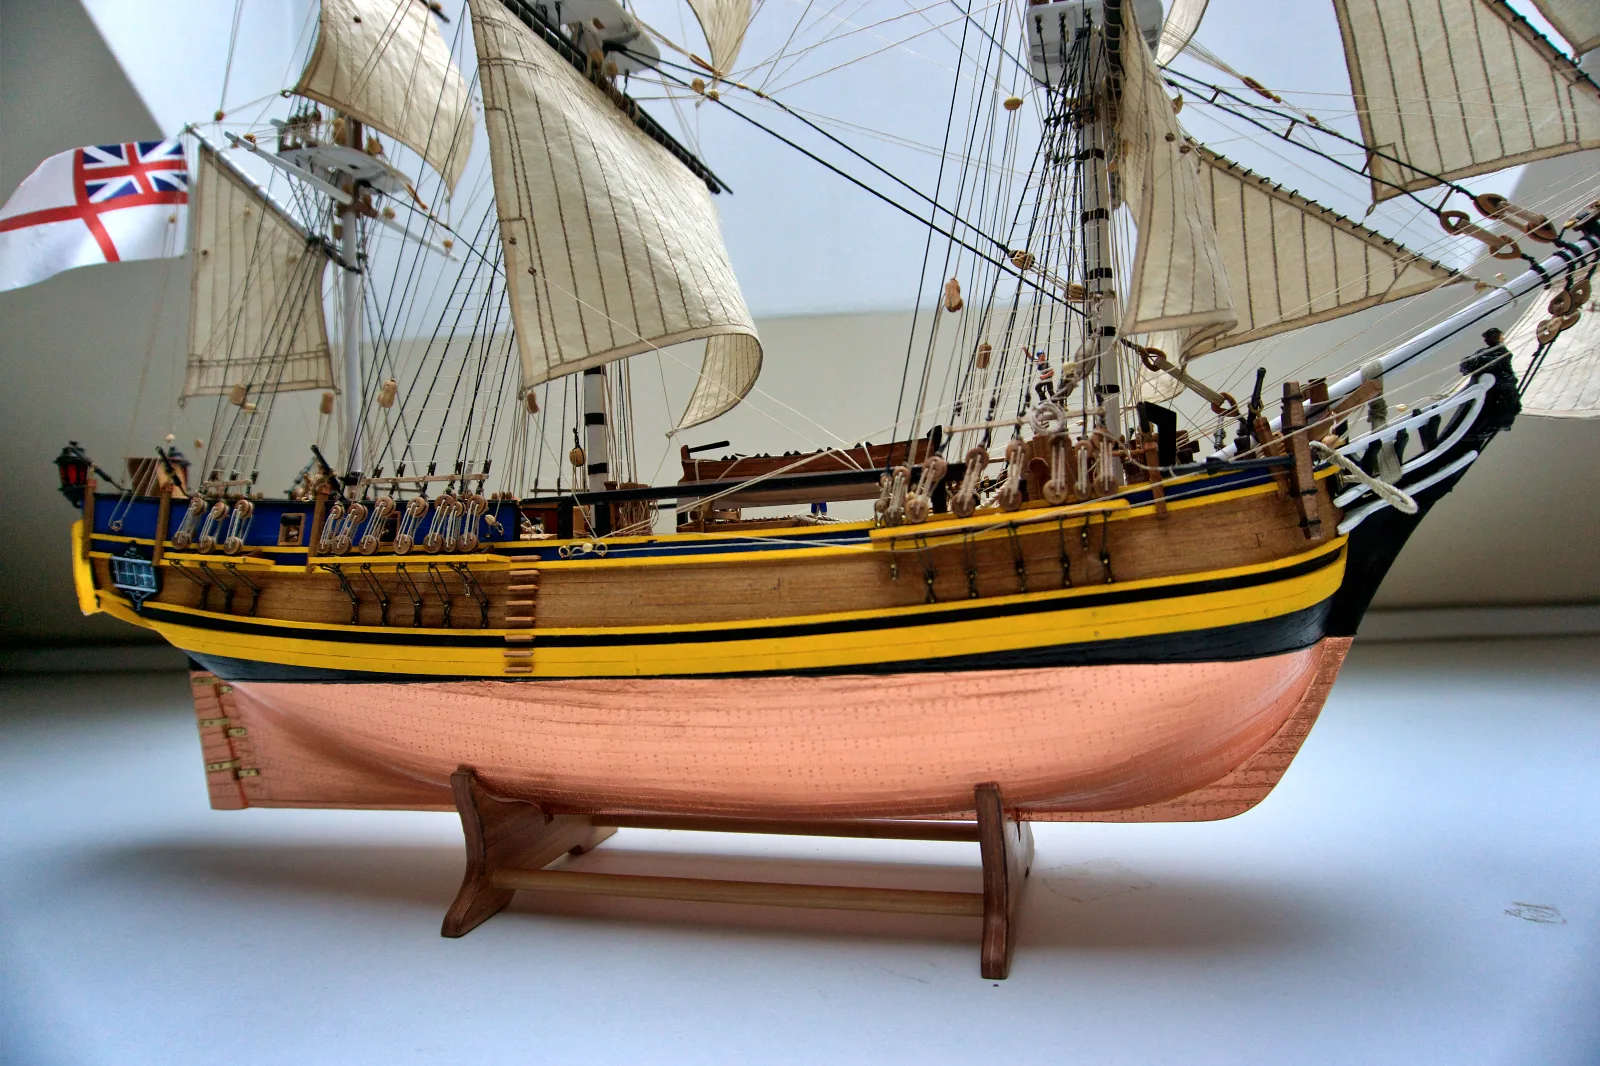
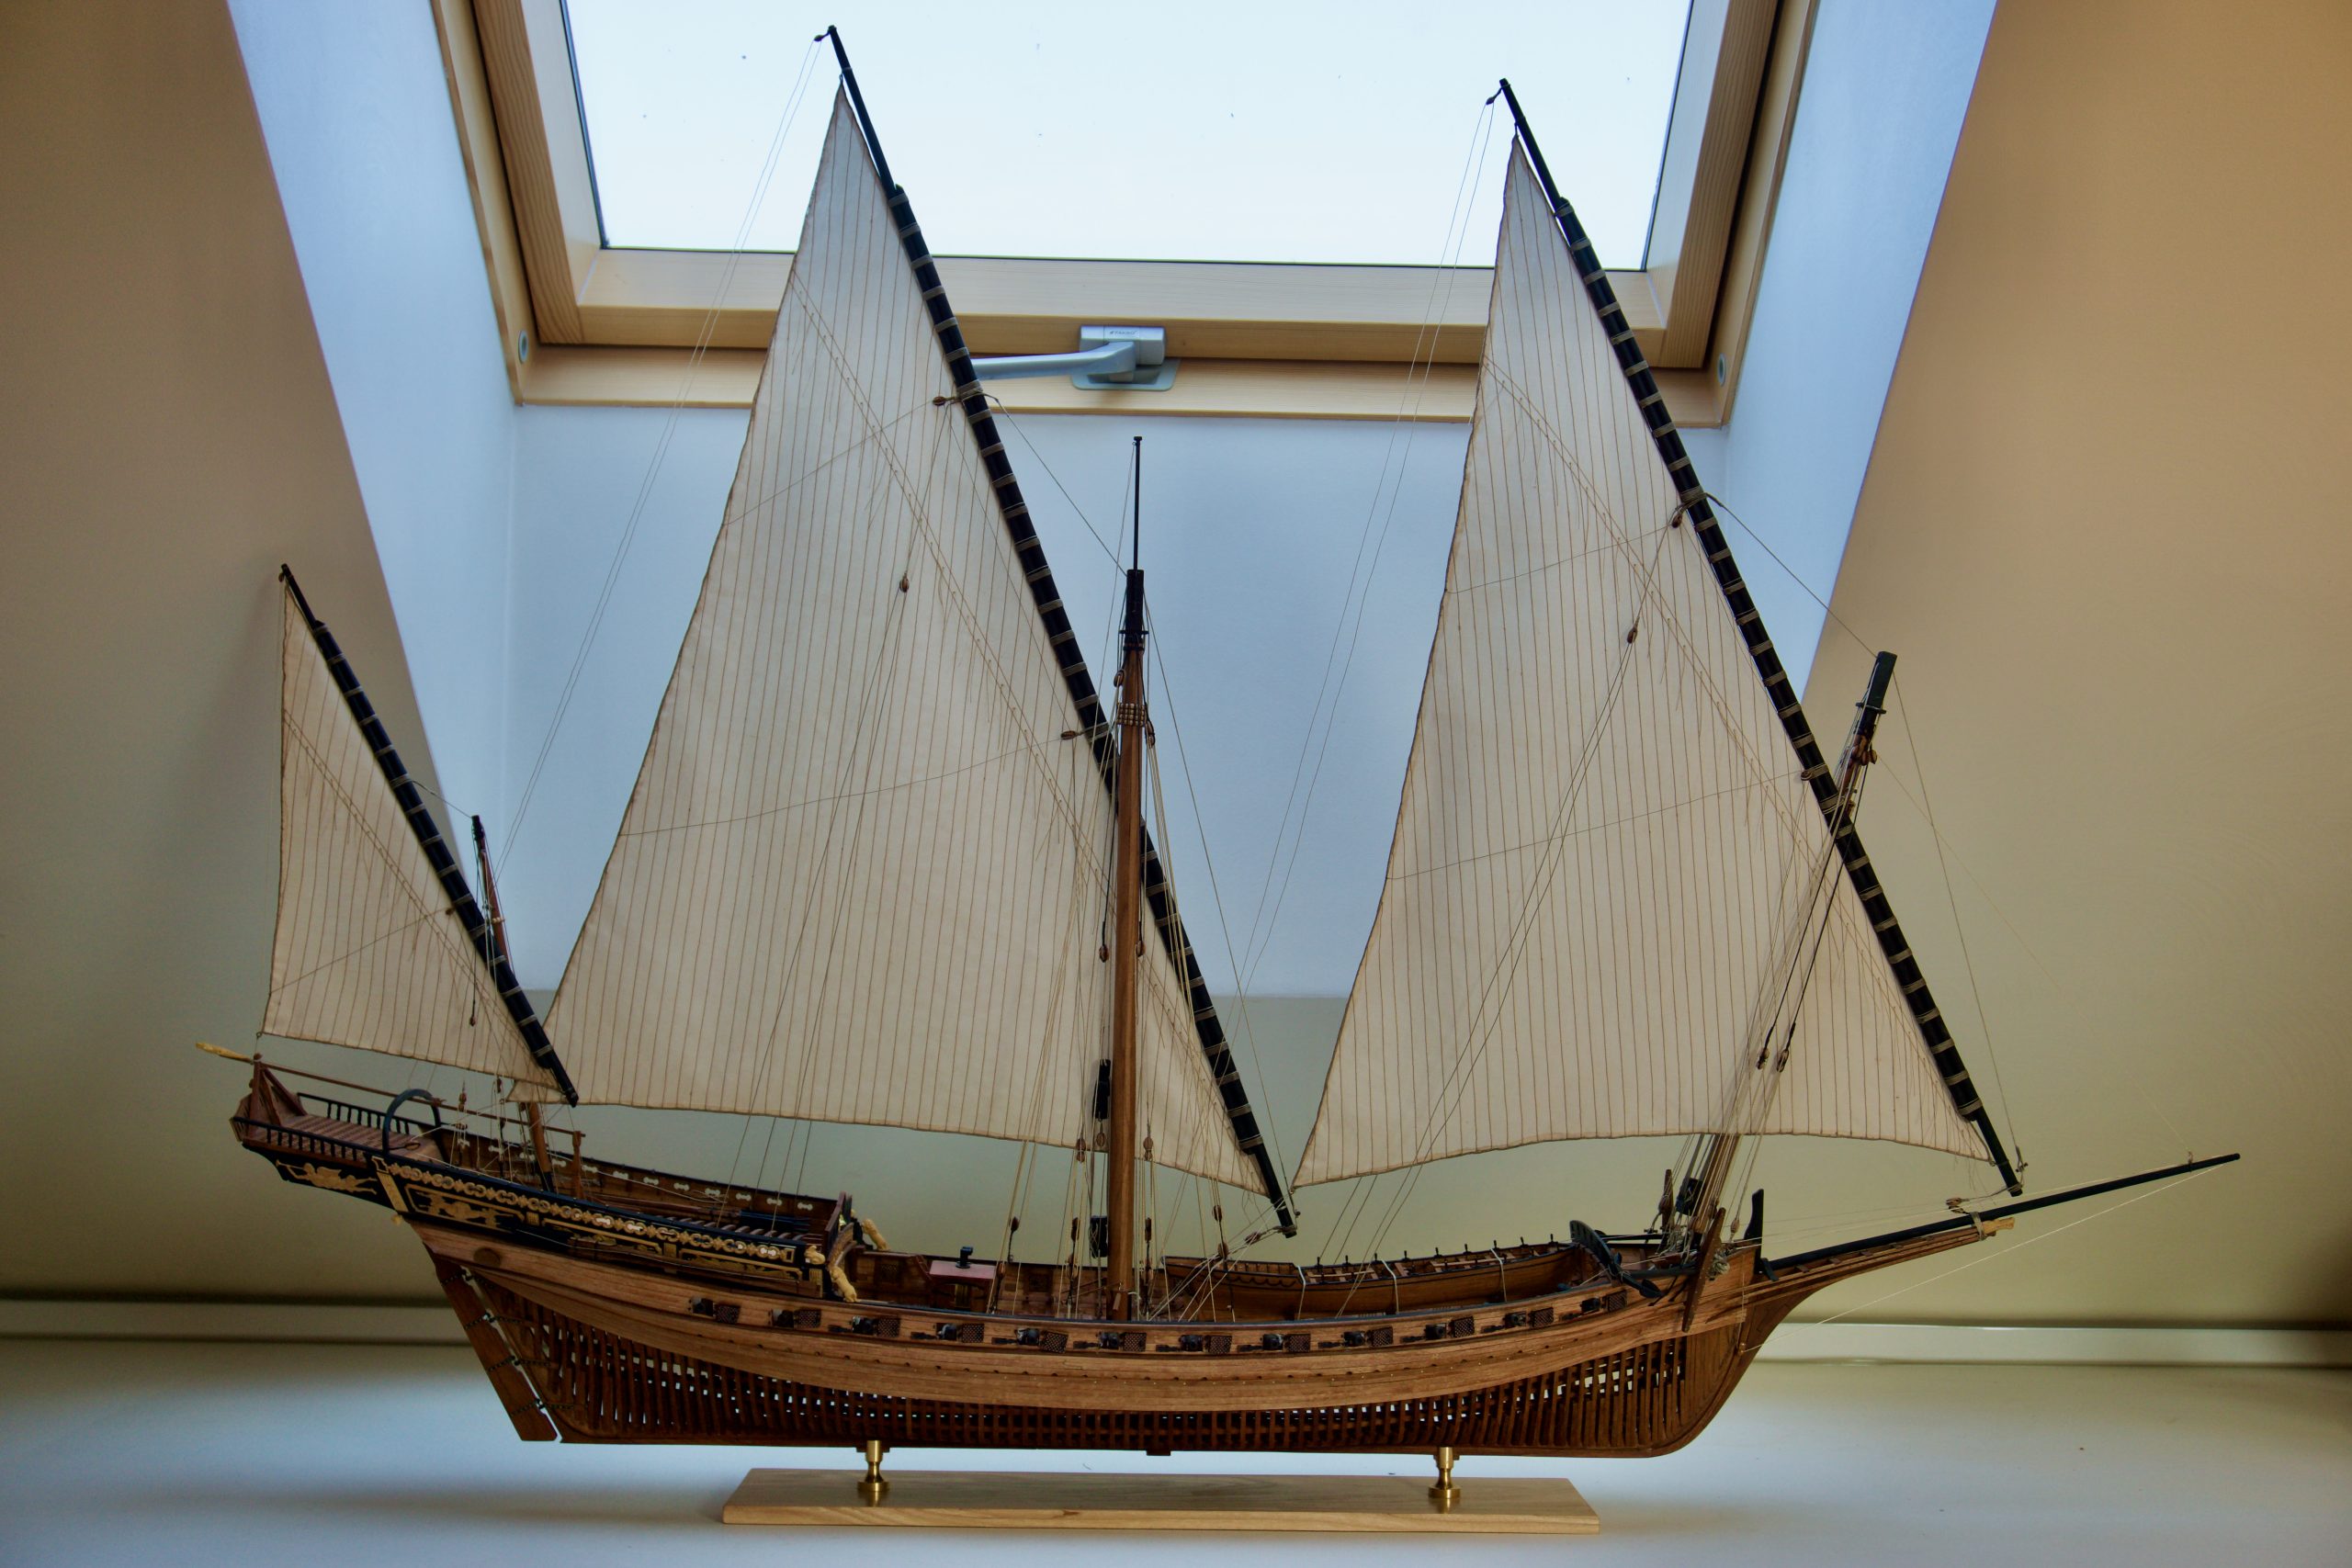
Running rigging
Running rigging refers to the lines and tackles used to control the spars and sails during the operation of a vessel. The general principles of material selection and line preparation are similar to those of standing rigging, but there are a number of specific considerations that we will discuss below.
As a rule, running rigging was not tarred, so in modelling we use lighter-coloured thread than for standing rigging. That said, it is always worth cross-referencing historical sources and considering the overall visual impression of the finished model.
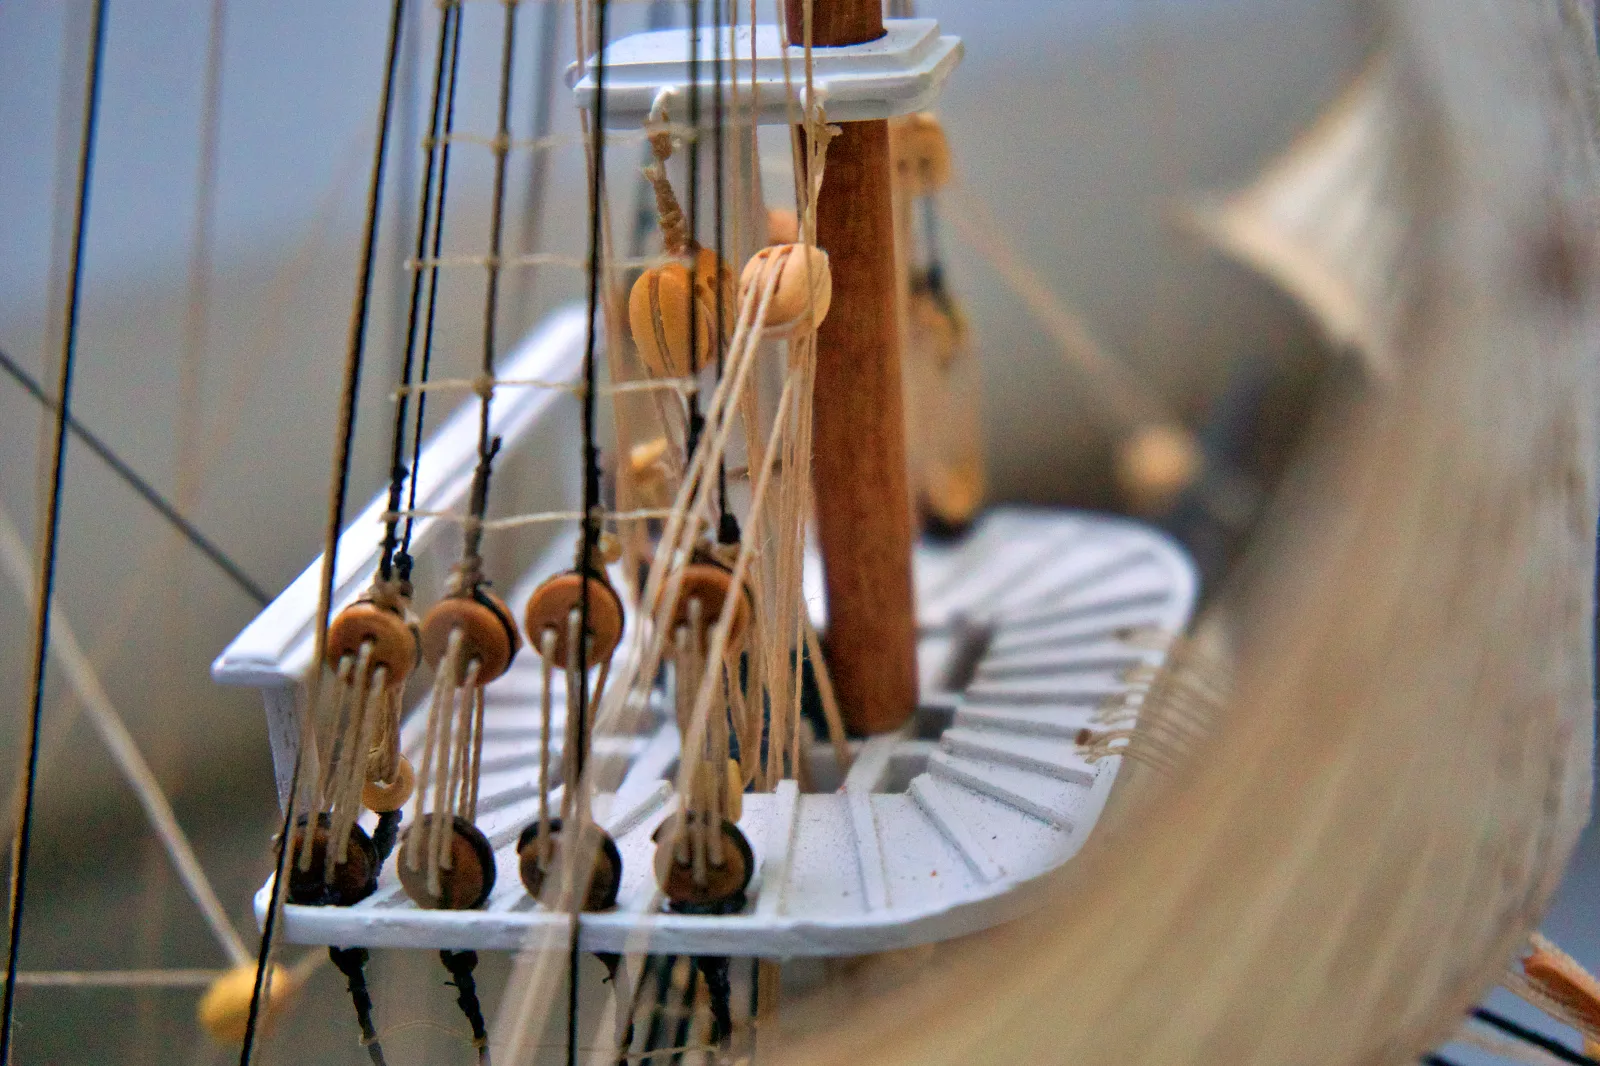
It is equally important to prevent thread from fraying — this defect is far more noticeable on light-coloured lines than on dark ones. I would recommend using waxed thread, or treating thread with beeswax before installation. Quality synthetic thread is another option, though the result varies greatly by brand and should be assessed visually before use.
Blocks
Blocks were used extensively in running rigging, so it is worth discussing their preparation separately. The quality of your blocks has a significant impact on the appearance of the model. Before installing the running rigging, you need to decide:
- Leave the kit-supplied blocks as-is — minimum effort, but the visual result will suffer accordingly.
- Replace them partially or entirely with blocks from a third-party supplier — additional cost (which can be substantial if you need a large number), in exchange for a noticeably better appearance.
- Rework the existing blocks to give them a more accurate profile — requires extra time and effort, and still represents a compromise on appearance.
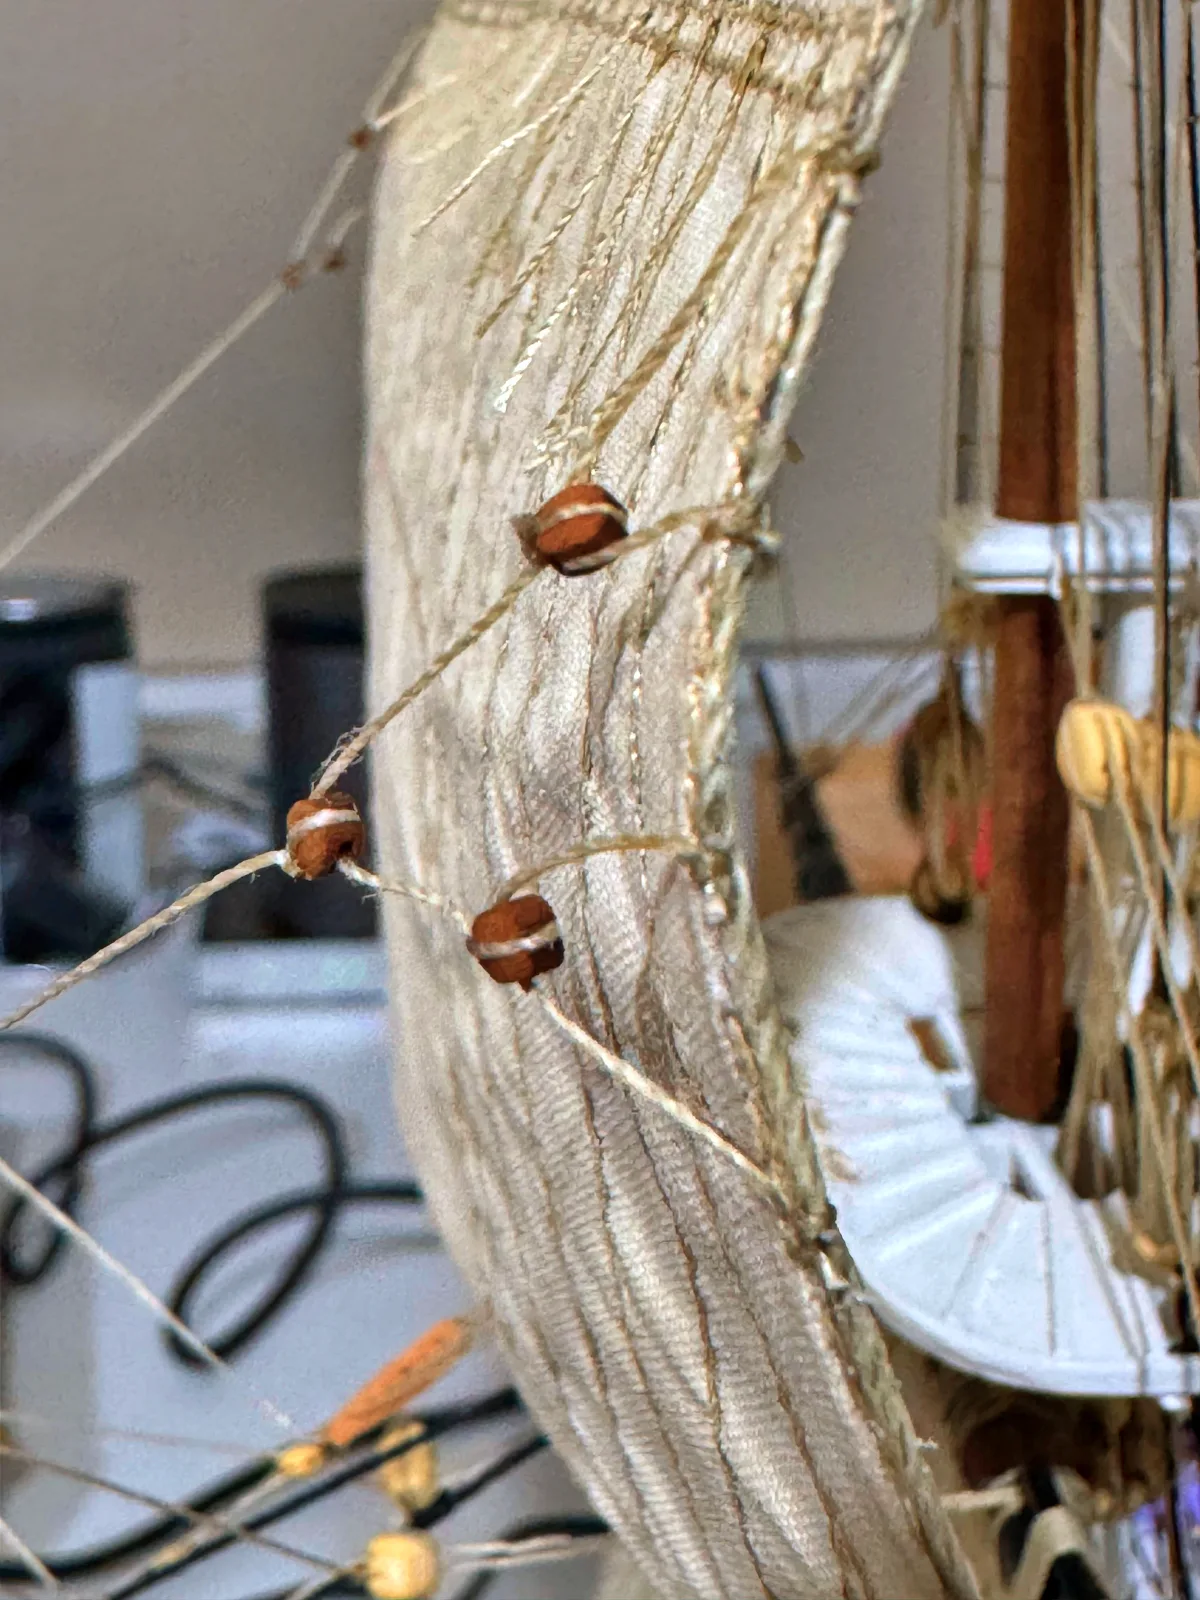
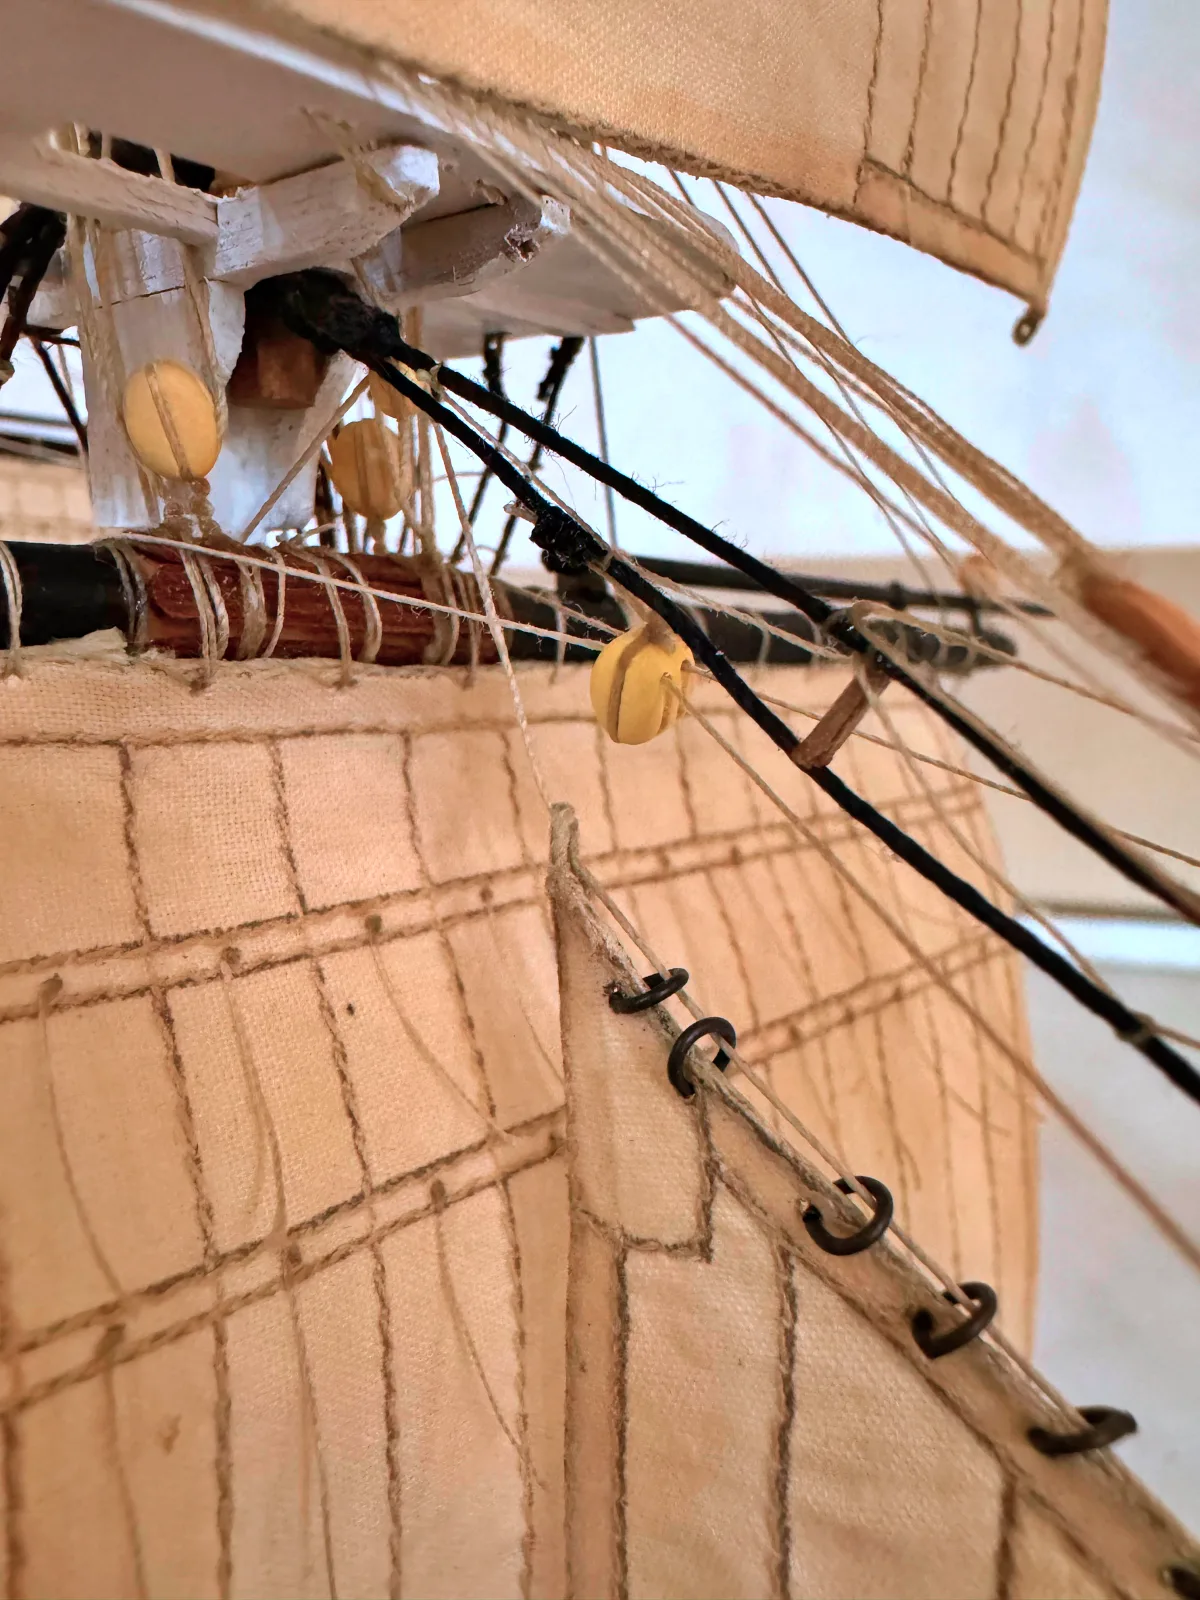
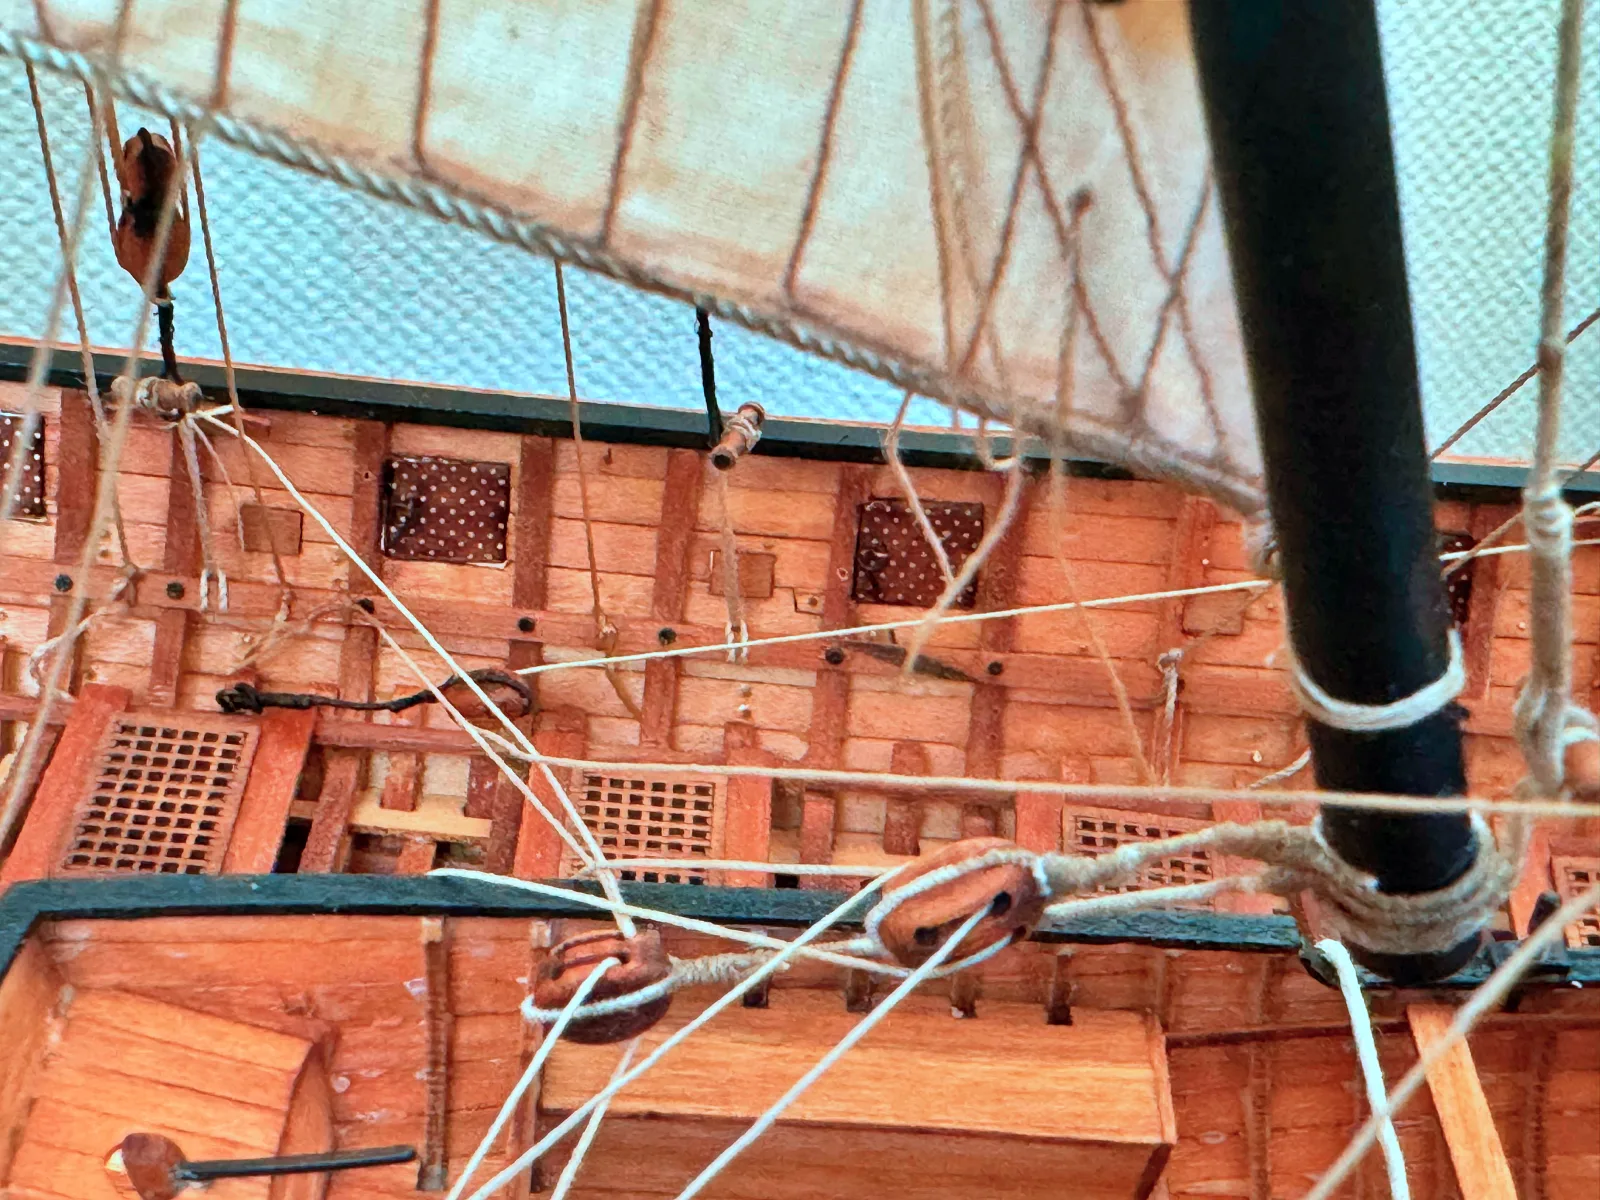
Whichever route you choose, before fitting any block, use a drill bit slightly larger than the thread diameter to open up all of the holes — this is far easier to do before the block is installed. Unfortunately, holes in kit blocks are very often poorly drilled or simply too narrow.
Sequence of Work
Define your working sequence before you begin. I generally work from bow to stern and from deck level up to the mastheads. In most cases it makes sense not to complete all the standing rigging before starting the running rigging — instead, leave the uppermost standing rigging lines (backstays and shrouds) for the final stage, to avoid obstruction when fitting the rigging of the upper yards.
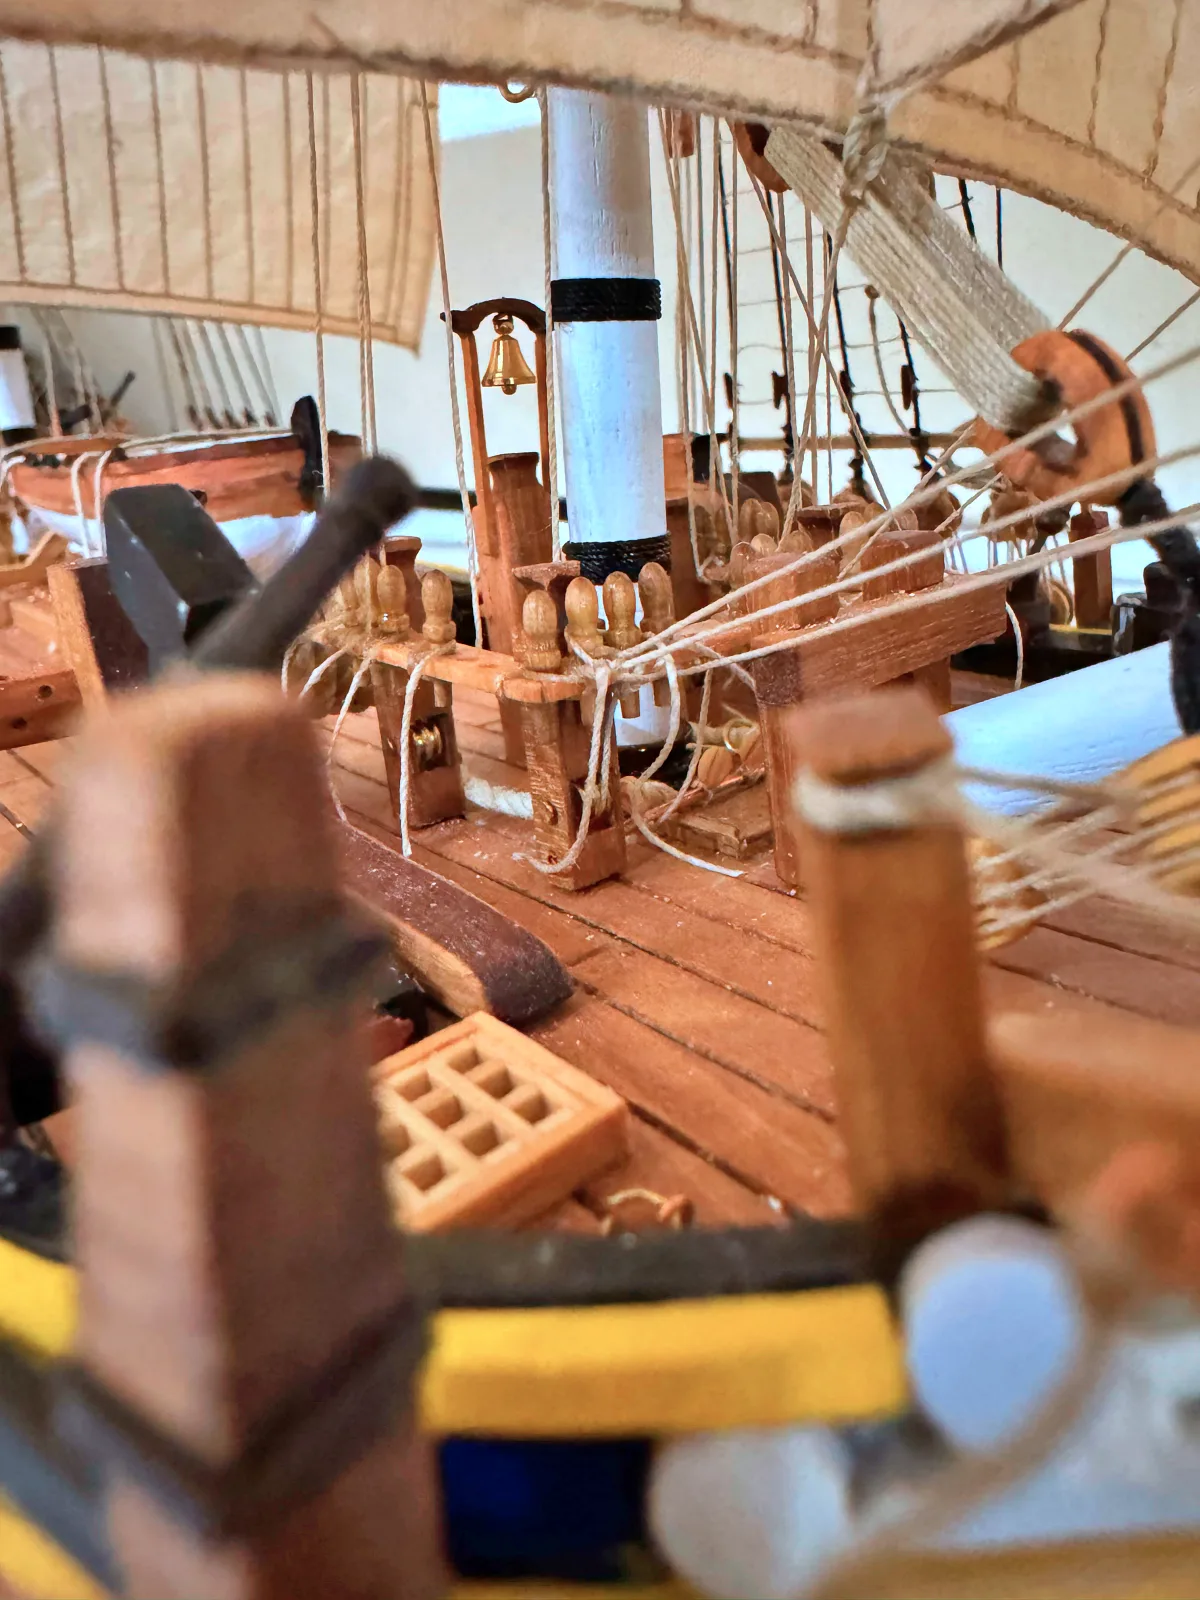
An additional consideration for lines that belay to the pin rails: secure those closest to the base of the mast first, so that later lines do not become tangled around already-fixed belaying pins. I often fix the secured end with a drop of cyanoacrylate — but only when it is not possible to make a reliable knot.
Adding Sails
If you plan to dress your model with sails, it makes sense to attach them to the yards before stepping the masts — this will save considerable time and frustration. A dedicated tutorial on sail-making is in preparation; follow the site for updates.
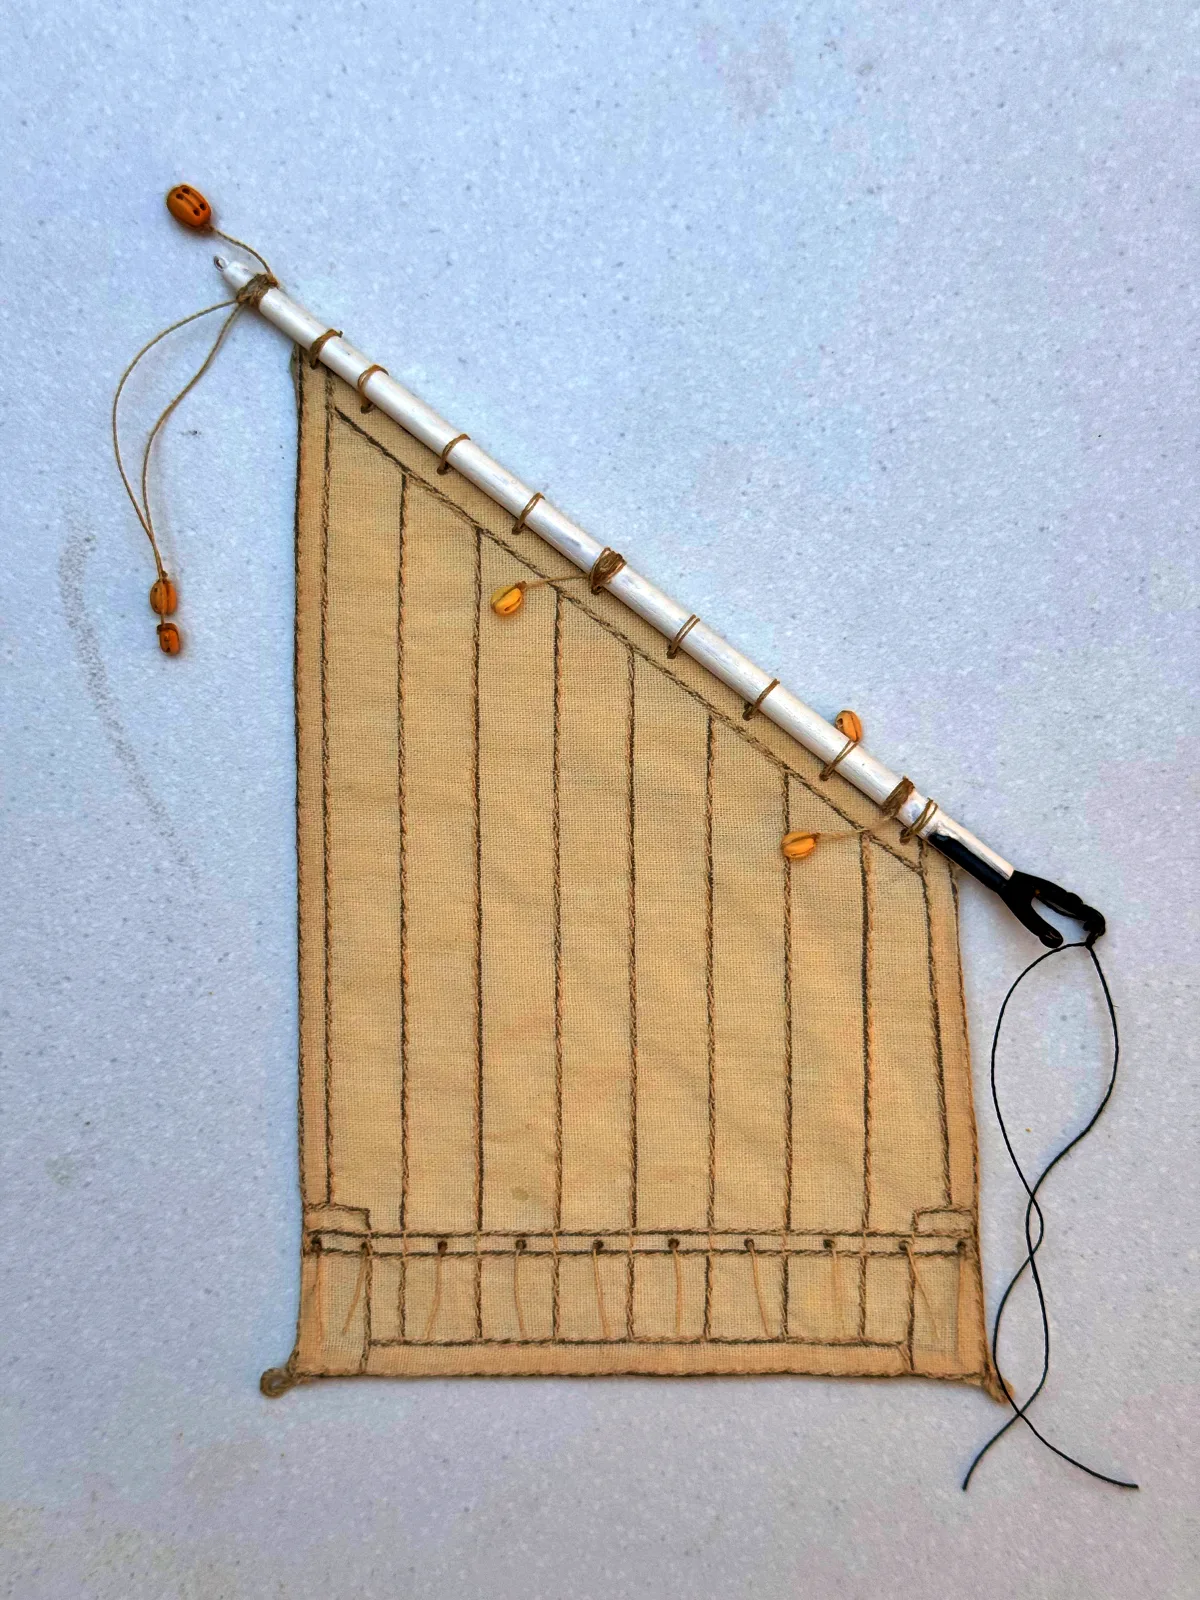
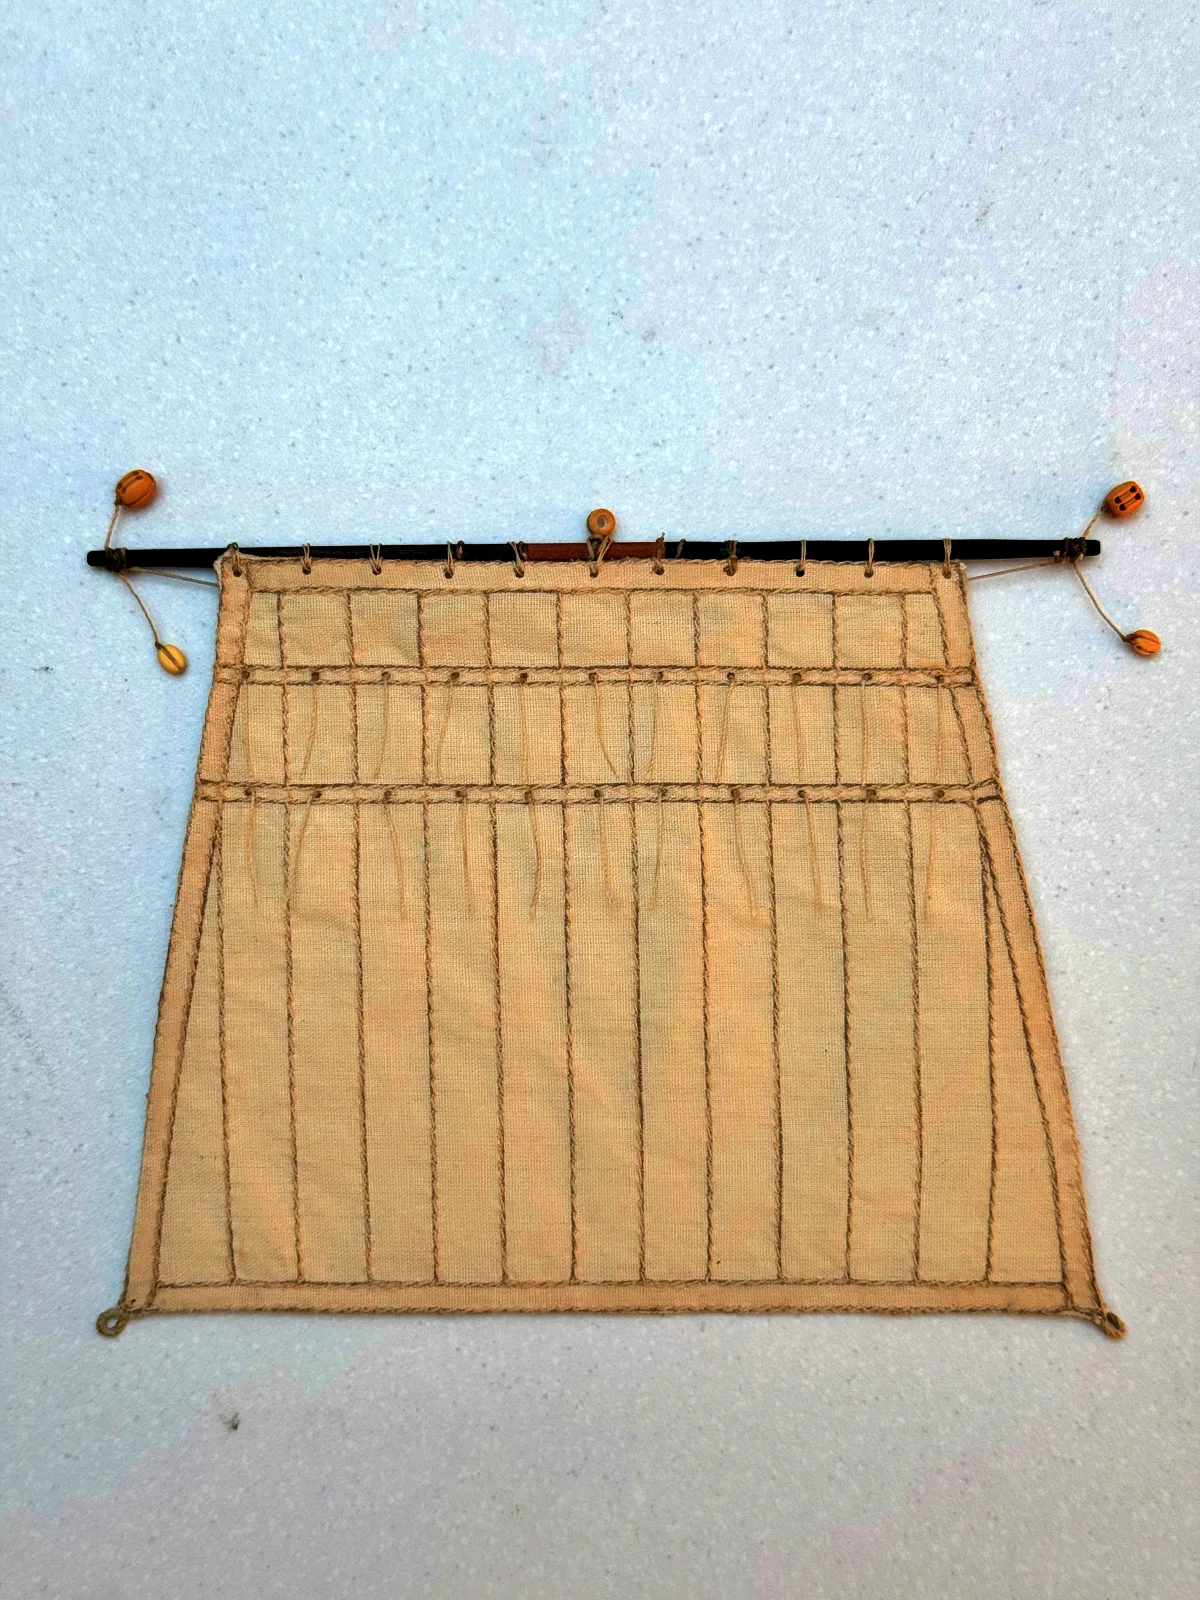
Bear in mind that if you are installing sails not included in the original kit, you will need additional blocks and additional lines. Kit instructions sometimes specify the extra quantities required, but not always. In that case, having a set of alternative plans showing the full rigging and sail plan is invaluable. I would not recommend this approach for beginners — if you want a model under full sail, look for a kit that already includes sails.
💡 Tweezers and rigging hooks are indispensable when working on running rigging. Even on a large-scale model, it is very difficult to manage without purpose-made tools.
Tensioning and Geometry
When tensioning lines, pay close attention to the geometry of the spars — the perpendicularity of the yards, the angle of the gaff, and so on. I usually load the free end of a yard with a clip or clamp so that I can fine-tune the tension on the opposite side — for example, when adjusting the topping lift of the yard.
Flags — The Finishing Touch
Flags are the final detail, and kit-supplied flags are unfortunately not always up to the mark. If the quality is unsatisfactory — blurred print, incorrect proportions, or a flag that does not match the historical prototype — it is worth searching hobby shops, forums, or specialist printing services. Be prepared for considerable expense in the latter case, as custom flags represent a short print run with bespoke design.
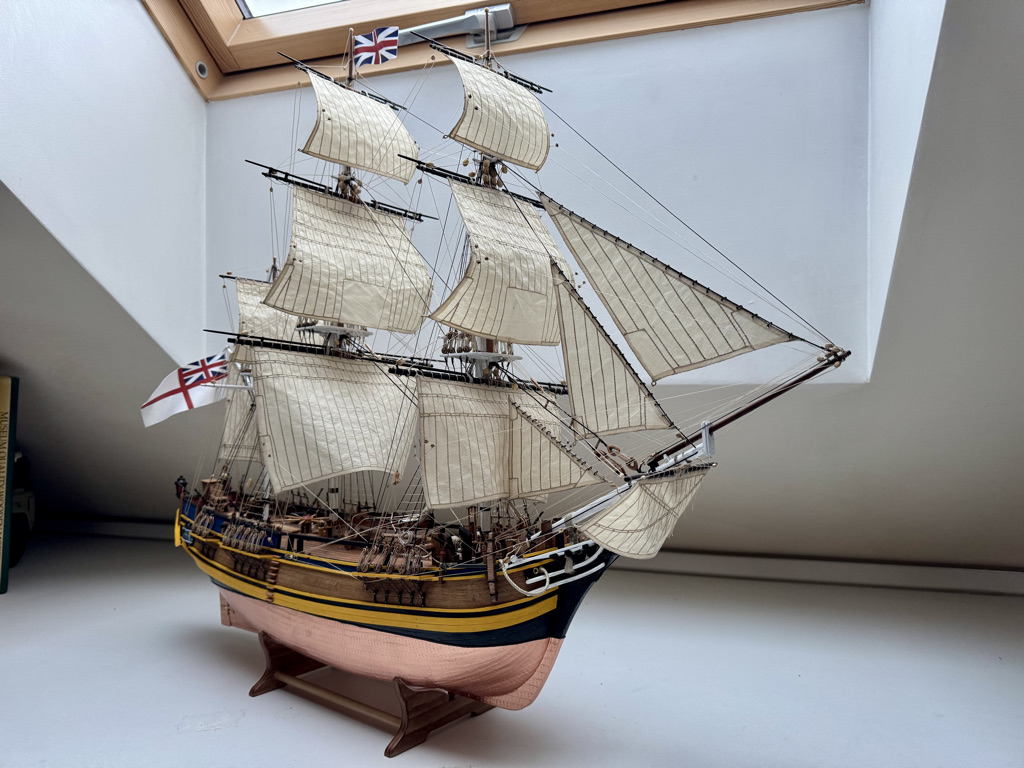
One important point: on a sailing vessel, the flag typically streams forward towards the bow — especially when sails are set, as the apparent wind is predominantly ahead. On power vessel models, the opposite applies: the flag streams aft.
I hope you found this tutorial useful. Any suggestions or comments are very welcome — reach out via any convenient channel