Sails making
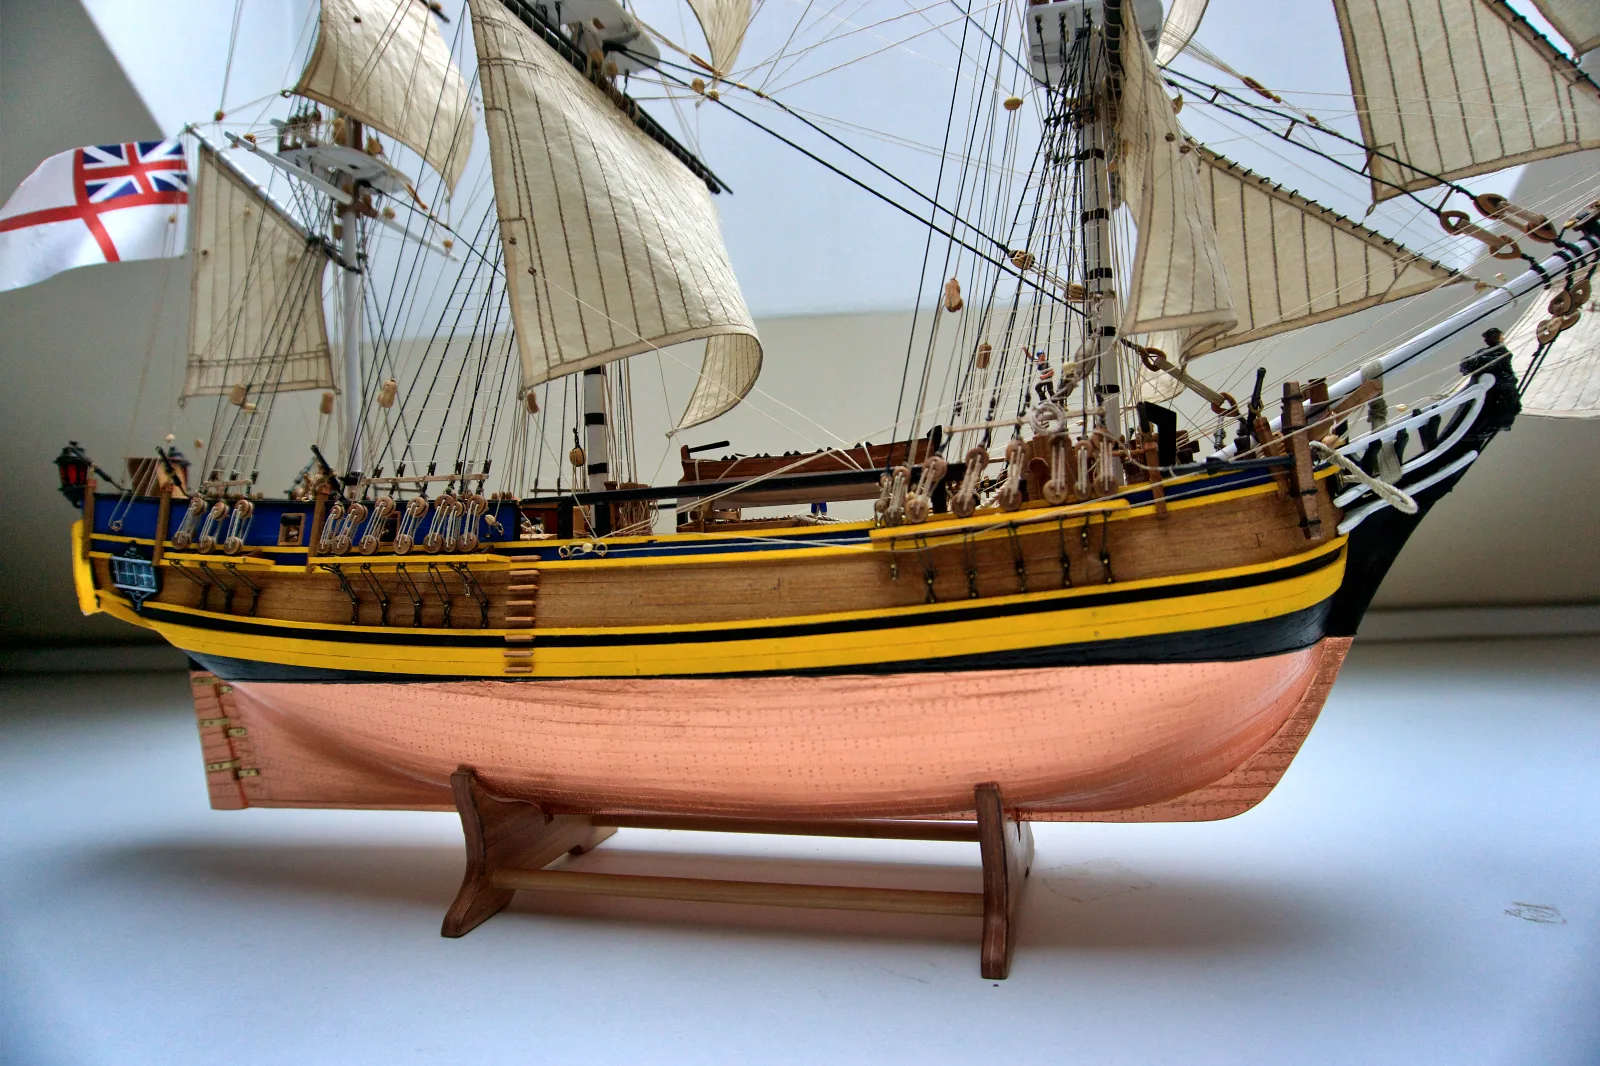
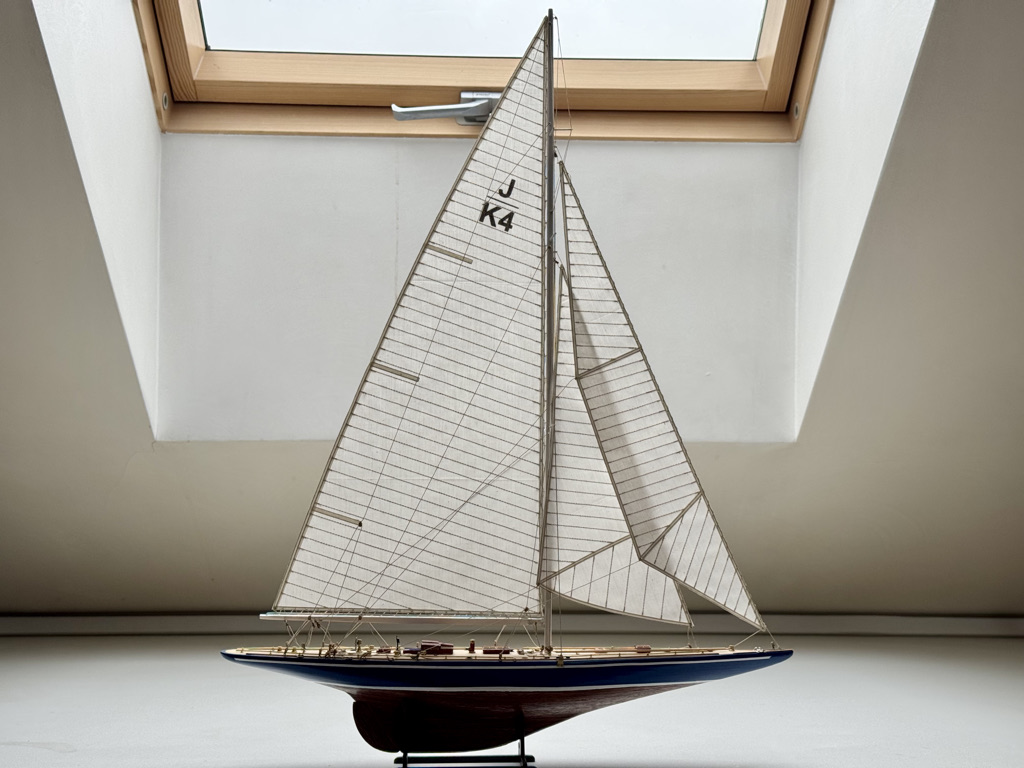
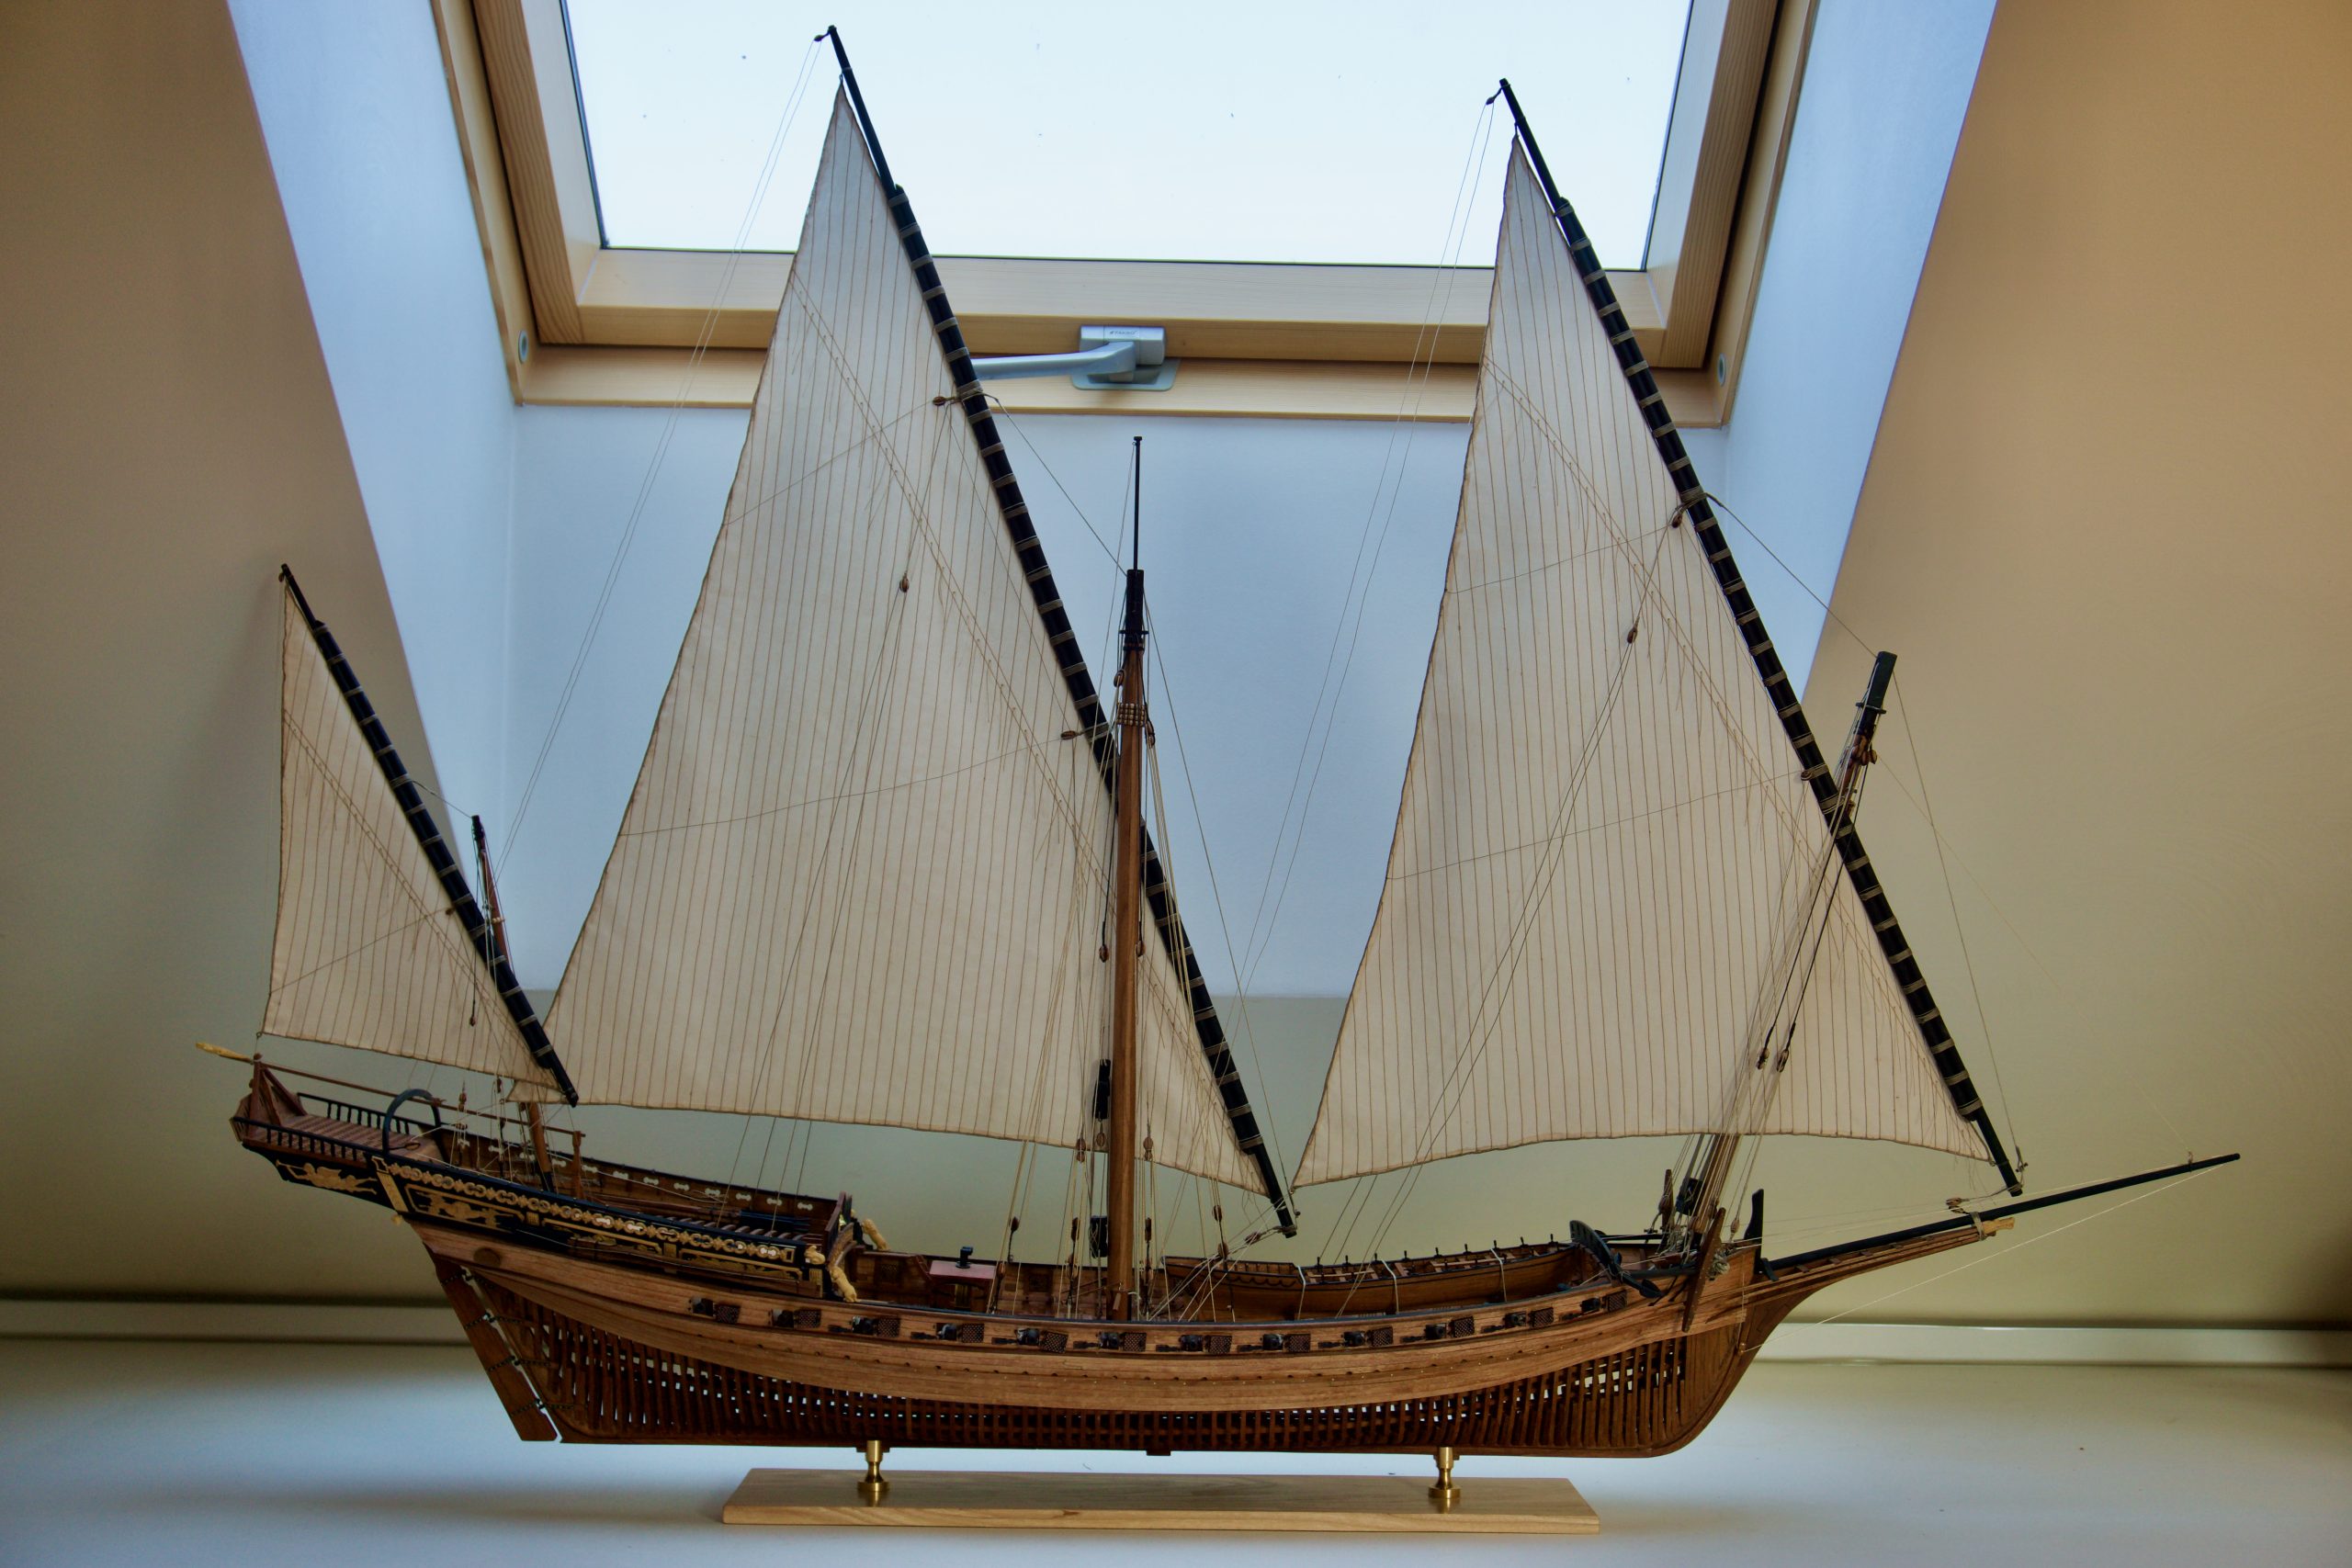
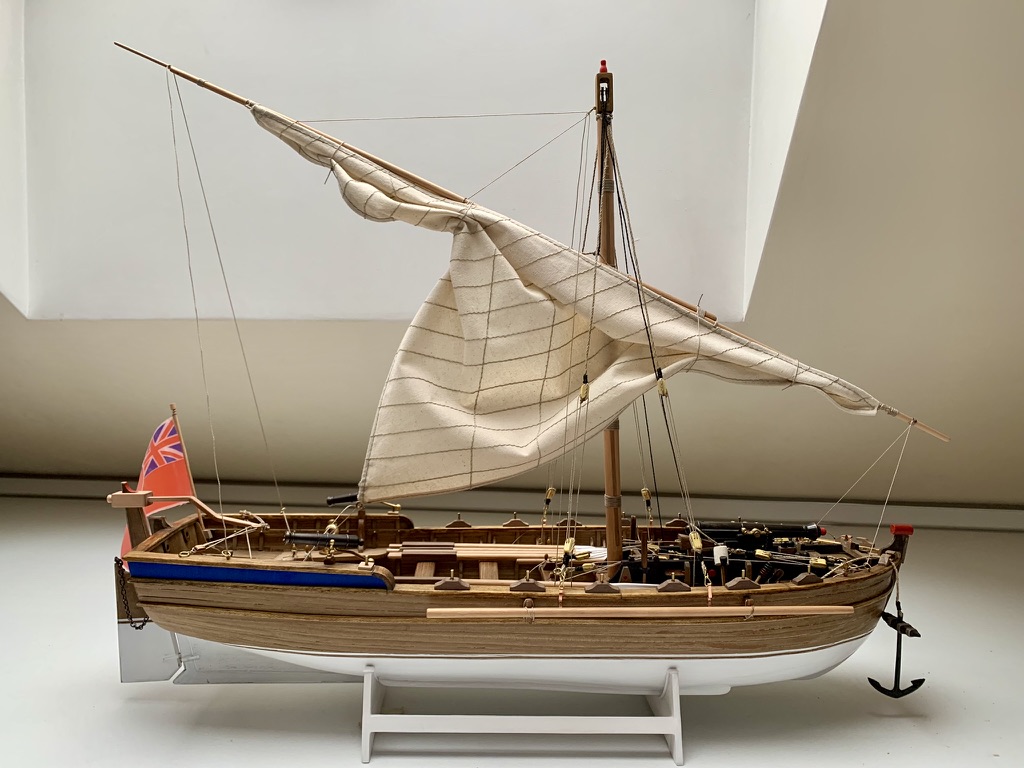
Ship modelers (and kit manufacturers as well) — hold widely differing views on sails. Some believe that sails conceal the beauty of the spars and rigging; others argue that a sailing ship without sails simply is not a sailing ship. My own approach is case-by-case, guided by the principle: “if my skill level allows me to produce sails for this particular model without lowering the overall visual quality — then sails should be made.” To turn that rather vague statement into a clear decision framework, let us first establish a few working principles regarding whether sails are worth fitting at all:
- The perceived quality of a model is determined by its weakest element. If your planking is superb but your rigging is sloppy, the model will look poor. If you are not confident that you can produce (or purchase — more on that below) sails whose quality matches that of the hull, spars, and all rigging, it is better to leave the sails off entirely.
- Fitting sails requires additional investment — both in time and in purchasing extra thread and blocks (if not included in the kit).
- Not every kit permits the fitting of proper sails. This applies primarily to cross-section display models (which have inherently limited rigging attachment points) and to some models with simplified spars.
- Using truly scale-accurate fabric and thread for sails is difficult, especially at small scales — such fine materials either do not exist or are extremely hard to work with.
- Fitting furled sails requires specially constructed sail panels, precisely because of the previous point — otherwise the result will be an unconvincingly thick bundle when furled.
Assuming you have made the decision to fit sails — you are confident in your abilities, prepared for the additional time commitment and possible expenditure, and have chosen which sail configuration (full sails or furled sails) best suits your model — proceed according to the following algorithm. Note: if the quality of kit-supplied materials is unsatisfactory, treat those materials as unavailable.
Decision Algorithm
| Step | Condition / Action | If met | If not met |
|---|---|---|---|
| 1 | Does the kit include ready-made sails? | Step 11 | Step 2 |
| 2 | Does the kit include printed sail patterns on fabric? | Step 8 | Step 3 |
| 3 | Does the kit include sail fabric? | Step 7 | Step 4 |
| 4 | Do the kit plans include sail drawings and rigging diagrams? | Step 6 | Step 5 |
| 5 | Obtain sail plans and rigging diagrams for the vessel; scale them to the required model scale | ||
| 6 | Select fabric and thread | ||
| 7 | Transfer the pattern and cut out the sails | ||
| 8 | Stitch the sails | ||
| 9 | Cut to final shape and finish the edges | ||
| 10 | Paint (tint) and stiffen as required | ||
| 11 | Attach the sails to the model |
Steps 5 through 11 are described in dedicated subsections of this tutorial. If preferred, steps 5–9 may be bypassed by purchasing ready-made sails — these are often sold separately by kit manufacturers or third-party suppliers. Be aware, however, that high-quality custom sails can cost up to half the price of the kit itself, and sometimes even more for hand-crafted work.
Obtaining Sail Plans
If your kit does not cater for sails but you are firmly set on fitting them, the first task is to find a detailed plan of the vessel that includes sail patterns and a rigging diagram. Such plans can be purchased from online shops, and are occasionally available for download on specialist forums — though always check the copyright terms. If a plan for the specific vessel cannot be found, a plan of a similar vessel of the same type or historical period may be used as a starting point and adapted accordingly.
Once you have the source material, scale the sail plans to the required size. I personally do not rely on the stated scale printed on a drawing; instead, I derive a correction factor from the ratio of a known reference dimension on the two drawings — for example, the height from keel to masthead, or the length of the main yard.
Selecting Materials
In my view, faithfully replicating the true thickness of a historical sail canvas at model scale is virtually impossible. Even for a big ship, real canvas was approximately 0.5–1.2 mm thick, which means that even the finest batiste is already “too thick” in relative terms. However, this is not really a problem in practice: working with extremely thin fabric is difficult, and it is hard to create the impression of wind-filled sails with such material. My recommendation: use the finest cotton fabric your sewing machine can handle reliably. The key requirements are a tight, close weave that looks smooth and has no sheen or gloss. As for colour, white or a very pale grey or beige tone works well — though in any case it is advisable to tint the finished sails.
A similar principle applies to thread: use the finest available, typically weight 100–120. Opt for light grey or beige rather than white — white thread tints less evenly than the fabric and will stand out too conspicuously on the finished sail. Calculate the required thread length as the total length of all seams multiplied by approximately 2.5–2.7.
Pattern Transfer and Cutting
If the kit does not provide a pre-printed pattern on fabric, the pattern must be transferred from paper to cloth. For a simple pattern at a large scale, tailor’s chalk will suffice. However, if the sail has many seams requiring the simulation of multiple cloths, I use a specialist stabiliser (embroidery backing / interfacing). This is available with or without an adhesive layer; what matters is that it should be thin and easy to remove afterwards. The pattern is first drawn on the stabiliser, which is then stitched (or ironed) onto the fabric; all seams are then sewn through both layers. The additional layer also makes the stitching process considerably easier.
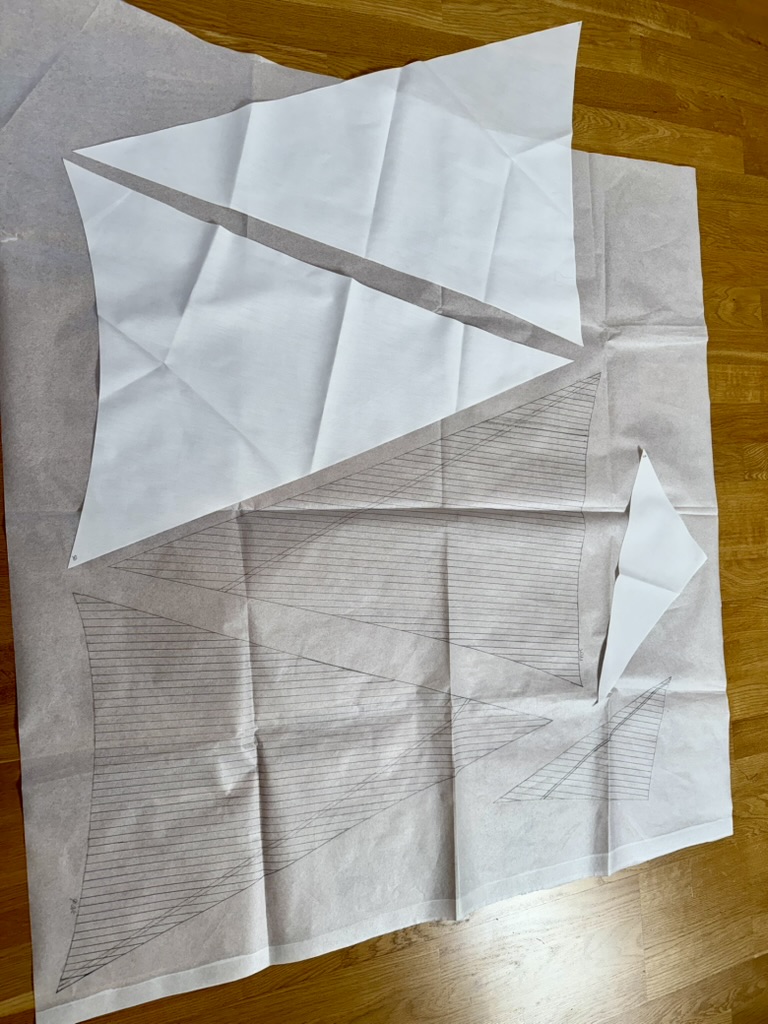
Before transferring the pattern, wash the fabric in warm water and iron it flat to remove any sizing and smooth out any creases.
Important: if the model is to show furled sails, the patterns must be modified accordingly. The head and foot (upper and lower bolt-rope edges) of the sail remain at full width, but the sail height must be reduced by at least half — otherwise the result will be an unrealistically thick bundle when furled.
Stitching
The next important step is the simulation of seams. Real sails were sewn from multiple cloths, with reef bands and reinforcing strips stitched on, and the corners — where the sheets were attached — reinforced additionally. Replicating all of this fully on a model is not practical: the construction would become so thick and rigid that it would bear no resemblance to a sail. Seams are therefore simulated by machine stitching.
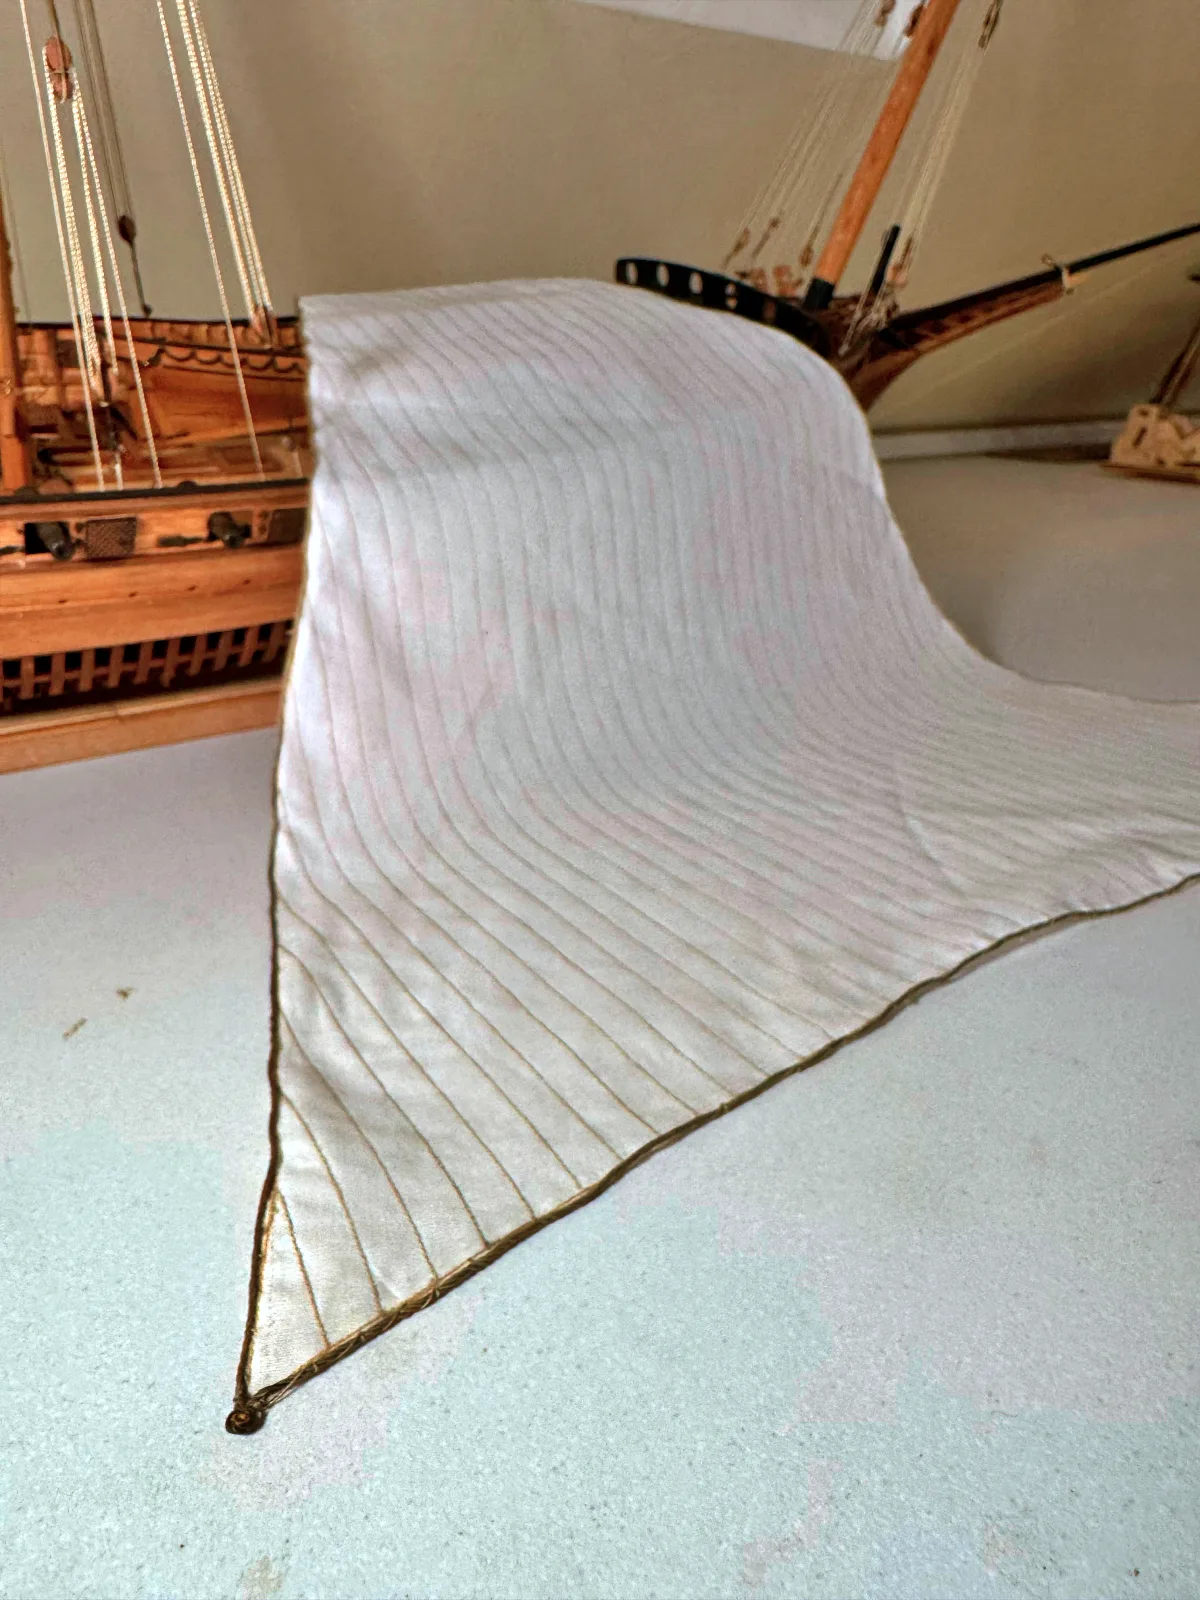
Use the shortest stitch length your sewing machine will produce, ideally no more than 1 mm. The shorter the stitch, the more laborious the process — and hobby-grade sewing machines often tend to gather the fabric along the seam at very short stitch settings. Seams between cloths are normally double, but if you are not confident of sewing two perfectly parallel lines just 0.3 mm apart, a single seam is perfectly acceptable. Throughout the stitching process, follow the pattern lines as closely as possible — any deviation at this stage detracts from the appearance of the finished model.
Once all stitching is complete, carefully remove the stabiliser backing. If it is water-soluble, submerge the sail in warm water and wait for the backing to detach. If not, gently pull the stabiliser free from under the threads using tweezers — avoid scissors or a blade to prevent cutting the thread. If necessary, the sail may be ironed again once the backing has been removed.
Finishing Edges and Corners
Depending on the model scale and the type of sail, the edges (luff, leech, and foot) can be finished by one of three methods:
- Fold and stitch on the sewing machine. Suitable when the scale is large enough, the fabric is thin, and your machine and skill level allow a neat fold no wider than 2 mm. When executed carefully this method produces the most prototype-accurate appearance.
- Cut along the outline with a small allowance and secure the folded edge with fabric adhesive. This is technically much easier than the first method. For best results, the outline should also be top-stitched before cutting. To prevent fraying, the edge may be carefully impregnated with diluted PVA glue before cutting — but apply sparingly to avoid making the edge stiff.
- Impregnate the edge with fabric glue (or diluted PVA) and cut straight along the outline. Used for fore-and-aft sails (jibs, staysails, and the sails of schooners and yachts) at small scales (1:72 and finer). This is the simplest option but the least visually convincing.
The corners of the sail are generally already well reinforced once the edges have been folded. If additional reinforcement is needed, small patches of fabric may be glued on at the corners. Depending on the vessel, holes may be pierced at the clew corners for sheet attachment — not with a twist drill, but with a sharpened steel tube of small diameter (see video). The same technique can be used to make holes for hanks that attach jibs and staysails to stays.
The bolt-rope — a heavier rope sewn around the perimeter of the sail — is stitched along the entire edge. At small scales it may instead be glued in place with fabric adhesive. If required, short loops of the same thread can be formed at the clew corners to serve as sheet attachment points (instead of pierced holes). Thimbles (cringles) of appropriate scale may be fitted into these loops if desired.
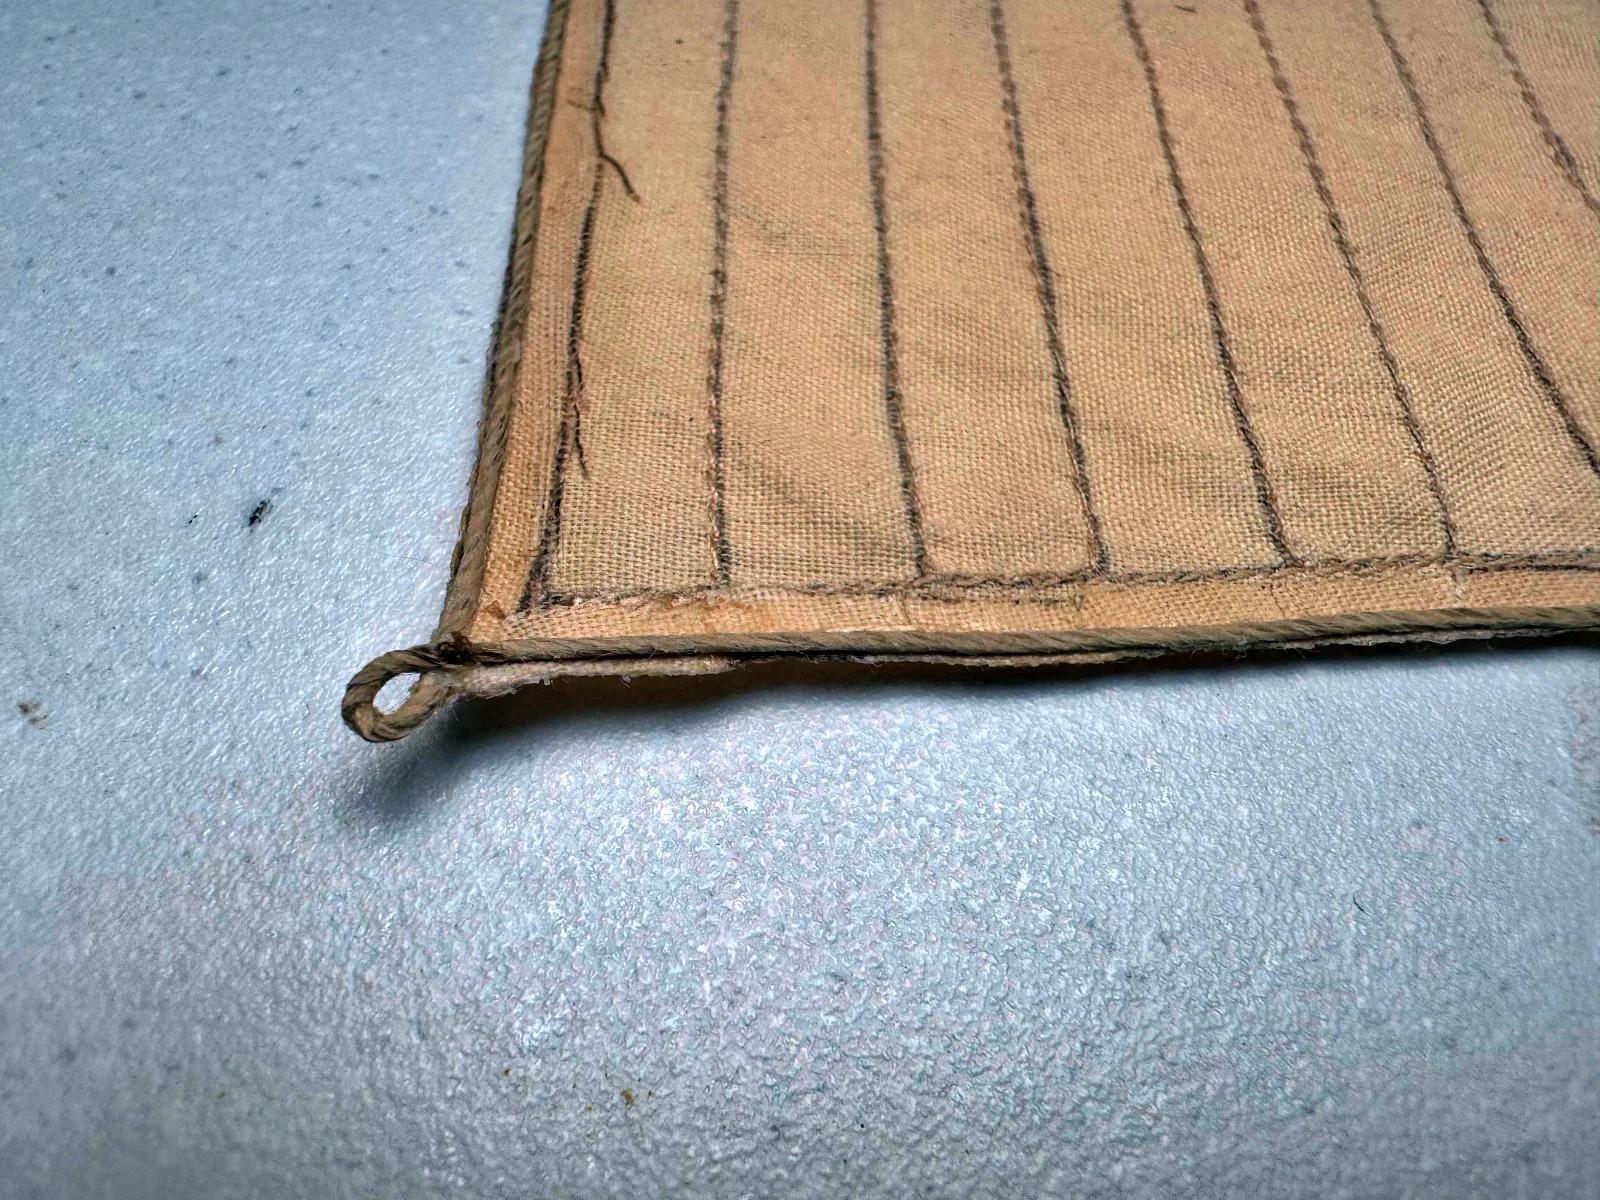
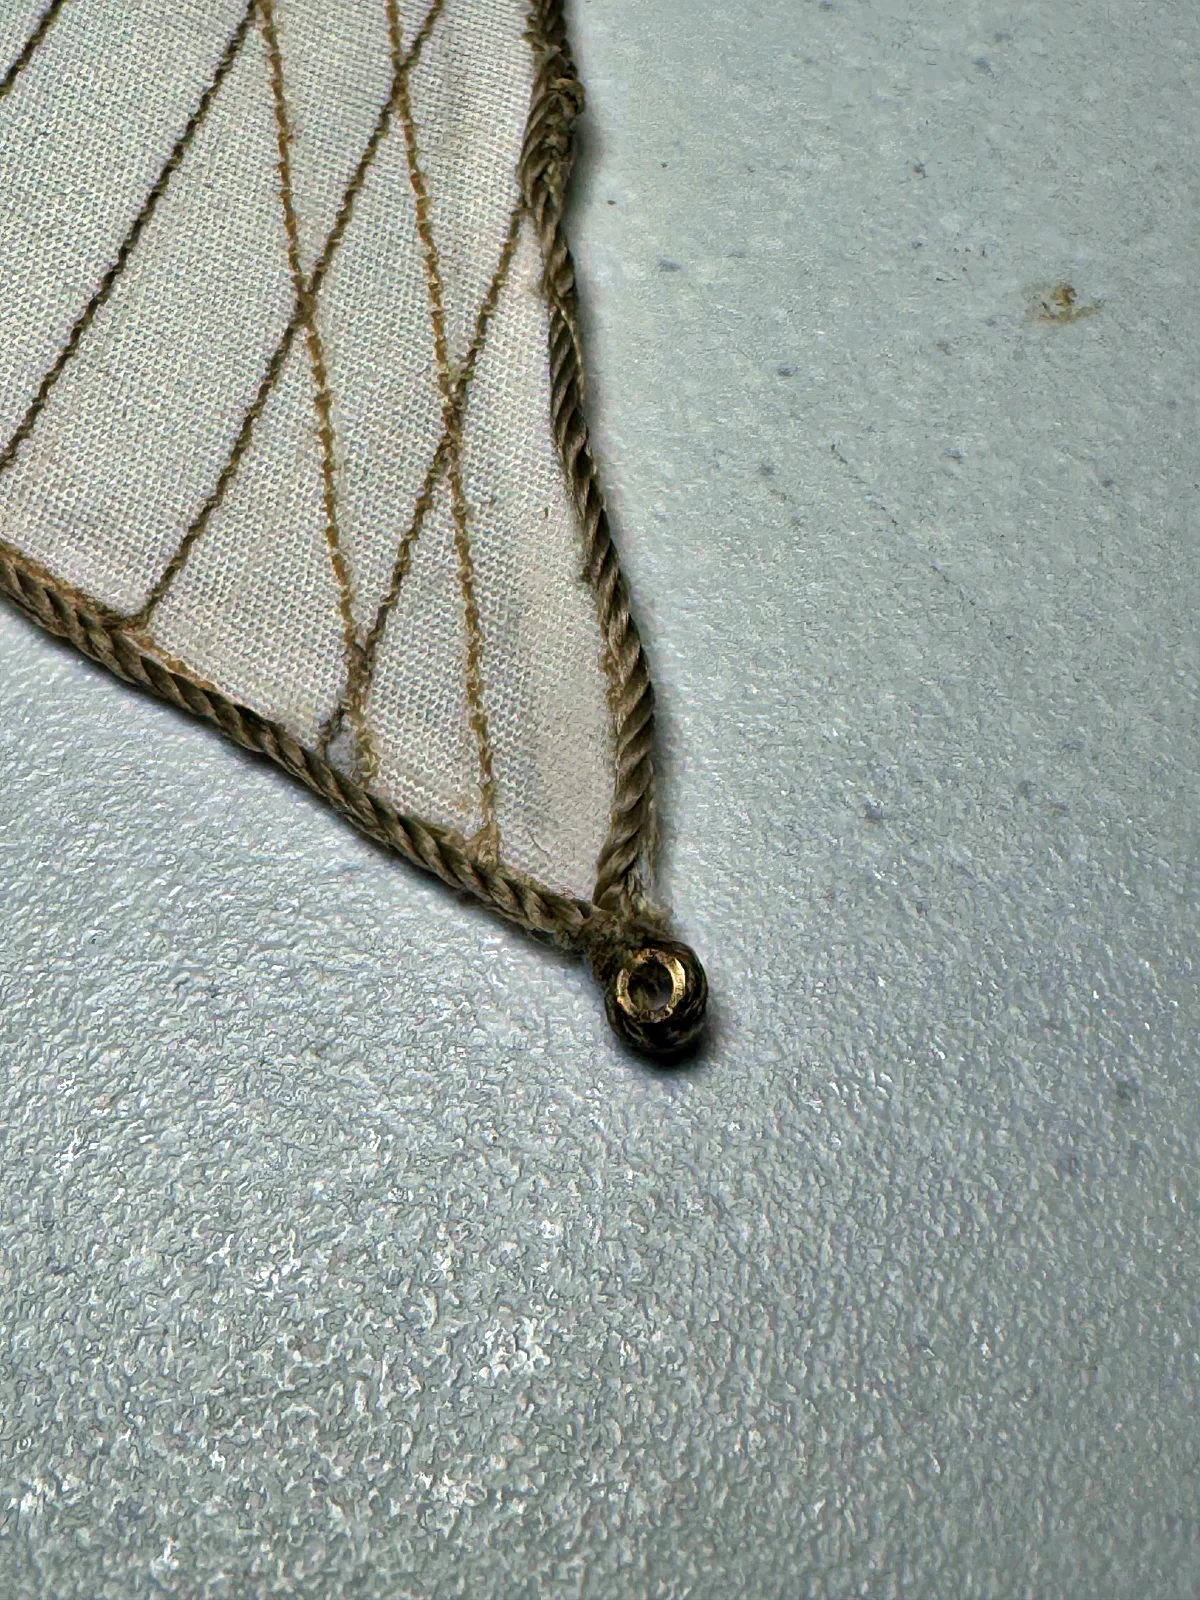
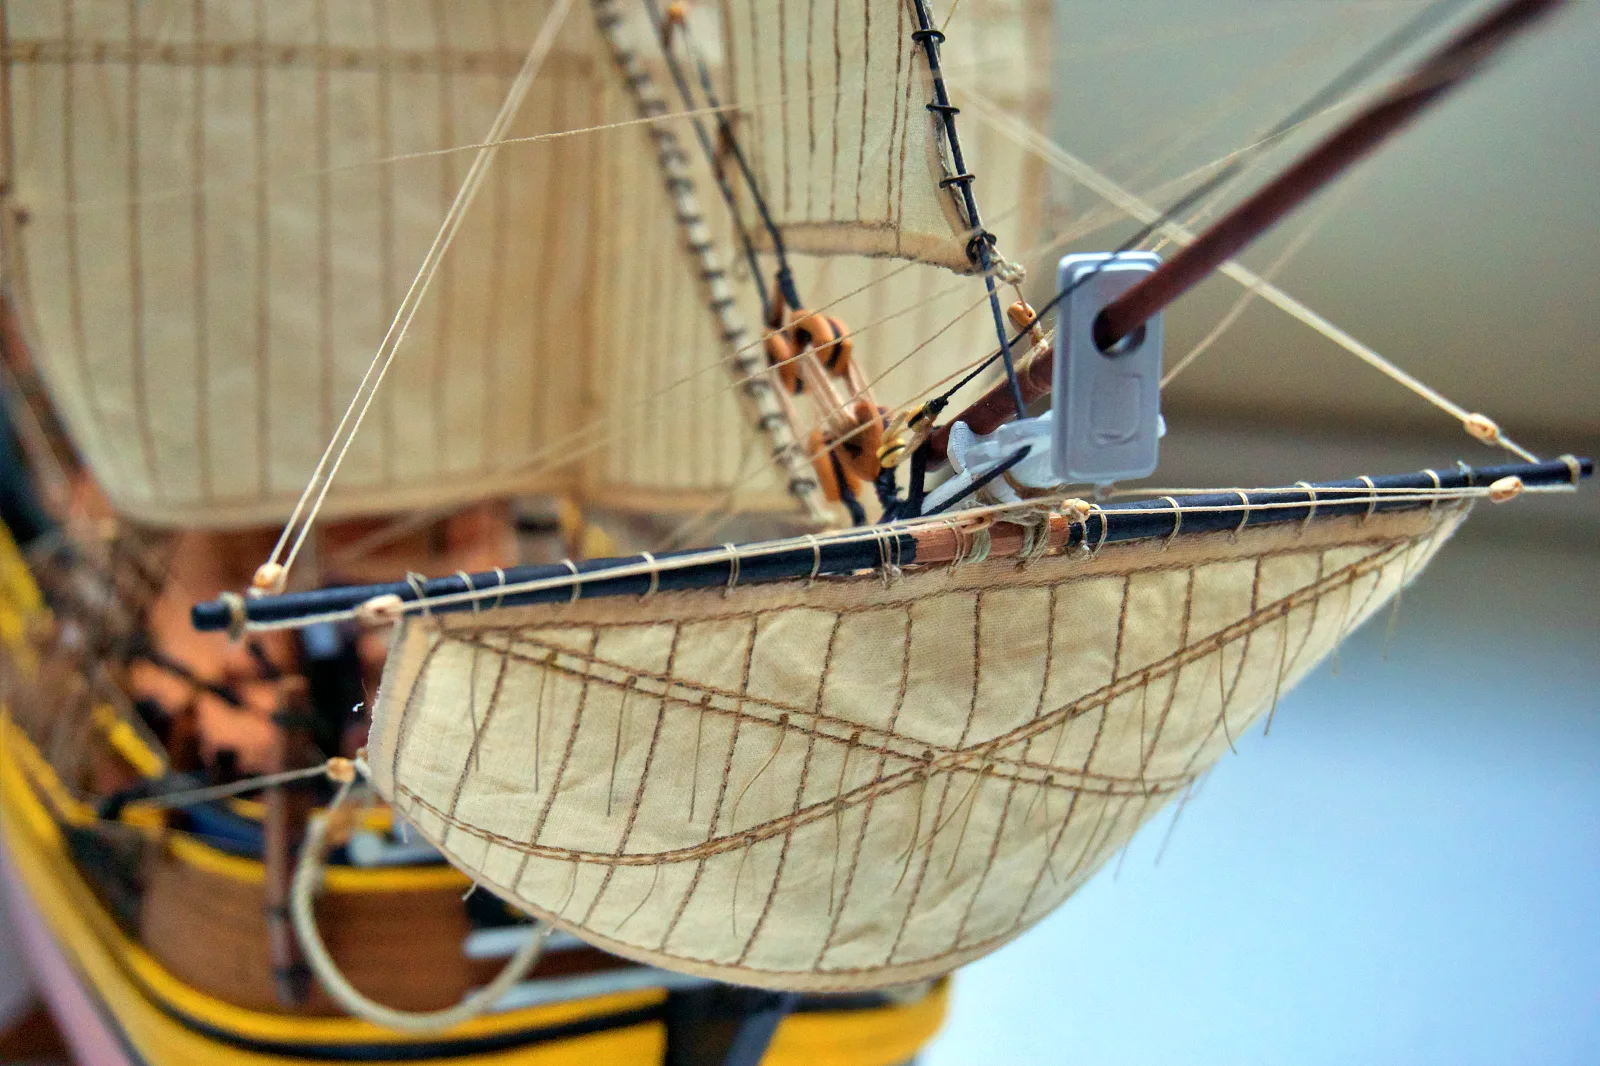
A separate operation is the fitting of reef points. These are made from fine thread, passed through the sail with a needle, and secured with two reef knots or a single knot and a tiny drop of adhesive. Once fitted, the reef points should be directed into the correct orientation and pressed flat under an iron through a sheet of paper so they lie neatly against the sail cloth.
Tinting
The completed sail must be tinted. The shade and tone depend on the style you have chosen for the model: from a slightly yellowish tone of nearly new canvas to darker, more varied tones for a weathered finish. Suitable colourants include diluted fabric dyes, or alternatively tea or coffee. Submerge the sail in the colouring solution and leave it for anywhere from a few seconds to 15–20 minutes, depending on the dye and the desired depth of tone, then briefly rinse in cold water and allow to dry flat and fully spread out.
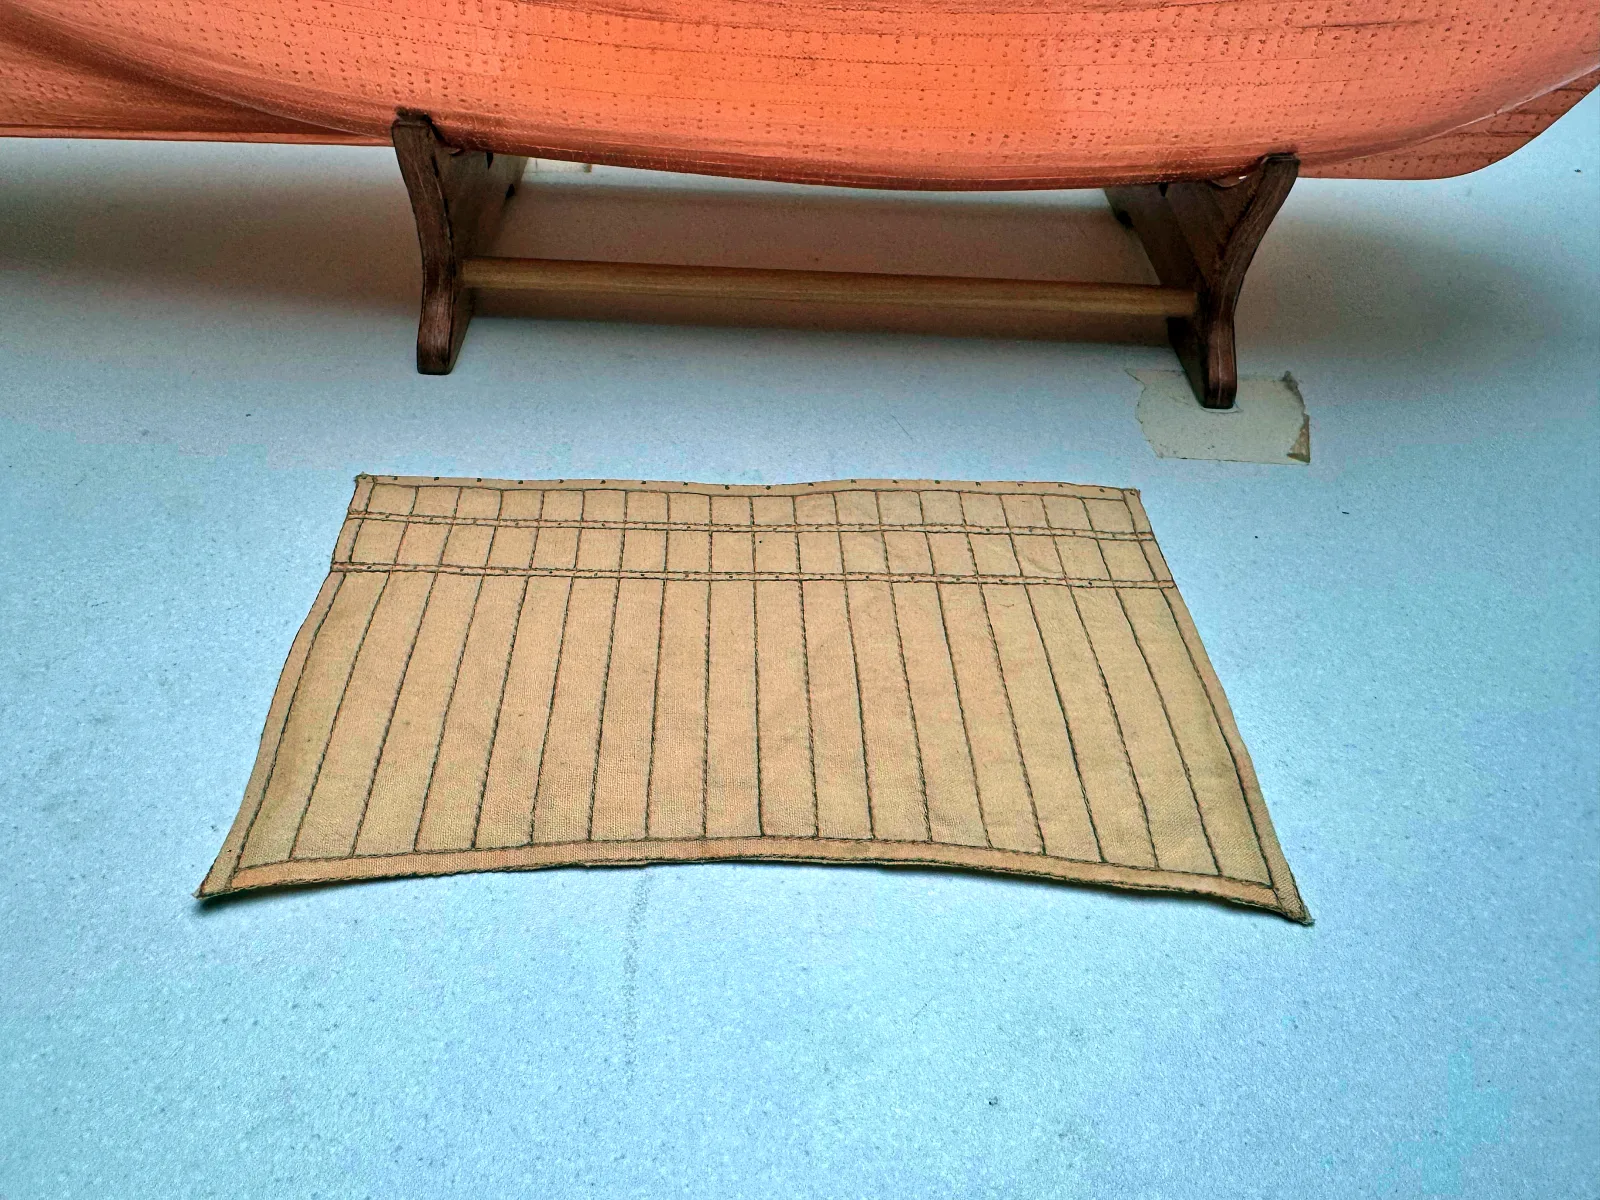
If the fabric needs to be stiffened — for example, to represent sails filled with wind — submerge the sail in a diluted PVA solution and allow it to dry in the desired shape.
Attaching the Sails
A sail may be attached to a spar (yard, gaff, or boom) or to standing rigging (a stay or jackstay). The specific method depends on the type of sail, the vessel type, and the historical period. The most common methods are as follows:
- Bending the head of a square sail to the yard (or to a gaff or boom) using robands passed through eyelet holes (cringles) or through the bolt-rope. On a model it is not necessary to tie each roband individually; instead, the thread may be run continuously along the head of the sail, minimising the number of knots.
- Bending the luff of a fore-and-aft sail to a stay or jackstay using wooden or metal hanks (hoops). Making wooden hanks at model scale is very difficult; metal rings of appropriate diameter — or even simple wire rings — are a practical alternative.
- Bending the luff of a fore-and-aft sail to a stay or boom by means of a lacing — a thin line passed through eyelet holes along the luff and wrapped around the spar or stay to which that edge is bent.
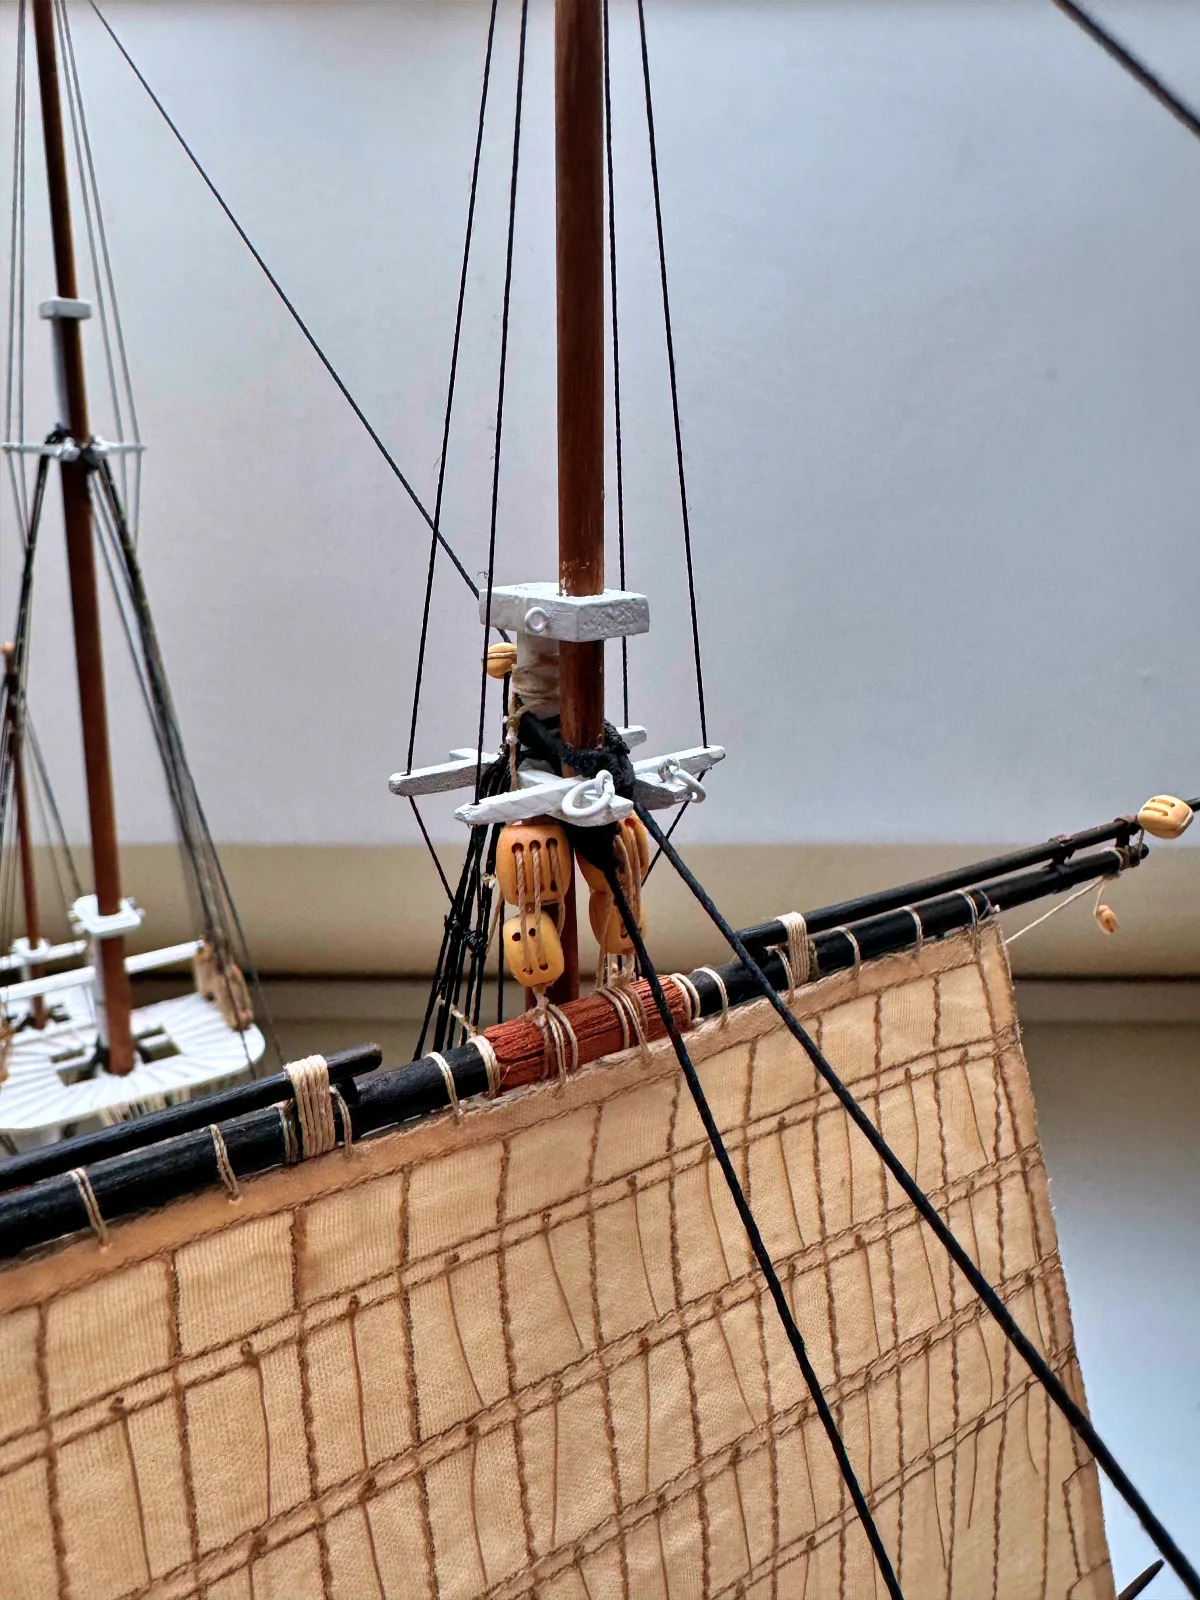
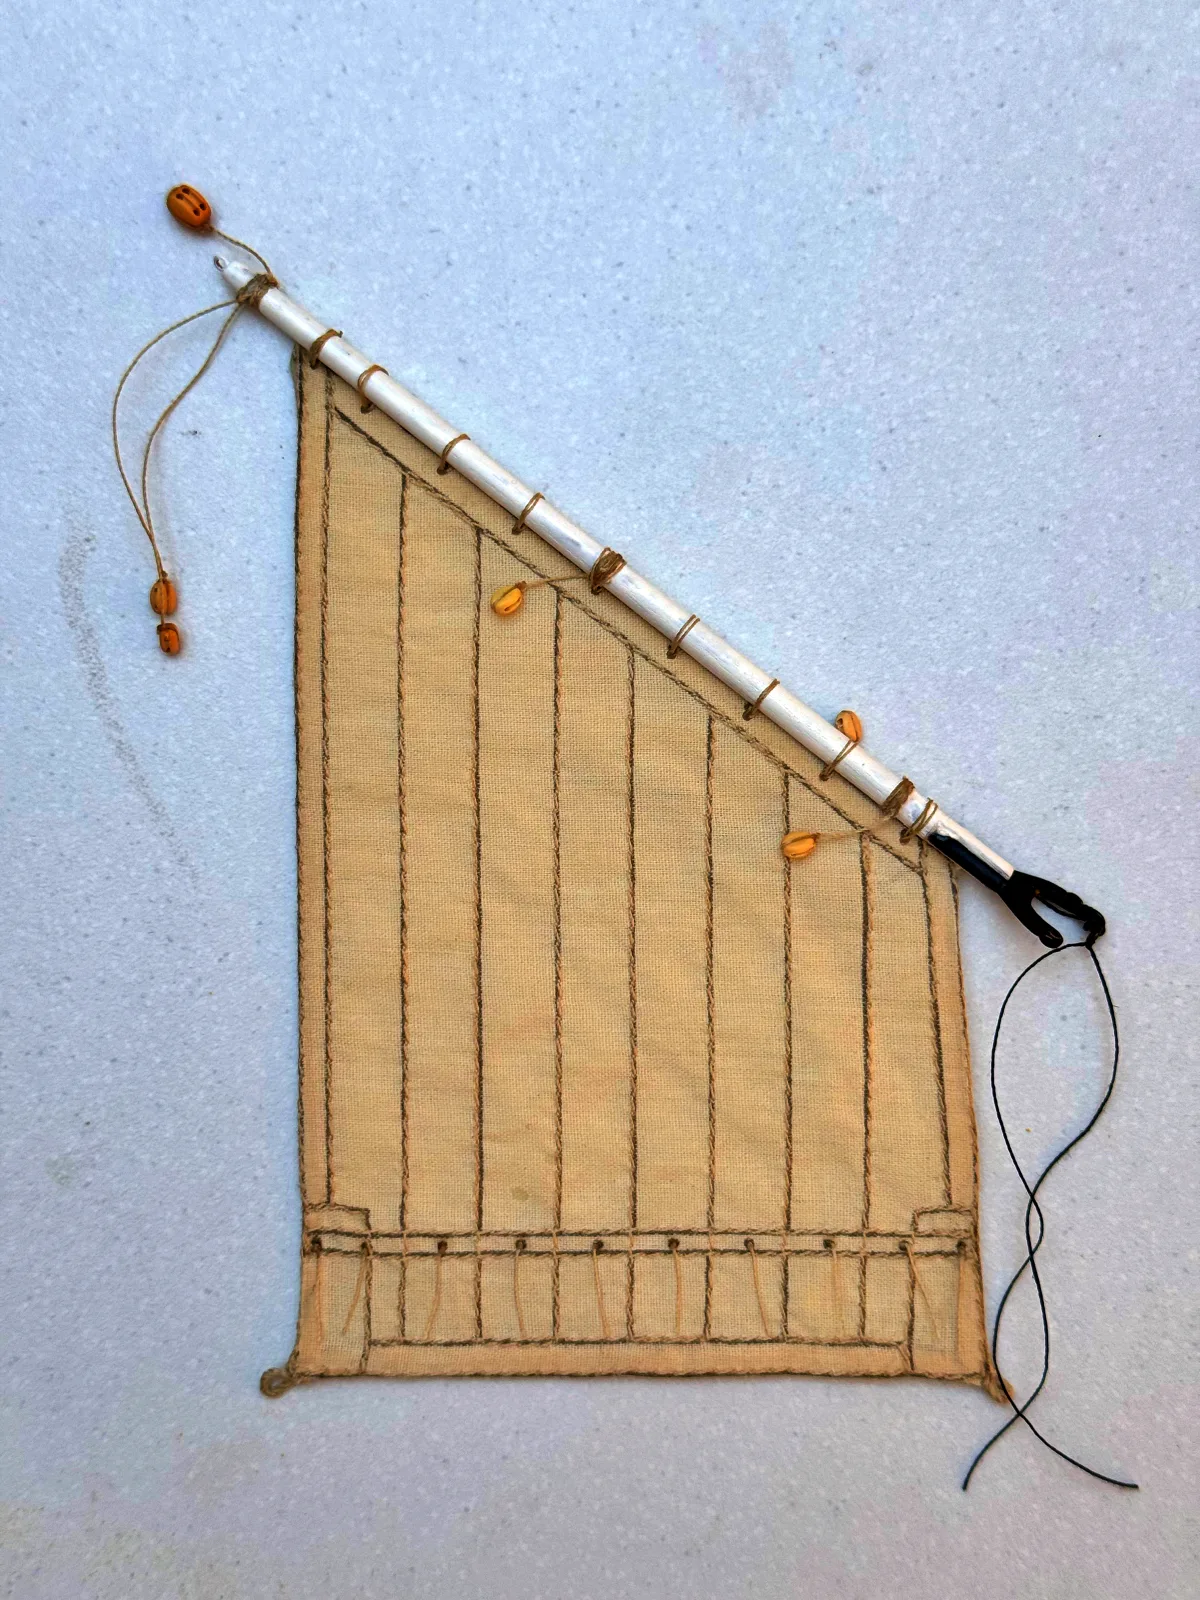
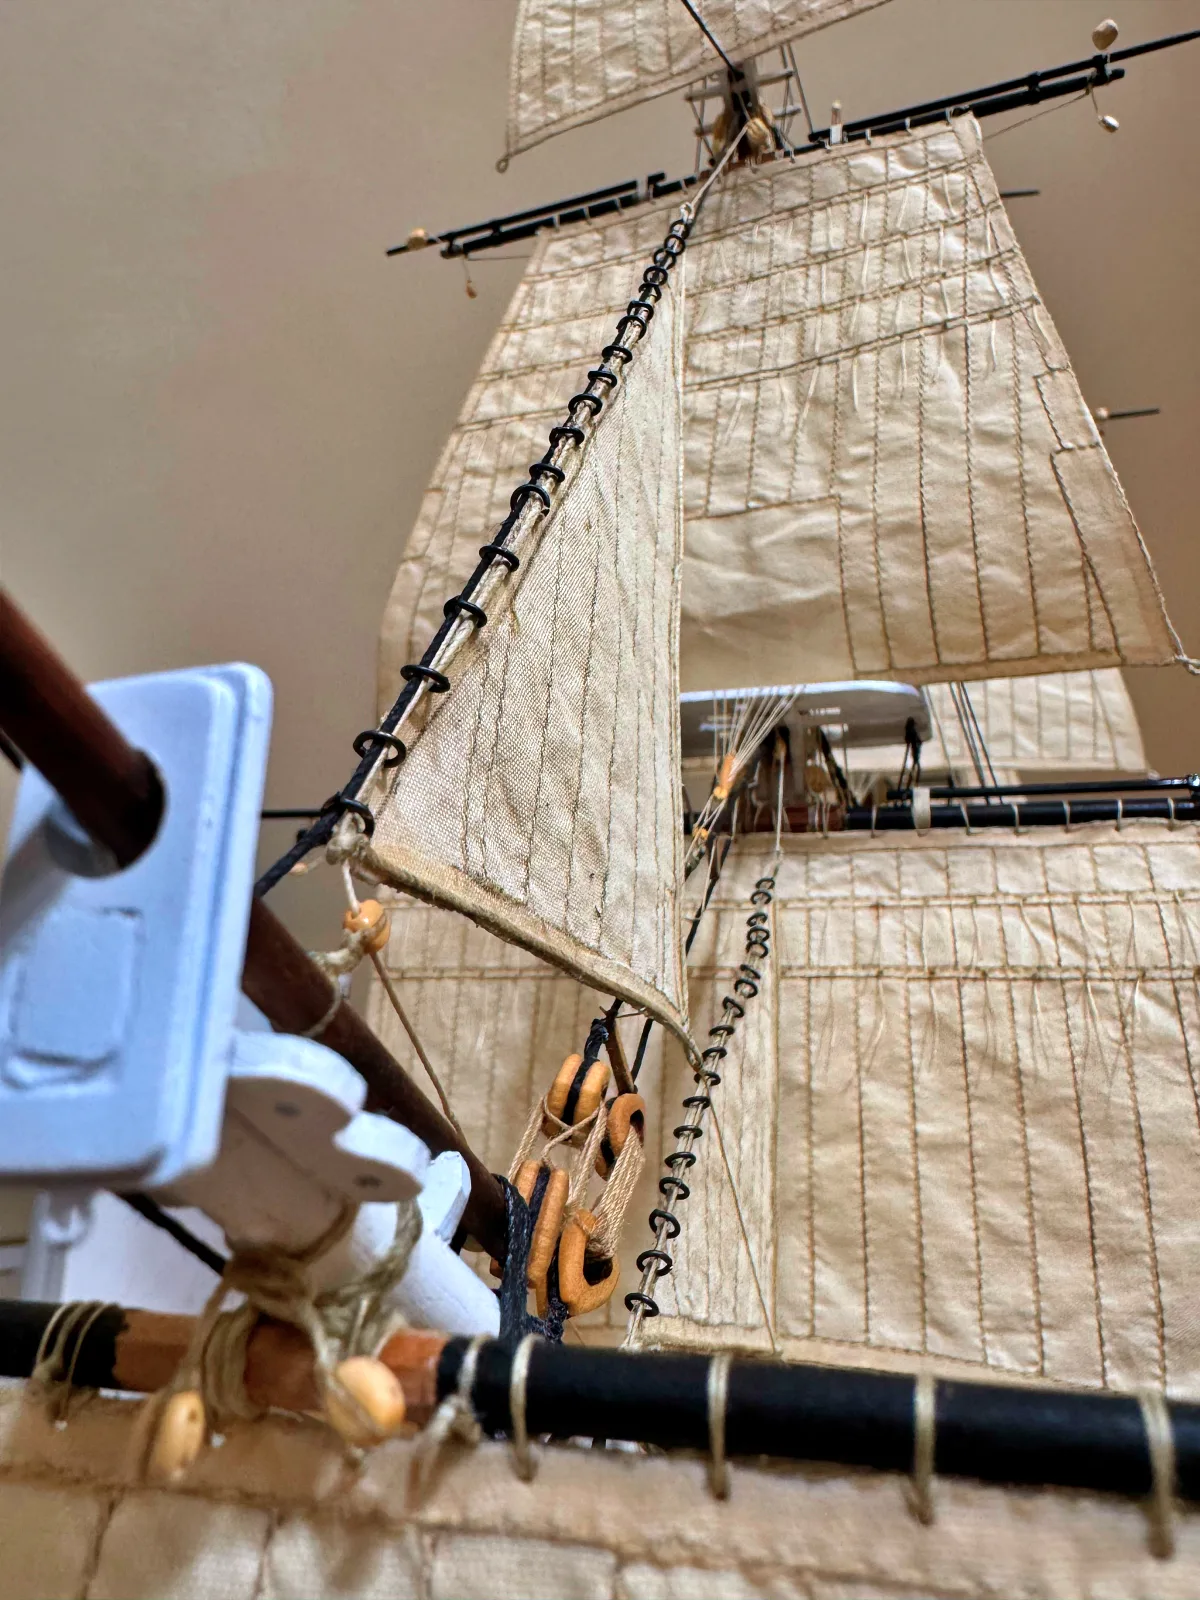
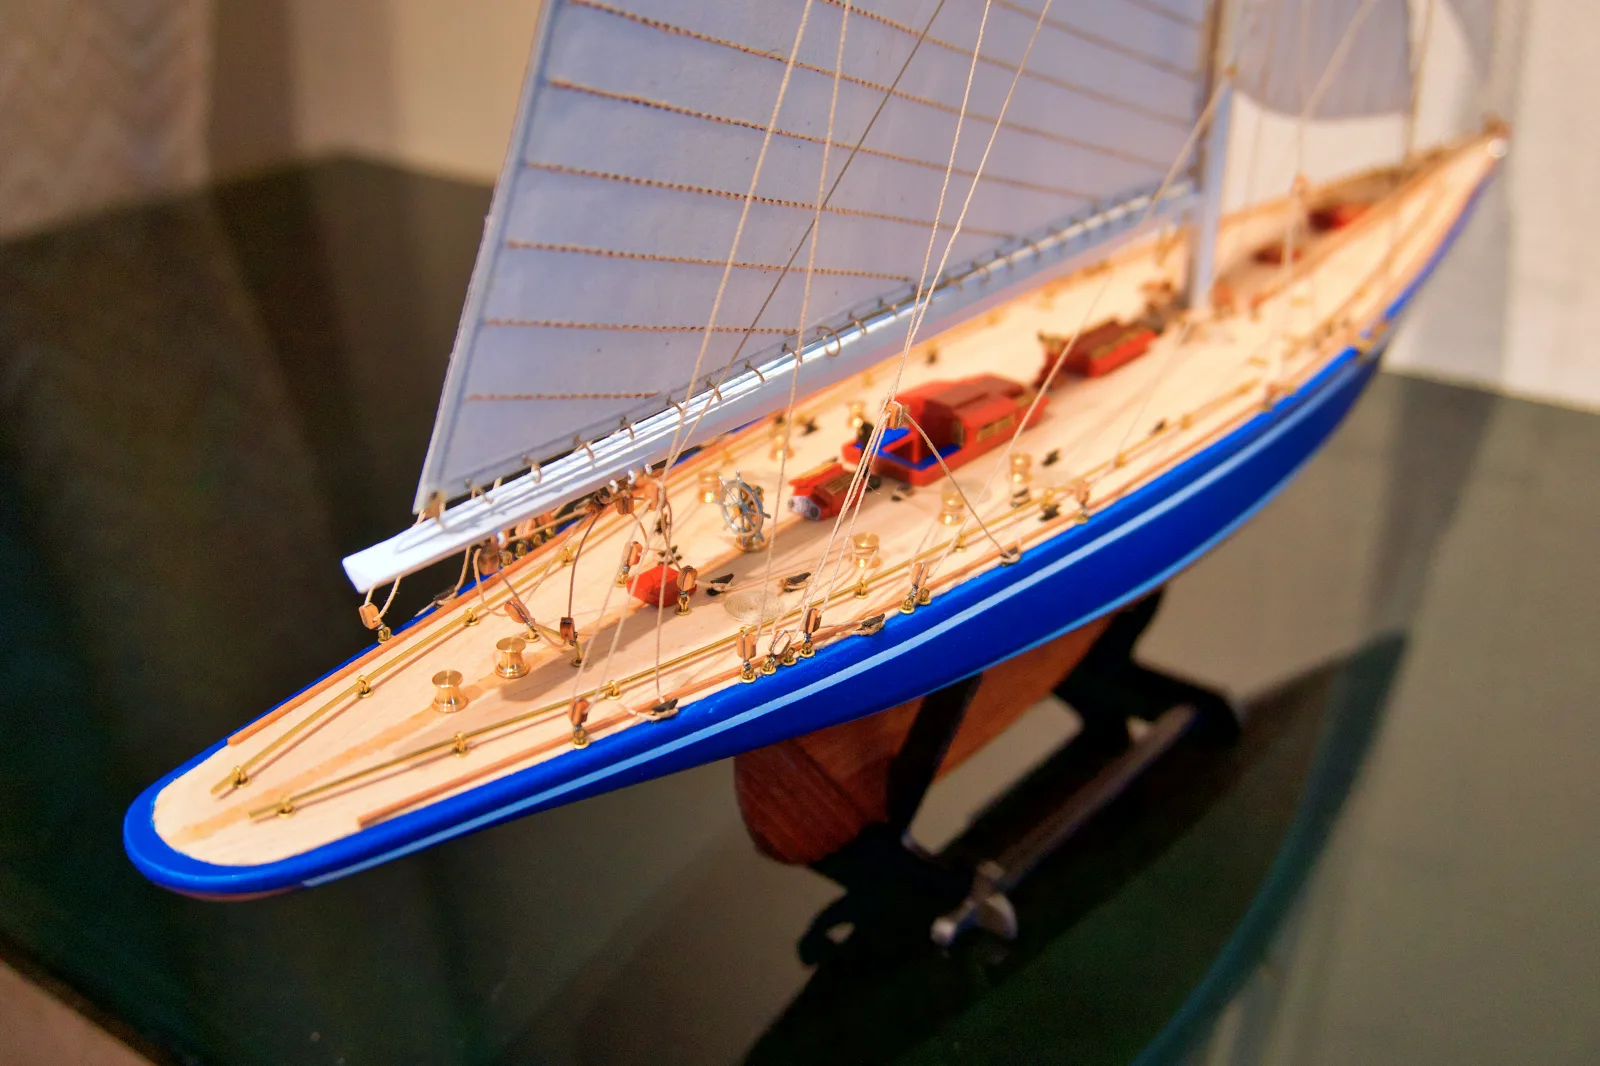
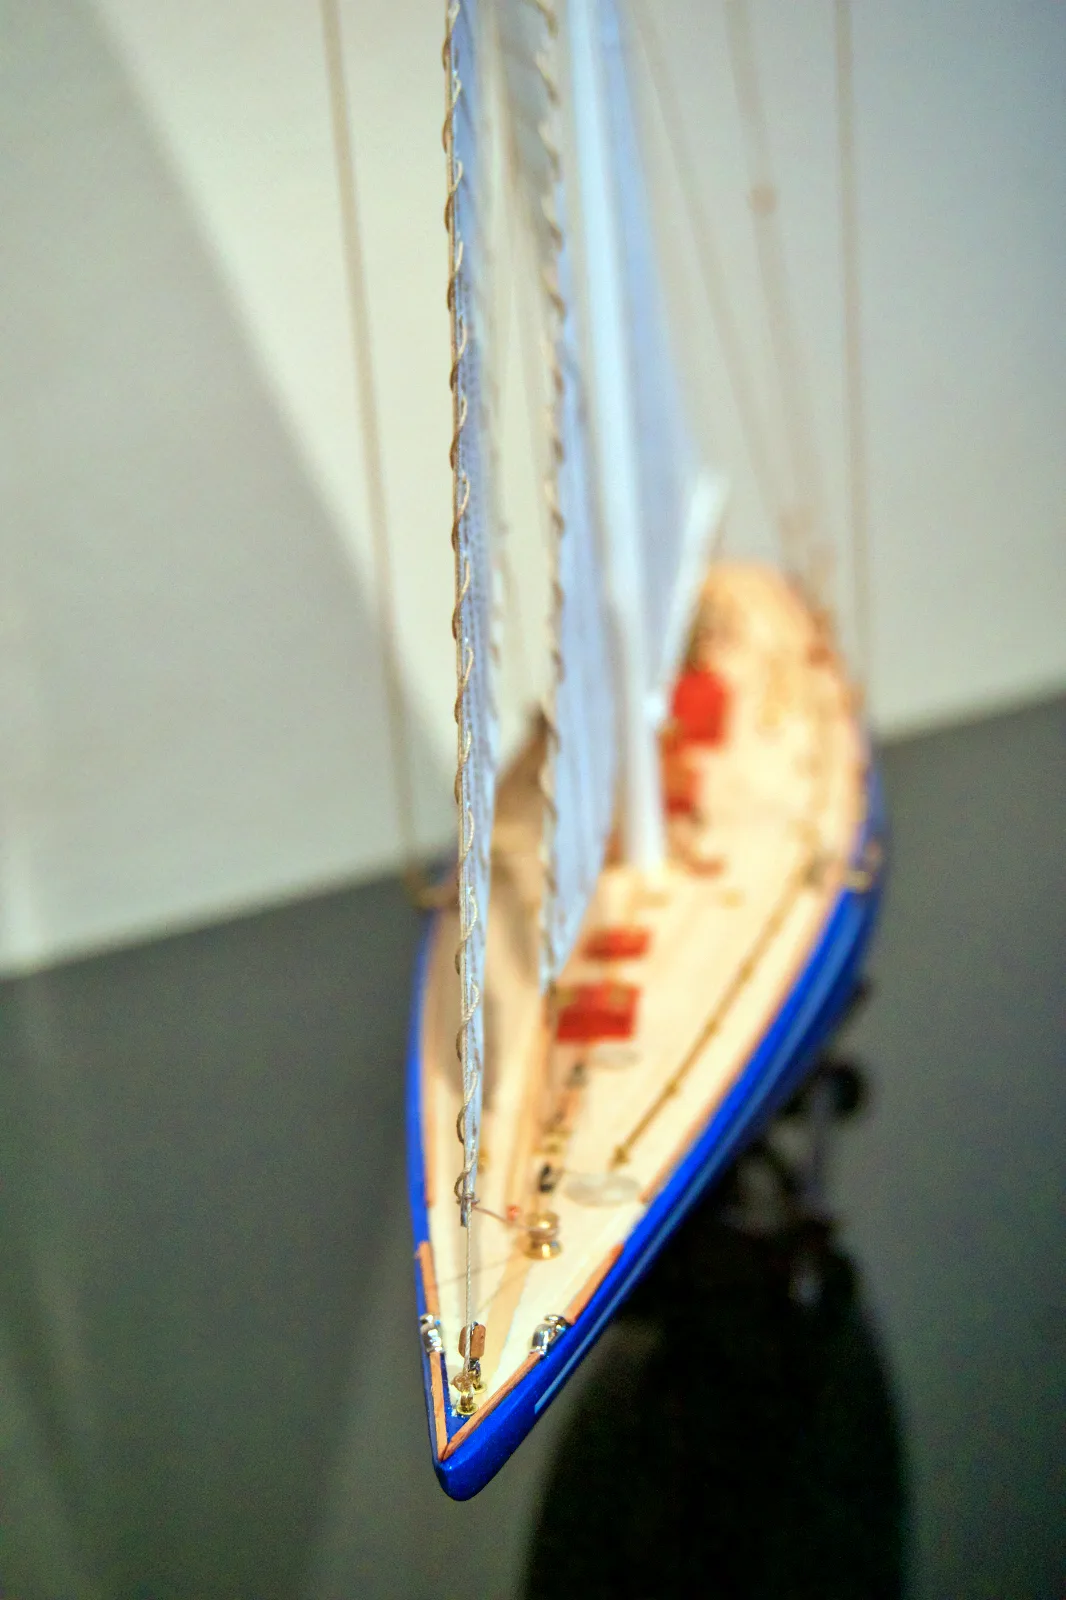
For the model, choose thread diameter, ring size, and colour to match the prototype as closely as possible. Kit instructions very often provide an oversimplified rigging scheme — do not hesitate to consult historical sources, as even a small increase in authenticity can yield a significant improvement in the overall appearance of the model. And, as noted in the rigging tutorial, it is better to attach sails to spars before those spars are fitted to the model — the yard (or gaff, or boom) can then be installed together with its sail already bent on. The final sequence of assembly steps is, of course, yours to decide, taking all relevant factors into account.
I hope this material has been useful. Any comments or suggestions are very welcome — please reach out via any convenient channel .